Cove Crochet Tote Bag Pattern
Introducing: The Cove Tote Bag -- free crochet pattern and video tutorial
This playful summer tote bag is designed to be functional and stylish. The bag is constructed by working off of the unique, rope-like handle. Worked quickly in half double crochet, this bag is fun and beginner friendly!

Cove Tote Bag Crochet Pattern
© ORIGINALLY LOVELY 2021
This pattern and photographs of this garment are property of Kaitlin Barthold of Originally Lovely. This pattern, photos, and design are subject to copyright and are for personal use only. All commercial use is strictly prohibited. You may not reproduce or distribute this pattern under any circumstances.
Skill Level
Easy +
Materials
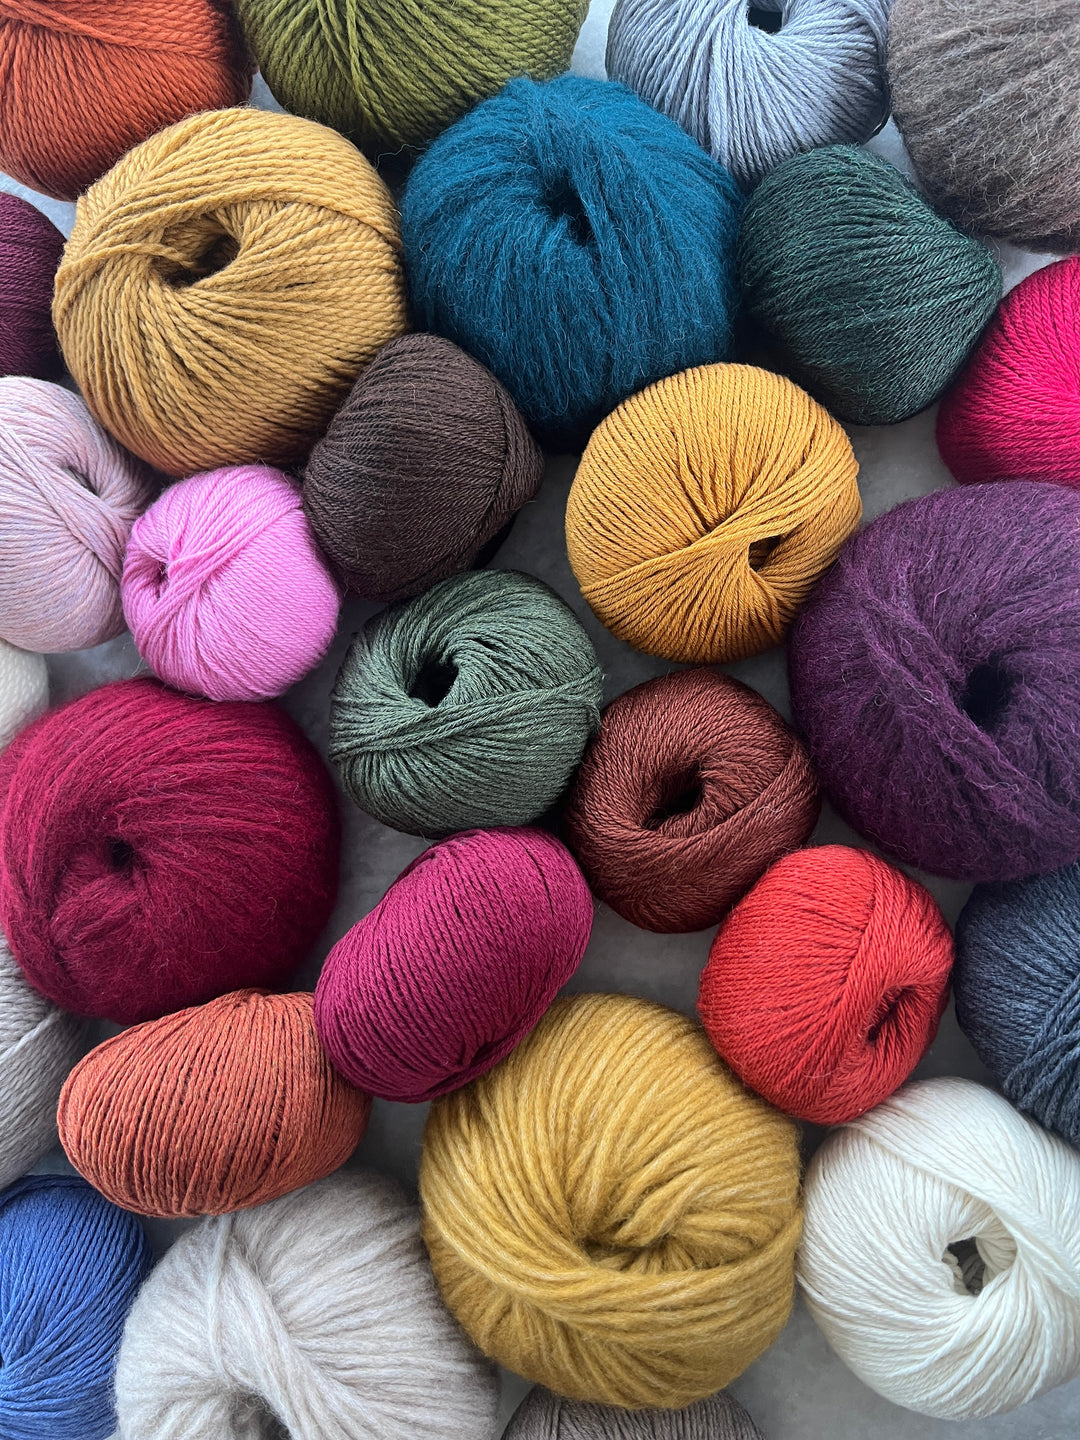
4 skeins / 876 yards Lion Brand Rewind Yarn (shown in Willow)
Size US L-11 (8.0 mm) crochet hook
Tapestry Needle to weave in ends
Notes
This tote is worked by holding two strands of Rewind yarn. You will construct three pieces: two sides, and a bottom. The pieces will be seamed together using mattress stitch.
The chain 1 turning chain in this pattern will not be considered the first stitch of the row.

Finished Dimensions
This pattern is written in one size and will create a tote that is 15” wide, 6” deep, and 13” tall.
Gauge
8 sts and 8 rows = 4” in half double crochet with yarn held double
Abbreviations
This pattern is written using U.S. English Terminology
[ ] = work instructions within brackets as directed.
* = repeat the instructions following the single asterisk as directed
BLO = back loop only
CH = chain stitch
HDC = half double crochet
RD = round
RS = right side
SC = single crochet
SLST = slip stitch
SLSTBLO = slip stitch back loop only
ST = stitch
STS = stitches
WS = wrong side

Cove Tote Crochet Pattern
Holding two strands of yarn, Ch 60. Careful not to twist this ch, slip stitch with first stitch to join. This will create a circle.
Round 1: slst in each ch around, slstblo with 1st st to join.
2: place your hook all the way under the cord you created in row 1 and pull up a loop, SC. SC around the cord in this way 80 times total. Slst with 1st st to join, ch1.
Row 3: in 2nd ch from hook, *HDC into both loops of each of the next 13 sts, [HDC, ch2, HDC] into the next st. Rep from * once more, HDC 13, ch1, turn. This is now the beg/end of each row.
NOTE: Each of the ch2 spaces will be one corner. You will increase to shape the bag by working [HDC, ch2, HDC] in each of these corner spaces.
Row 4: in 2nd ch from hook, HDC, *HDC in each st to corner, [HDC, ch2, HDC]. Rep from * once more, HDC to end of row.
Rep row 4 twelve more times. You will have 14 eyelets created from the increases total.
On the final row, do not ch1 and turn. Cut yarn leaving a tail to weave in and pull through the final st to secure.
Repeat once more for the opposite side.
Bottom of Bag:
Holding 2 strands of yarn, ch 32.
Row 1: in second ch from hook, HDC, HDC in each ch st across this row. Ch1 and turn. (31 sts).
Repeat this row 11 more times (12 rows total). On the final row, do not ch1 and turn. Cut yarn leaving a tail to weave in and pull through the final st to secure.
Finishing:
The main pieces of this bag will wrap around the bottom piece at the short edge to create a three dimensional bag. The outer edges of each main piece will be joined to the adjacent main of the bag.
Assemble the bag by working a mattress stitch to join all pieces together. Beginning at the bottom corner of one of the side pieces, seam one of each of the first 6 chains to 6 rows along the short edge of the bottom piece. Continue on along the long edge of the bottom piece seaming one chain on the bottom piece with once chain on the bottom of the bag piece. Finish by seaming the final 6 sts of the bag piece to the 6 rows on the short edge of the bottom piece. Repeat once more from this point for the second bag piece. Once each bag piece is fully connected to the bottom, seam the side pieces of the bag together to close.
For help with seaming, check out the tutorial video on my YouTube channel.
Weave in all ends to secure.
Steam block if desired.
Enjoy!


