Granny Square Cardigan Crochet Pattern
Introducing: The Granny Square Cardigan -- free crochet pattern
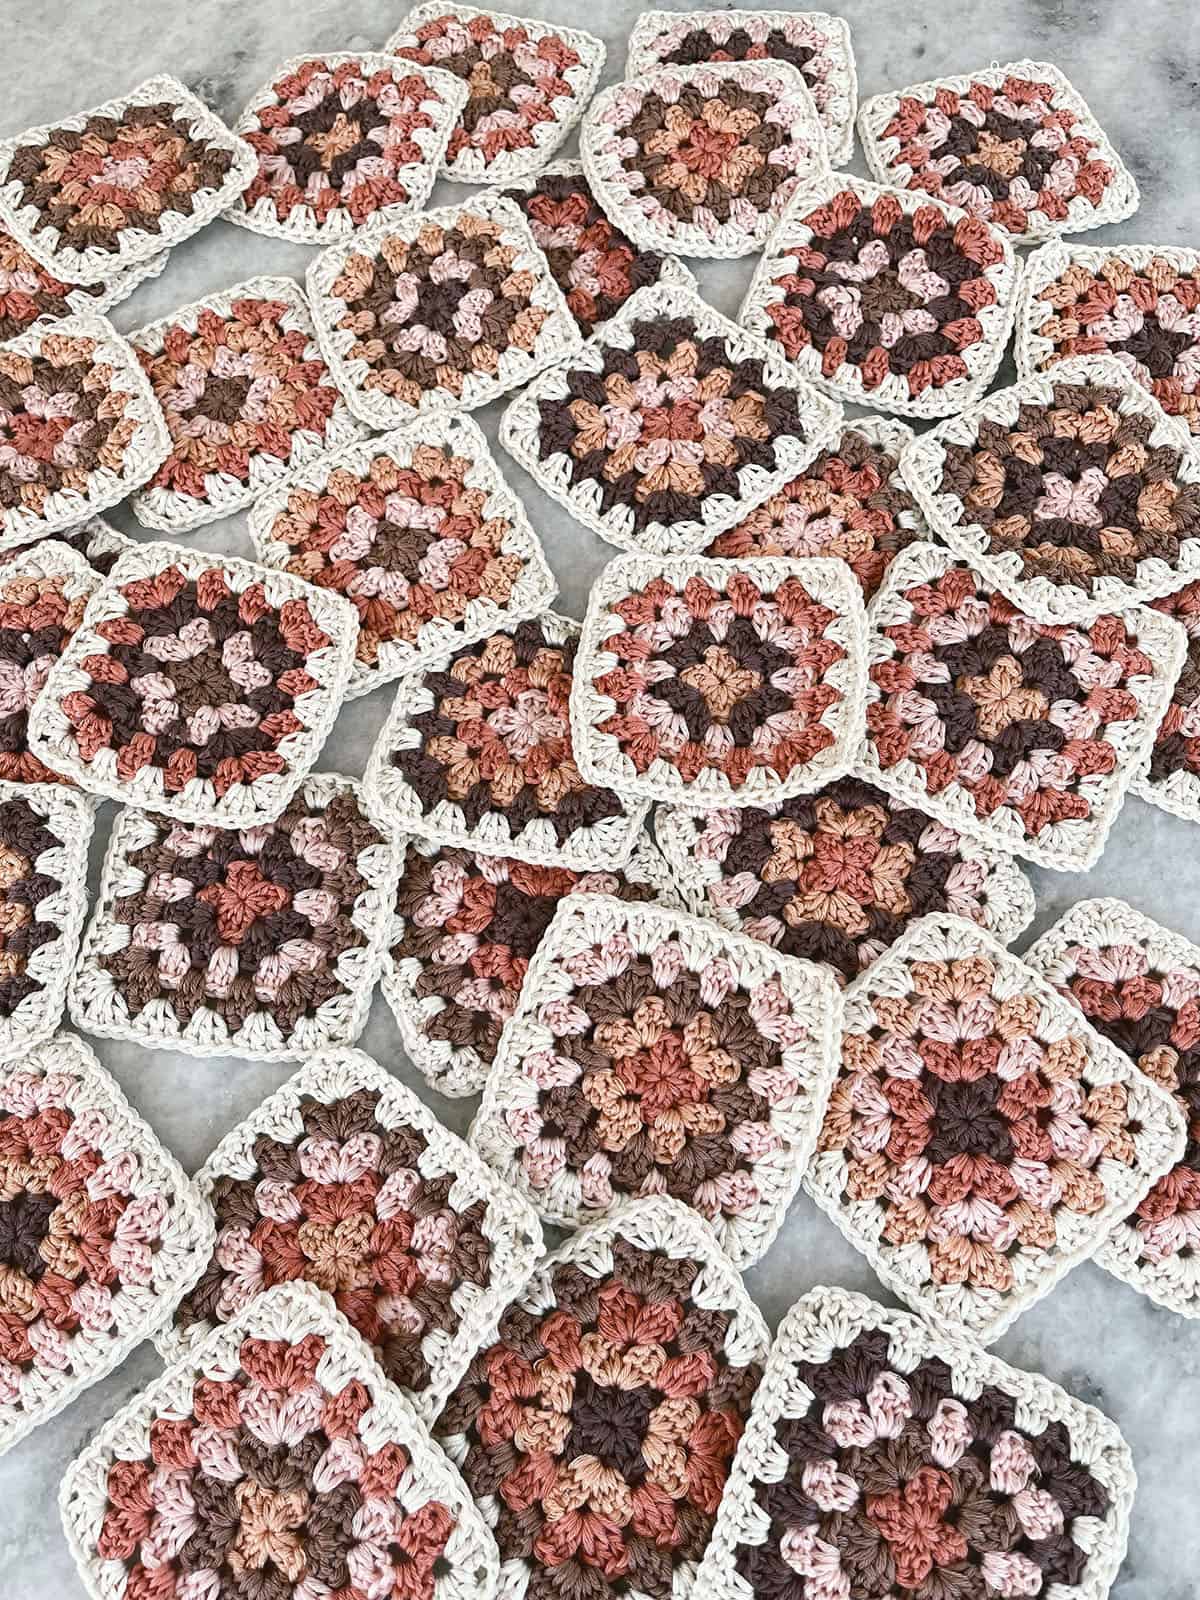
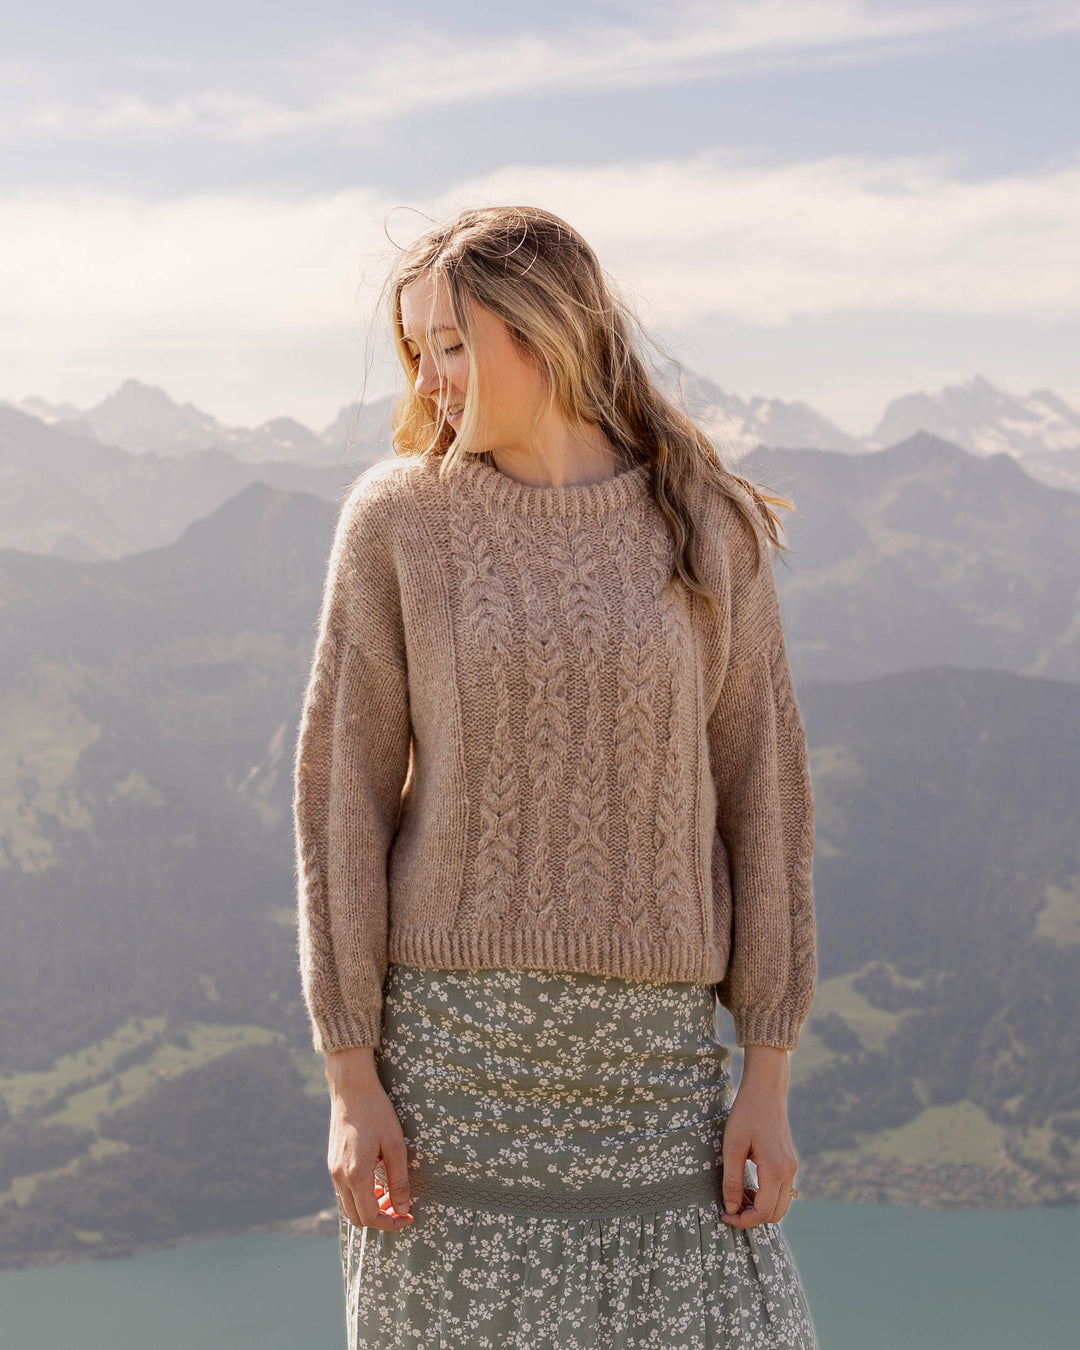
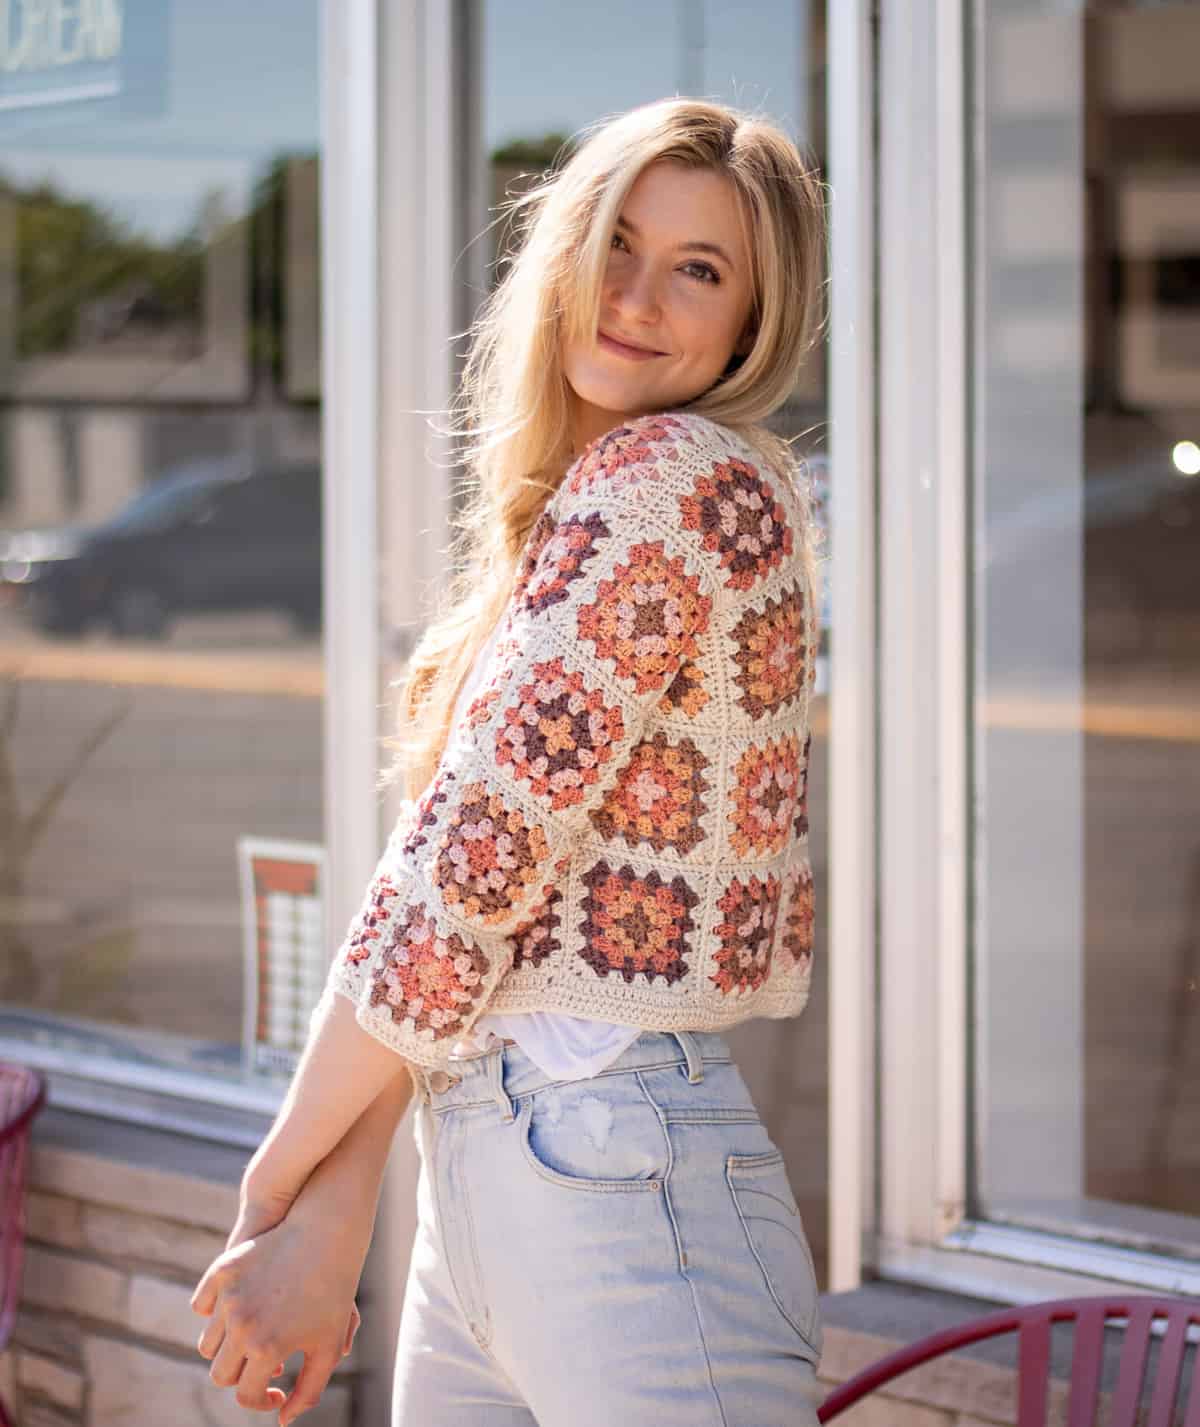
This modernized version of a classic granny square cardigan features a cropped silhouette, dropped shoulders, and unique gusset style construction that allows for a great fit! Choose a couple colors or many, this cardigan is a beautiful statement piece for your warm weather wardrobe!

Scroll down to access the free pattern, find the granny square video tutorial, or continue reading to learn a bit about the design and some pointers to help you out!
Granny Square Cardigan Crochet Pattern
© ORIGINALLY LOVELY 2021
This pattern and photographs of this garment are property of Kaitlin Barthold of Originally Lovely. This pattern, photos, and design are subject to copyright and are for personal use only. All commercial use is strictly prohibited. You may not reproduce or distribute this pattern under any circumstances.
Skill Level
Easy +
Materials
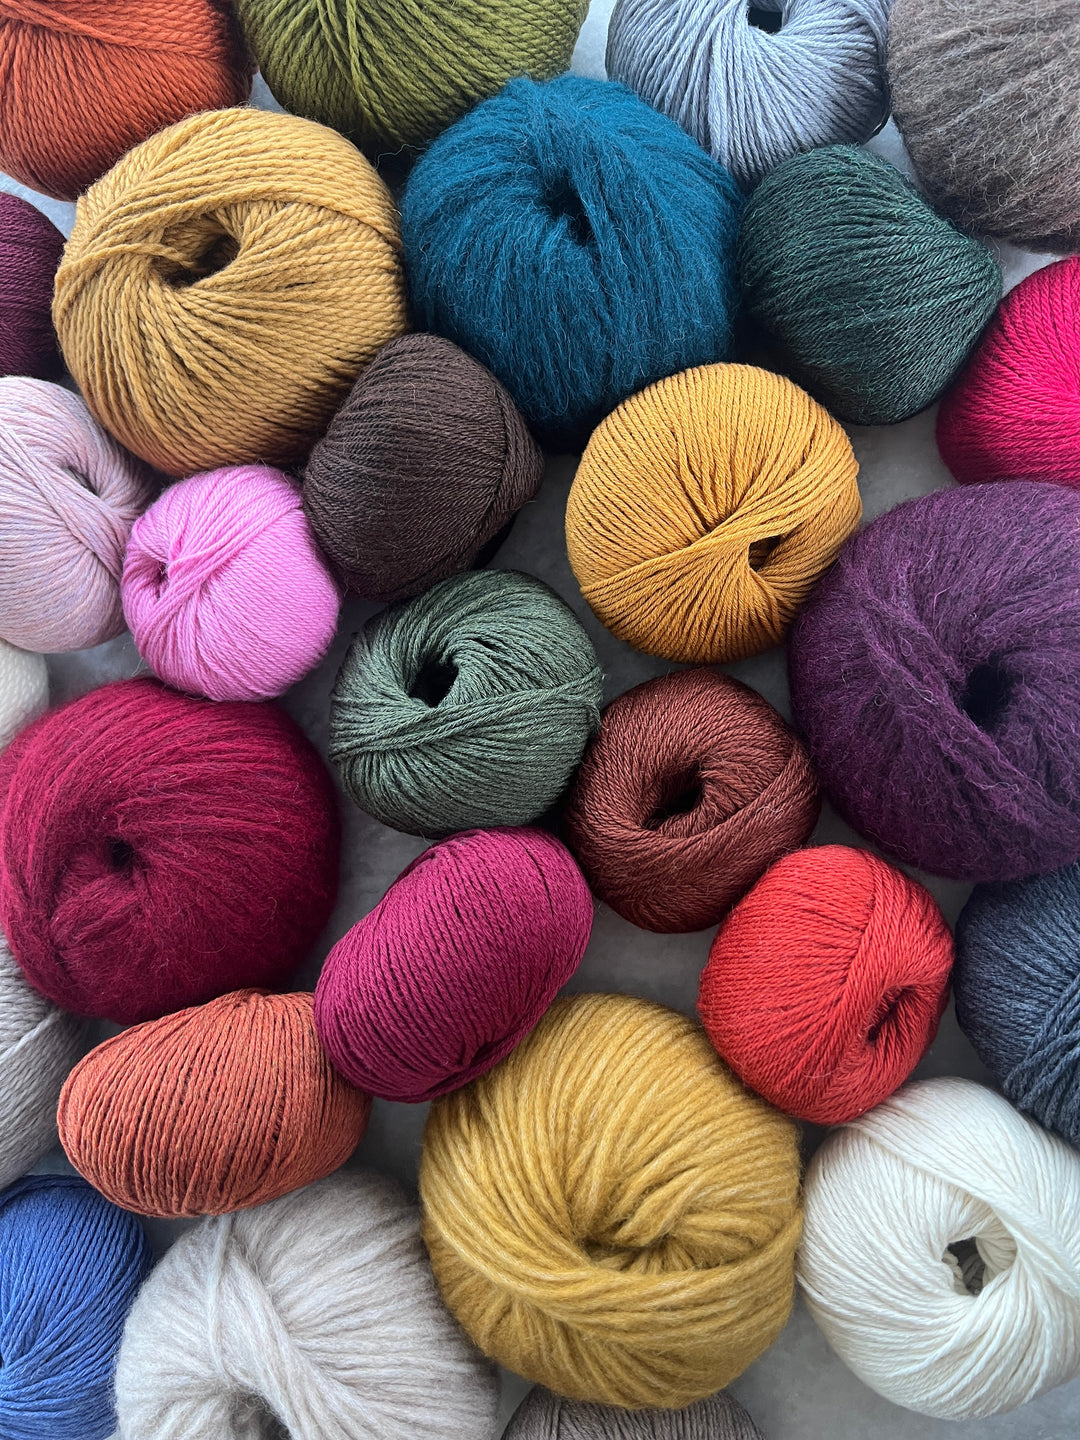
9, (14, 16, 18) skeins / 1413, (2198, 2512, 2826) yards Lion Brand Nuboo Yarn:
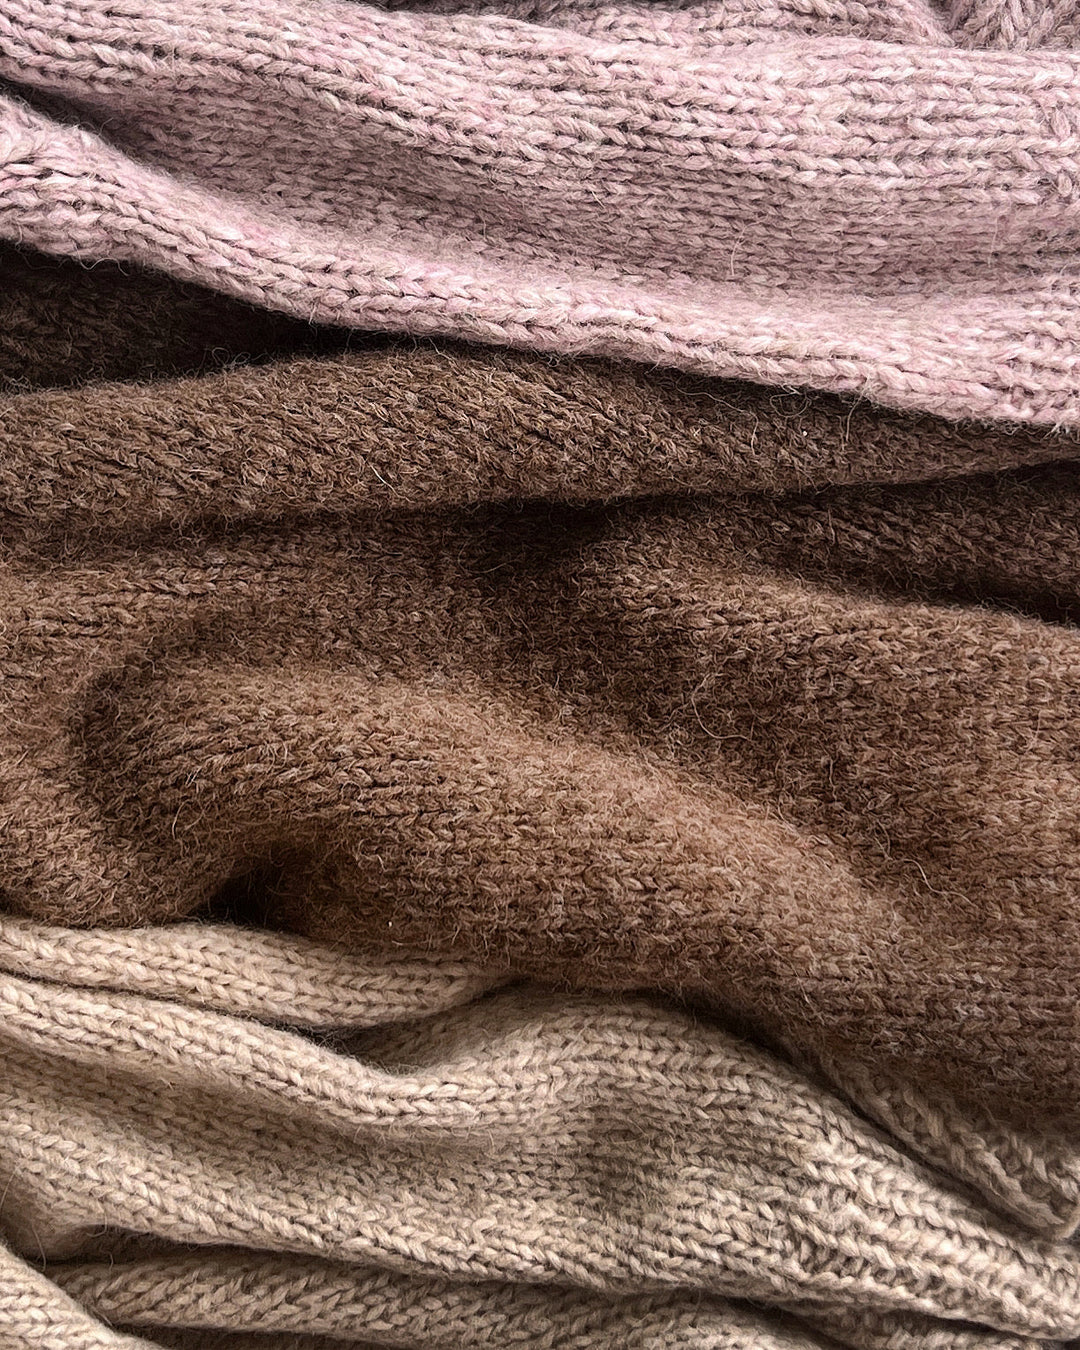
- 3, (5, 6, 7) skeins Main Color (shown in White)
- 2, (2, 2, 3) skeins accent color 1 (shown in Blush)
- 1, (2, 2, 3) skeins accent color 2 (shown in Peach)
- 1, (2, 2, 3) skeins accent color 3 (shown in Mocha)
- 1, (2, 2, 2) skeins accent color 4 (shown in Walnut)
- 1, (1, 2, 2) skeins accent color 5 (shown in Salmon)
Size US 7 (4.5 mm) crochet hook
Tapestry Needle to weave in ends
Notes:
This cardigan is shaped by working 4” x 4” granny squares and seaming them together.
- Because you are changing colors after each round, this project will create lots of ends. It is highly recommended to weave in your ends as you work. Tying knots instead of weaving in ends is not recommended.
- Portions of this pattern are written in crochet shorthand. This means that if you see 3DC, you will work 3 DC stitches into the same st and 2DC means 2 DC sts in to the same st.
- Unless otherwise noted, the starting/turning chains in this pattern will count as the first stitch.
- This cardigan is created using 5 coordinating accent colors and a main color. There is no order to which accent color to use next, work each square randomly in a color pattern that looks good to you, careful not to use two similar colors right next to eachother (in my case, Walnut and Mocha looked similar so I made sure they were not worked consecutively). Also, be sure not to use too much of one color as you may run out of that color sooner, try to use them equally.
- Granny squares are created by working granny stitch in rounds, increasing at the corners to create a square. There are many techniques to create granny squares. The technique we will be using in this pattern will be to turn at the end of each row to prevent the squares from twisting. For a full video tutorial on making these squares, visit https://www.youtube.com/originallylovely
Finished Dimensions:
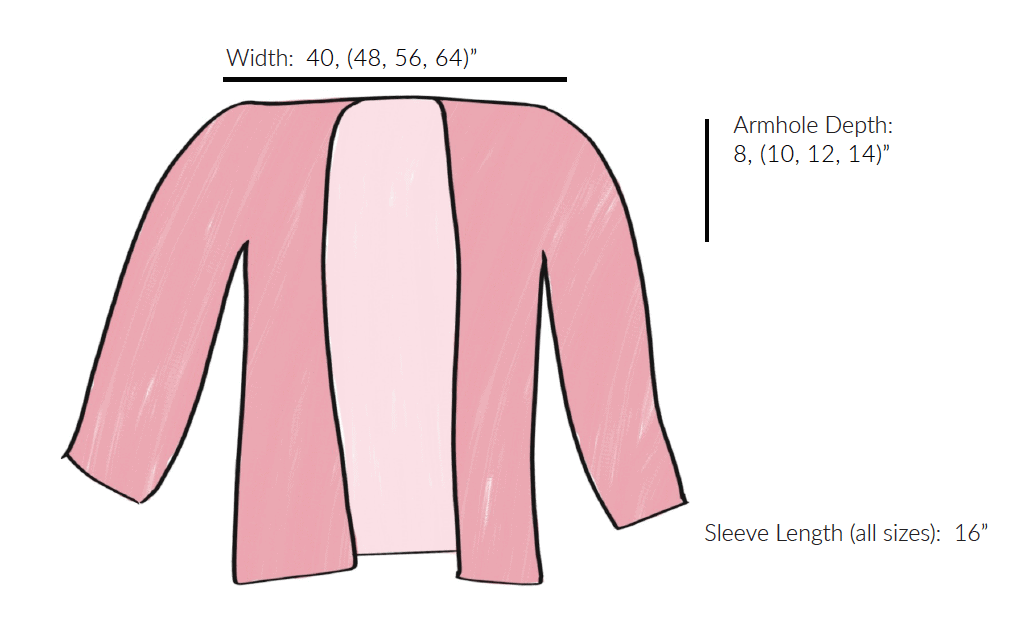
| XS/S | M/L | XL/2X | 3X/4X | |
| Bust | 40 | 48 | 56 | 64 |
| Finished Width | 20 | 24 | 28 | 32 |
| Finished Length | 20 | 22 | 24 | 26 |
Pattern is written for smallest size with changes for larger sizes in parenthesis. When only one number is given, it applies to all sizes. To keep track of your size, you may highlight or circle all numbers for your chosen size before you begin.
Help Choosing Size
This top is designed to be worn with 0-6” of positive ease at the bust. Model is 6’ tall, has a 33” bust, and is wearing a size small with 3” of positive ease. For best fit, choose a size that is 0-6” larger than your corresponding bust measurement.
Gauge
15 sts and 10 rows = 4” in granny stitch
NOTE: This means each granny square should measure 4" by 4". If you are substituting different yarn, be sure to check gauge so that your finished cardigan fits properly!
Abbreviations
This pattern is written using U.S. English Terminology
[ ] = work instructions within brackets as directed
( ) = work instructions within parentheses as directed
Ch = chain stitch
DC = double crochet
MC = main color
MR = magic ring
Rd = round
SC = single crochet
SLST = slipped stitch
Sp = space
St = stitch
Sts = stitches
Rd= round
Granny Square Cardigan Crochet Pattern
To begin, you will crochet your granny squares. You will create 54, (78, 96, 125) granny squares.
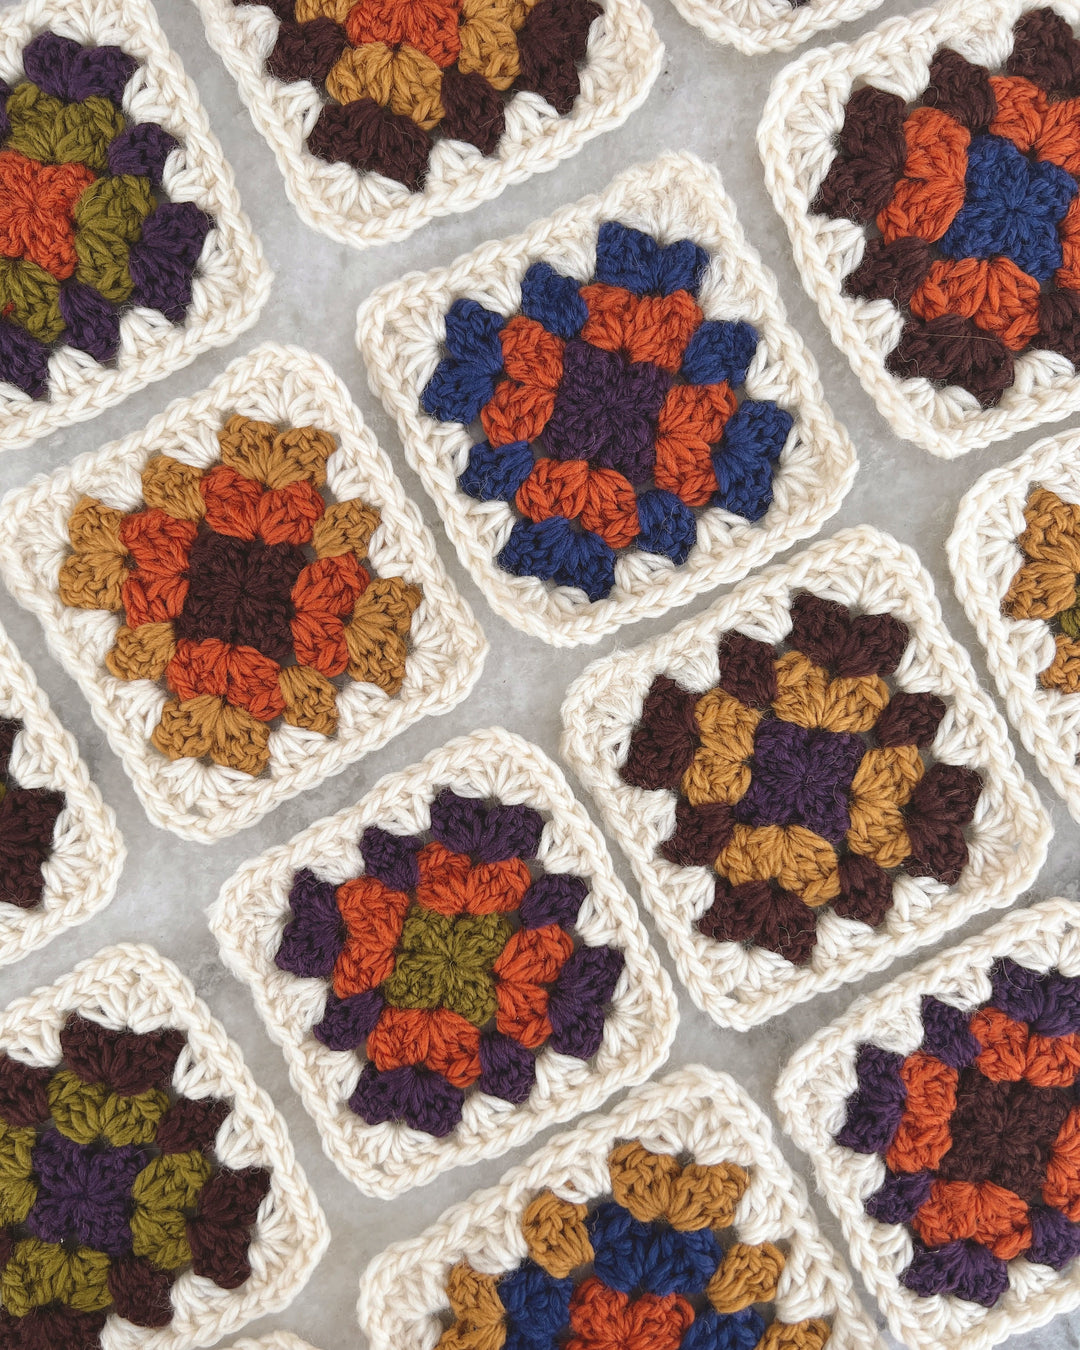
Granny Square Instructions:
This video tutorial will help you construct the granny squares. Scroll down for the written instructions.
Round 1: [ch2, 2DC, ch1, (3DC, c h1) 3x] in MR, with new yarn color, join with a slst in the 2nd ch of the starting ch2, turn.
2: Slst into ch1 gap sp directly below, ch2, 2DC into same ch1 gap sp, [(3DC, ch1, 3DC) in to next gap sp] 3x, (3DC, ch1) into beginning ch1 gap sp once more, with new color yarn, slst in the 2nd ch of the starting ch2 to join, turn.
You should now be able to see your granny square starting to form. Each ch1 sp is a corner of the square where you will increase each round. In each round, you will be working into the gap sp between the 3DC clusters.
3: Slst into ch1 gap sp directly below, ch2, 2DC into same ch1 gap sp, [3DC in next gap sp, (3DC, ch1, 3DC) in corner gap sp] 3x, (3DC, ch1) into beginning ch1 gap sp once more, with new color yarn, slst in the 2nd ch of the starting ch2 to join, turn.
4: Slst into ch1 gap sp directly below, ch2, 2DC into same ch1 gap sp, [3DC in each gap sp to corner, (3DC, ch1, 3DC) in corner gap sp] 3x, (3DC, ch1) into beginning ch1 gap sp once more, with main color yarn, slst in the 2nd ch of the starting ch2 to join, turn.
Note: On the next round, the final round of the granny square, you will work a ch2 at each corner instead of a ch1.
5: Slst into ch1 gap sp directly below, ch2, 2DC into same ch1 gap sp, [3DC in each gap sp to corner, (3DC, ch2, 3DC) in corner gap sp] 3x, (3DC, ch2) into beginning ch1 gap sp once more, slst in the 2nd ch of the starting ch2 to join. Cut yarn leaving a tail to weave in and pull through to secure. Weave in all ends.
Repeat rounds 1-5 to construct granny squares until you have completed 54, (78, 96, 125) squares.
Cardigan Assembly
Granny squares will be joined using a flat slipped stitch join technique. Be sure that you are not working the slipped stitches too tight. If you find that the seams are too tight, you may increase your hook size. For help understanding a flat slipped stitch join, check out this tutorial.
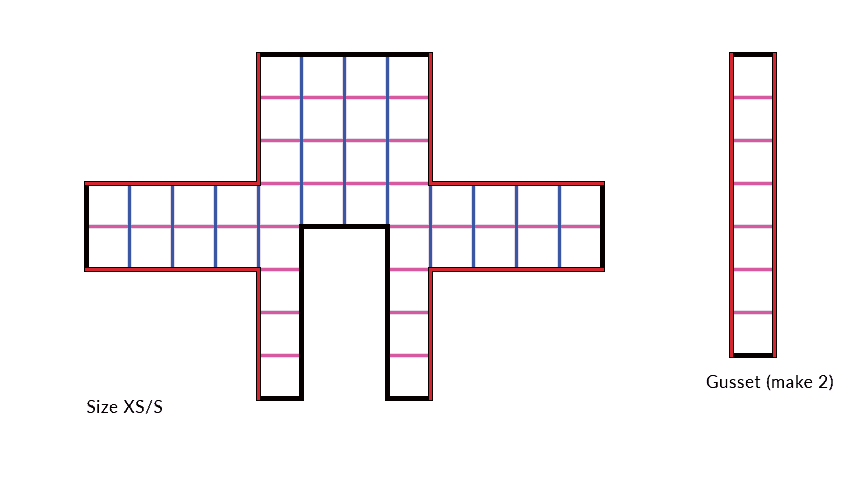
You will begin assembling your cardigan flat by working all vertical seams, and then all horizontal seams. You will also seam together two gussets. Then, you will assemble the body by adding the gusset along the sides.
Assemble squares following the diagram below for your chosen size:
1. Using MC, begin by seaming your cardigan by working all vertical seams (seams shown in blue)
2. Work all horizontal seams (shown in pink). Be sure to assemble two gussets.
3. At this point, it is best to block your cardigan while laying flat. Either steam or wet block.
4. Fold the cardigan over and seam a gusset along either side of the body (shown in red)
5. Weave in all ends and begin working border rows
Border:
You will now work a border around the neckline and bottom hem of the cardigan. Border will be worked flat in rows. You will work around the front and neckline first and then turn to work along the bottom edge.
Row 1: Using MC yarn and beginning at bottom corner of cardigan opening, DC into corner gap sp, 3DC into each gap sp until just before the corner at back of neckline, 3DC into the middle of the 3 gap sp at corner, 3DC into each gap sp until the opposite corner, 3DC into the middle of the 3 gap sp at corner, 3DC down opposite side until last gap sp, DC into final gap sp, ch2, turn.
2: DC into 1st gap sp, 3DC into each gap sp up around and down cardigan opening to opposite edge, DC into final gap sp, ch1, turn.
3: in 2nd ch from hook, SC. SC in to both loops of each st around cardigan opening. When you have worked the final st, ch2 and turn the cardigan to begin working across the bottom.
4: DC into the side of the SC just worked for the border, 2DC into both of the DC rows worked along border, DC into both loops of each st across bottom of cardigan to opposite border, 2DC into both of the DC rows at border, DC into the SC at border. Ch2, turn to work back across this row.
5: in 4th ch from hook DC, DC across, ch1, turn.
6: in 3rd ch from hook SC, SC across. Cut yarn leaving a tail to weave in and pull through to secure.
Weave in all ends.
Sleeve Cuffs:
1: Beginning at underside of sleeve, 3DC into the first gap sp, 3DC into each gap sp around sleeve opening, slst with 1st DC to join, ch1.
2: in 3rd ch from hook, SC, SC in to each st around opening, slst to join. Cut yarn leaving a tail to weave in and pull through all sts to secure. Weave in ends.
Repeat for second sleeve.