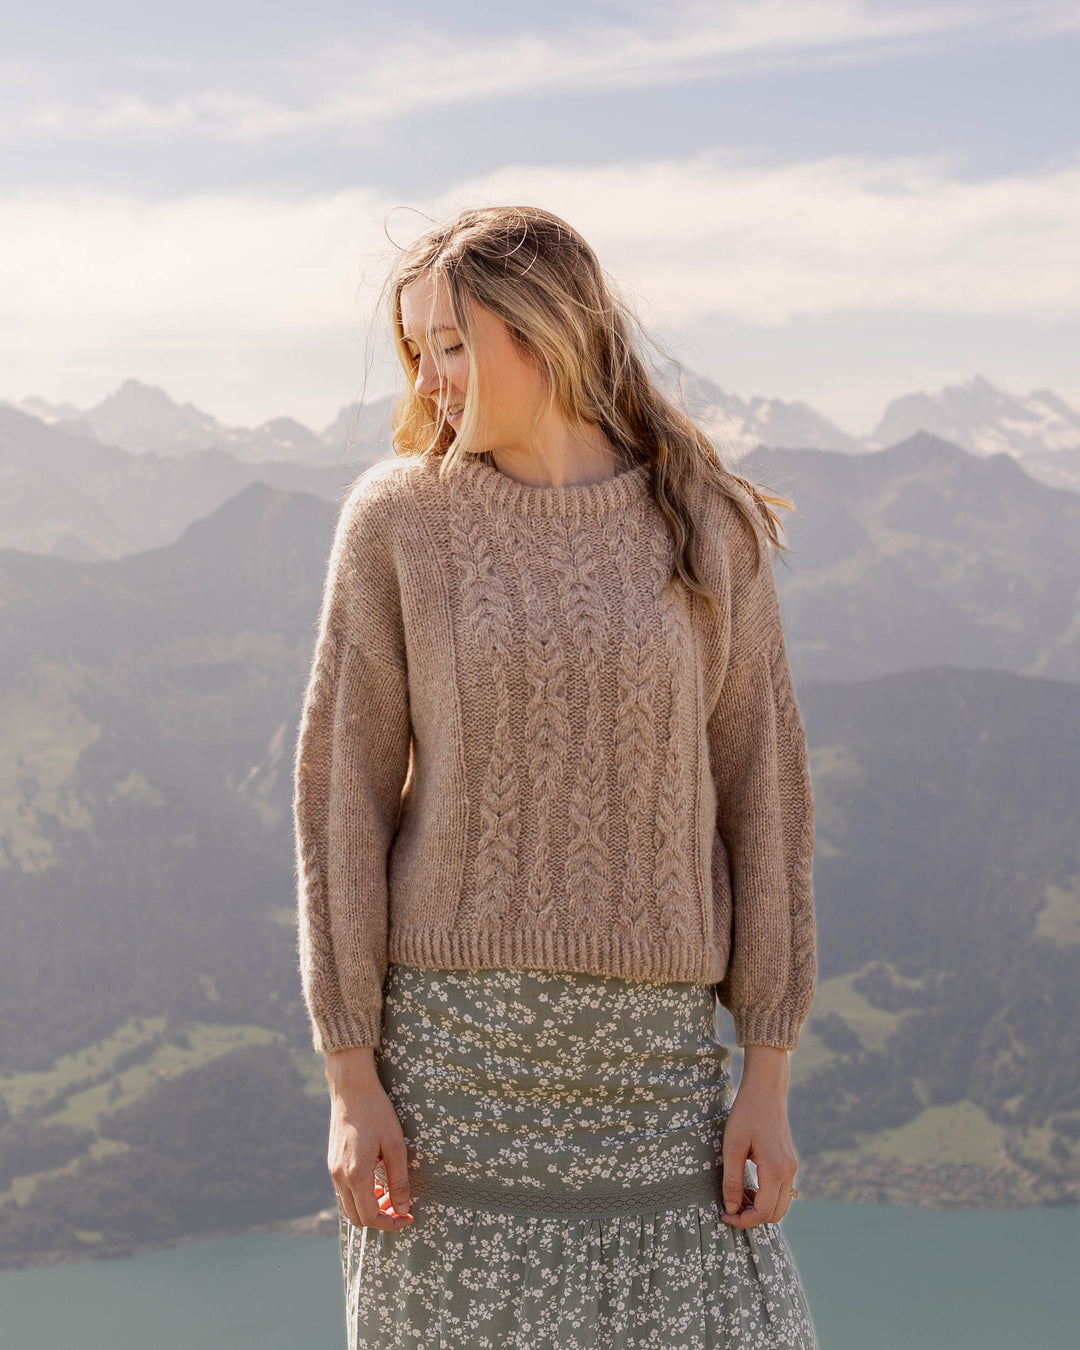
Herringbone Knit Scarf
Knitting Pattern and Tutorial
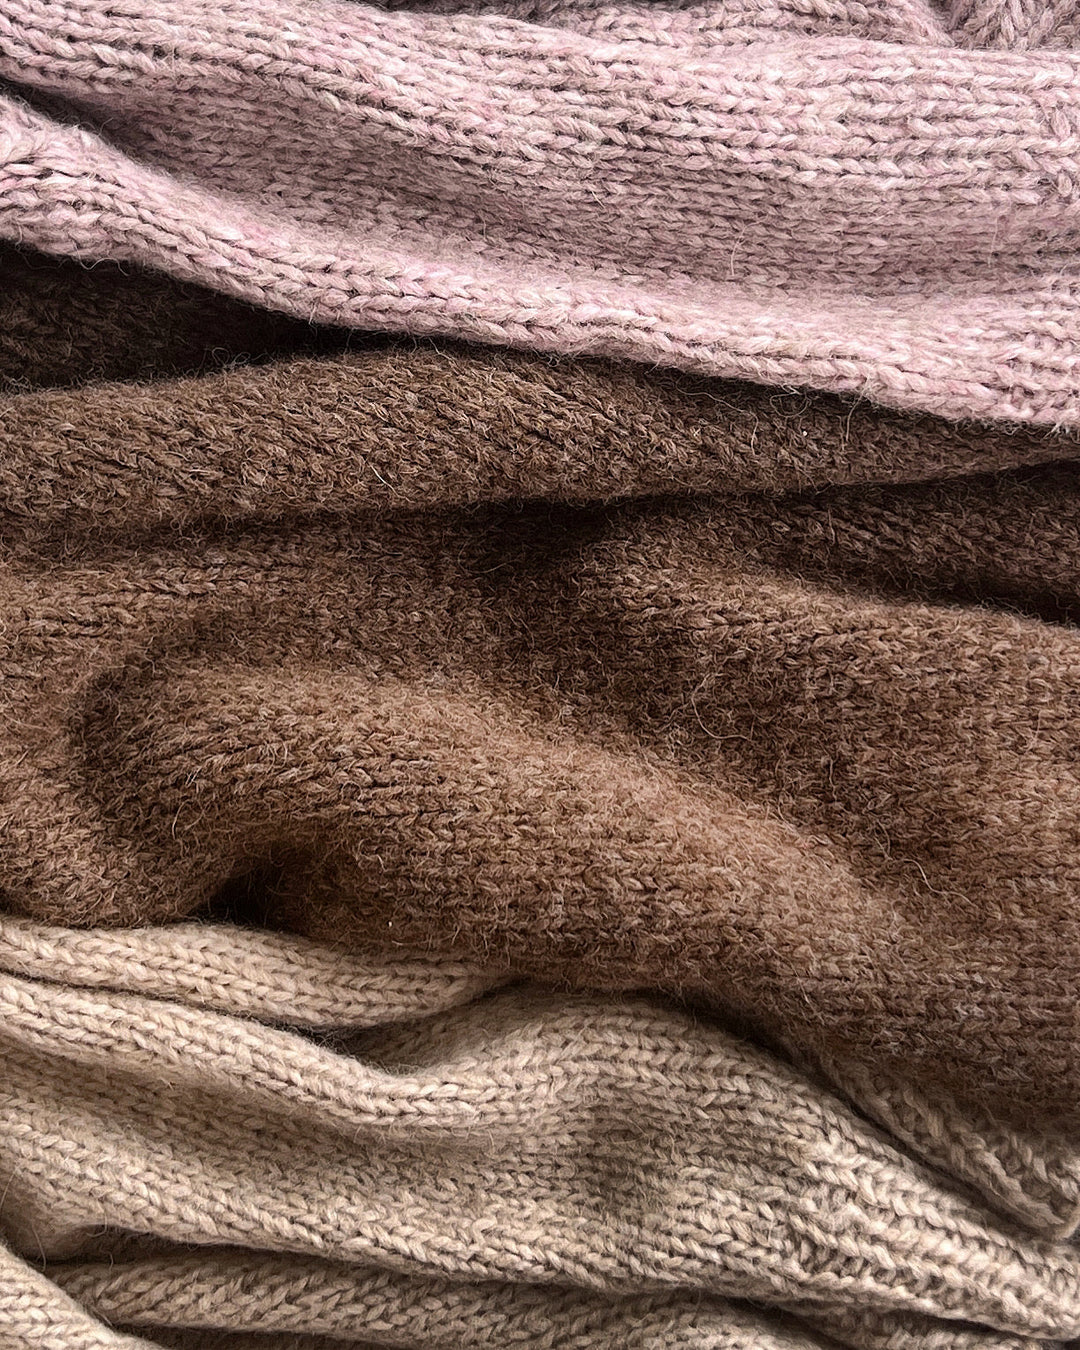
Herringbone is such a beautiful, classic stitch that is often overlooked in knitting. It can be knit up quite fast on larger needles and makes a dense, fluffy fabric that looks absolutely gorgeous. Today, I'll show you how to make your own Herringbone Knit Scarf!
This pattern is easily adjustable to be made using any yarn and needles, you may just need to do a bit of experimenting to get your gauge and size to work how you want. I think the best scarves are around 70" long and have a thickness between 6-10" with the larger width creating more of a statement scarf.
Herringbone Stitch Tutorial:
To learn how to make this stitch, follow the photo tutorial below. This tutorial is important -- it shows you how to get that perfect selvedge!

Herringbone Knit Scarf Pattern
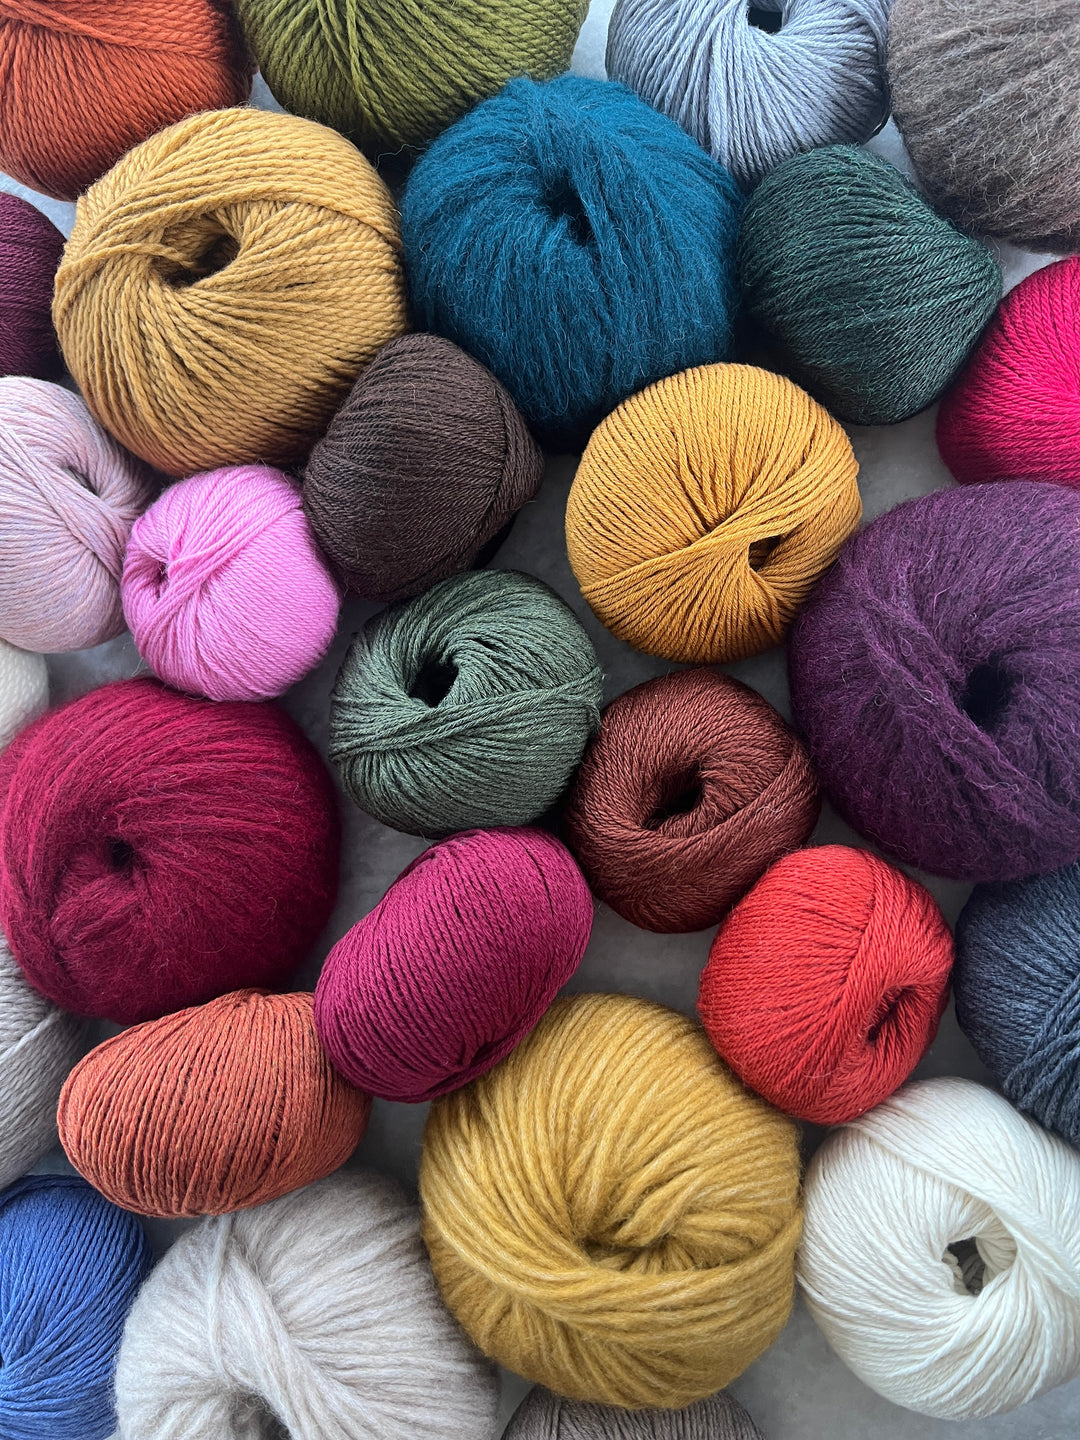
Materials:
Size US 13 knitting needles needles
350-400 yards worsted weight yarn of your choice
Crochet hook (optional, for fringe)
Accent yarn for fringe (optional)
Tapestry needle to weave in ends
Gauge
About 12 stitches = 2” in herringbone stitch
Notes
For this project, the pattern will be mostly be worked straight in herringbone stitch with a selvedge edge. For help with herringbone stitch, view tutorial above.
Knitting Pattern
Cast on 35 stitches using long tail cast on.
Note: If you do not plan on adding fringe, skip rows 1-2 and begin working herringbone stitch, starting with a right-side row.
Row 1: Knit.
2: Purl
Work in Herringbone Knit stitch as shown above until scarf measures 70" or to desired length. Finish with a wrong-side row.
If you are planning to add fringe, knit one more row.
Bind off.
Finishing
Weave in all ends to finish. Block by soaking in warm water and lay flat to dry. Add fringe between every other stitch if desired. Enjoy!