How to Add Stripes to Your Knitting
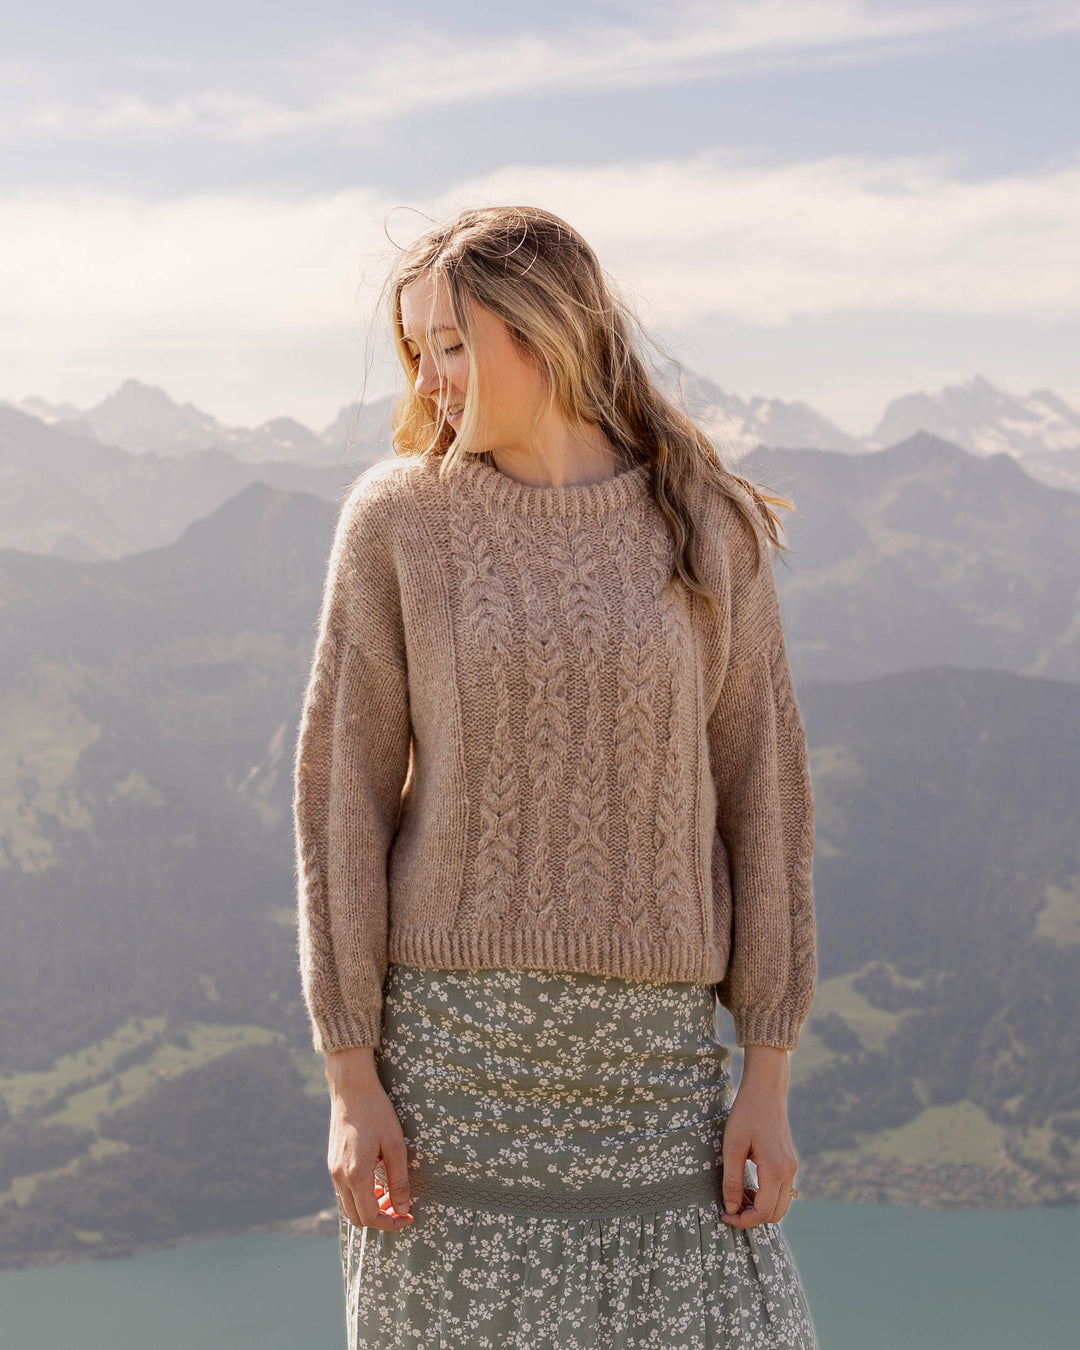
As shown in my Rainbow Stripe Sweater knitting pattern
Hello Knitters! I am going to show you how to add stripes to your knitting. This technique is used in my Rainbow Stripe Sweater knitting pattern and could be added to a variety of projects!
To begin, you will need to work little columns of garter stitch. You can add these to anything that you knit! If you look at the images, the sweater is worked in stockinette stitch with little garter stitch ridges down in a column. To help you visualize, the entire sweater is stockinette, and the columns where the stripes will go alternate between a knit and a purl stitch, creating a garter stitch column.
You will work each stripe using a crochet hook and working a slipped stitch. You will use the purl bumps in the columns of garter stitch on the sleeves as your guide for adding these stripes. Remember to work these stitches loosely, or your sleeve may tighten up.
I found that it was best to use a crochet hook almost twice the size of the needle used. For example, this sweater was worked using size US 8 (5.0 mm) needles, so I used an L (8.0 mm) crochet hook. If your stripes are too tight, increase your crochet hook size.
Step 1
Begin at the neckline (or where you want the stripe to begin on whatever you're making). Insert your crochet hook into the stitch between the first purl bump and the neckband ribbing.

Step 2
Hook the yarn for the stripe and pull through to create a loop.

Step 3
Insert your hook in the space between the next two purl bumps.

Step 4
Pull up a loop as done in step 2. You will have 2 loops on your hook.

Step 5
Pull this second loop through the first loop so that you have one stitch on your hook. You have completed your first slip stitch!

Step 6
Once more, insert your hook in the space between the next two purl bumps as done in step 3.

Step 7
Pull up a loop (2 loops on hook).

Step 8
Pull this second loop through the first loop.

Repeat steps 6-8 until you have worked down the length of the sleeve. Stop once you reach the ribbing. On your last slip stitch, cut your yarn leaving a tail and pull it all the way through to secure. Weave in ends.
Enjoy!