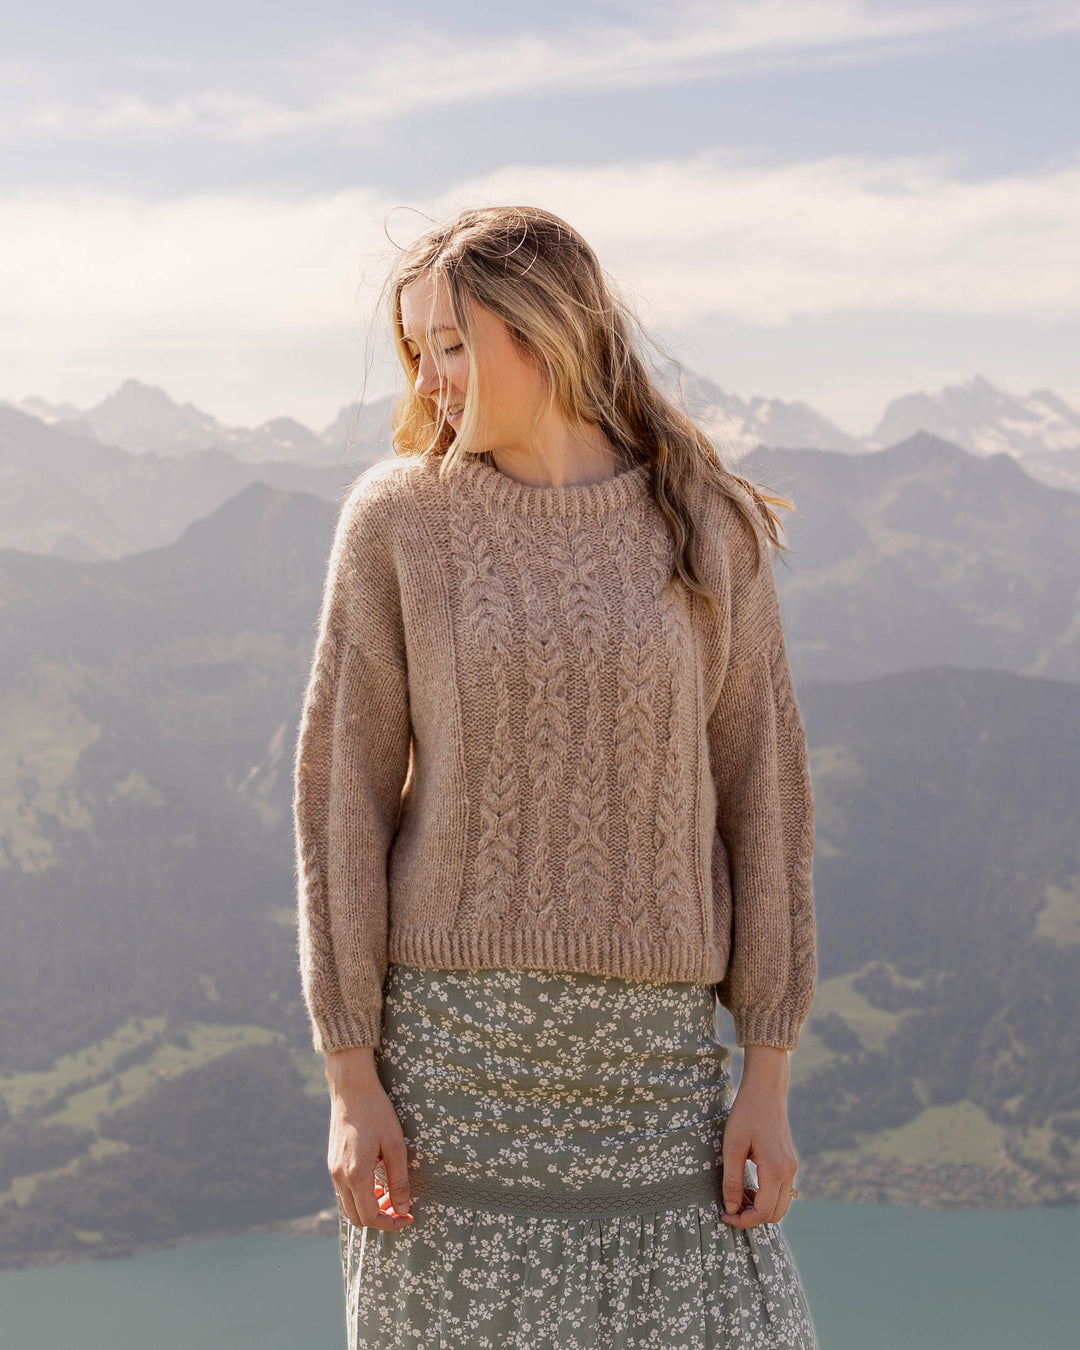
Swirled Sprinkles Hat Knitting Pattern


Hand knit hats are my absolute favorite! They are so easy to make and when you find a pattern that you love they are so much better than store bought hats. Today, I am sharing the pattern for this Swirled Sprinkles Hat!
PATTERN
CLICK HERE to get the ad-free, printable pattern PDF
Materials
- Size US 7 (4.5 mm) 16” circular knitting needle
- Size US 8 (5.0 mm) 16” circular knitting needle
- Size US 8 (5.0 mm) double pointed knitting needles
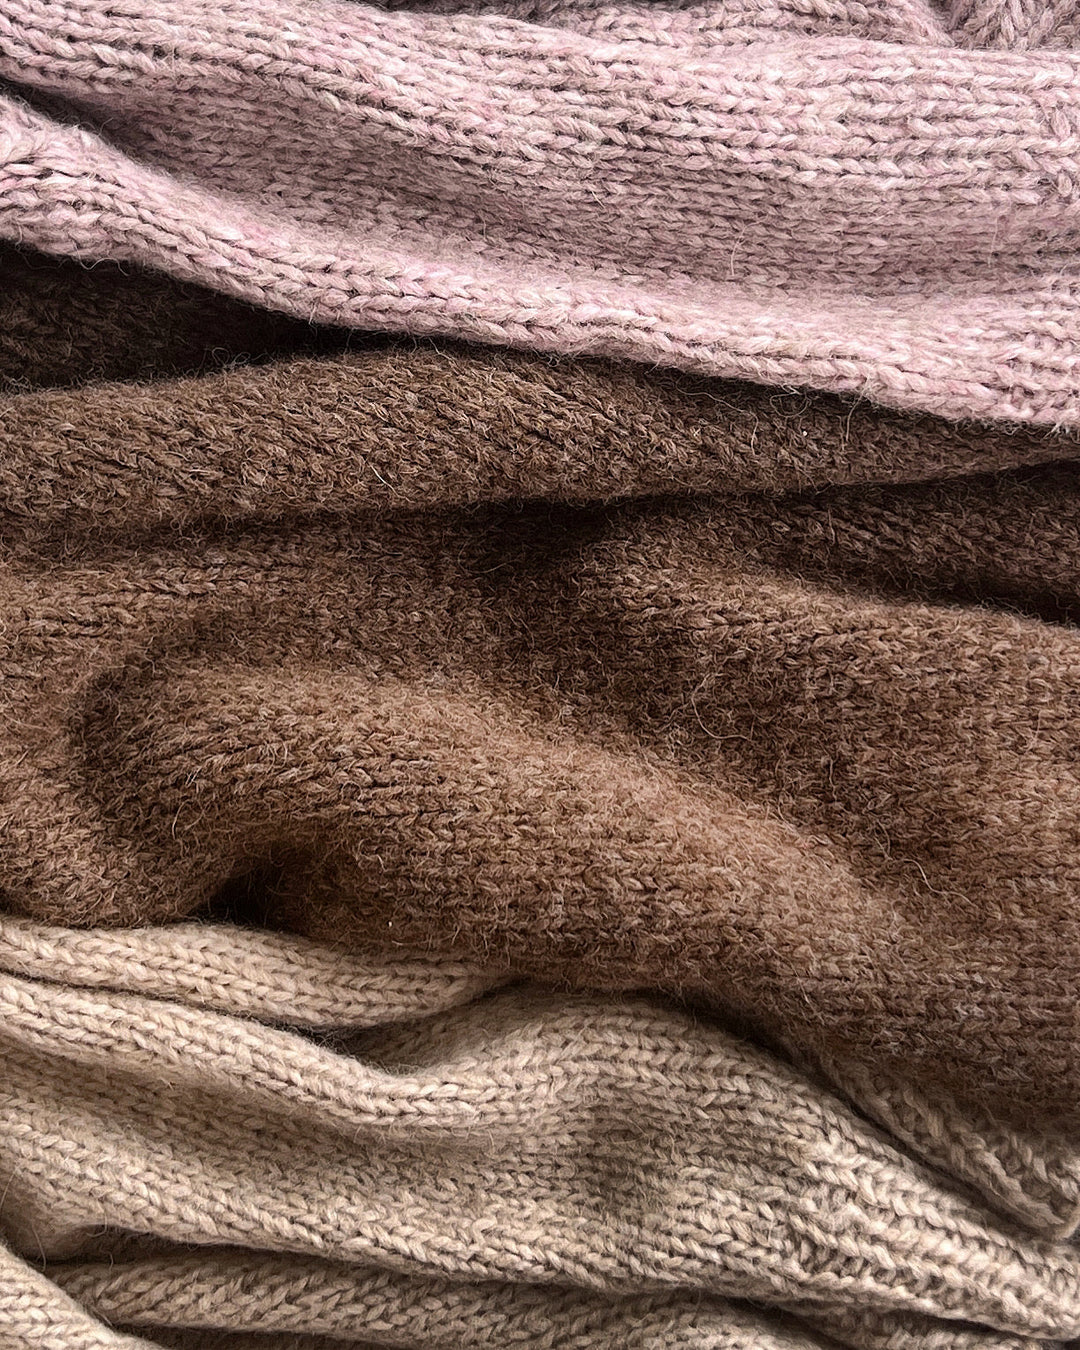
- 200g/220yd (2 skeins) Baby Alpaca Grande Hand Dye by Plymouth Yarn in color #145
Gauge
14 stitches = 4” in stockinette stitch on size US 8 needles
Abbreviations
k2tog: Knit 2 together.
sl2wyif: Move the working yarn to the front of the work, slip the next two stitches purl-wise, return the working
yarn to the back of the work to continue knitting.
sl1wyif: Move the working yarn to the front of the work, slip the next stitch purl-wise, return the working yarn to the back of the work to continue knitting.
Notes
This pattern will be worked in the round. The cuff will be worked on size 7 needles, while the body will be worked on size 8 needles. Crown decreases will be worked on double point needles.
PATTERN
Cast on 84 stitches on size 7 needles.
Join to work in round. Work k1, p1 rib stitch until piece measures 5” from cast-on edge.
On the next round, switch to size 8 circular needles.
BODY: *k3, sl2wyif. Repeat from * until piece measures 10“ from cast on edge ending with k3. Place marker to denote beginning/end of each round for crown decreases.
CROWN DECREASES
1: sl2wyif, k2tog, *k1, sl2wyif, k2tog. Repeat from * to end of round.
2: k1, sl2wyif, *k2, sl2wyif. Repeat from * to end of round.
3: k2, *sl2wyif, k2. Repeat from * to last stitch, sl2wyif with 1st stitch of next round. .
4: k2, *sl2wyif, k2. Repeat from * to end of round.
5: sl2wyif, *k2, sl2wyif. Repeat from * to last stitch, k1.
6-9: Repeat rows 2-5.
10-11: Repeat rows 2-3.
12: k2tog, *sl2wyif, k2tog. Repeat from * to end of round.
13: sl2wyif, *k1, sl2wyif. Repeat from * to end of round.
14: k1, *sl2wyif, k1. Repeat from * to last stitch, sl2wyif with 1st stitch of next round.
15: k1, *sl2wyif, k1. Repeat from * to end of round.
16-17: As 13-14.
18: *k2tog, sl1wyif. Repeat from * to last stitch, k2tog with 1st stitch of next round.
19: *sl1wyif, k1. Repeat from * to end of round.
20: k2tog to last st, k1.
FINISHING
Cut yarn leaving a 10” tail. Thread through remaining stitches twice and pull tight to cinch closed. Tie off and weave in all ends. Attach pom-pom if desired.
CLICK HERE to get the ad-free, printable pattern PDF
I hope you enjoy this pattern!