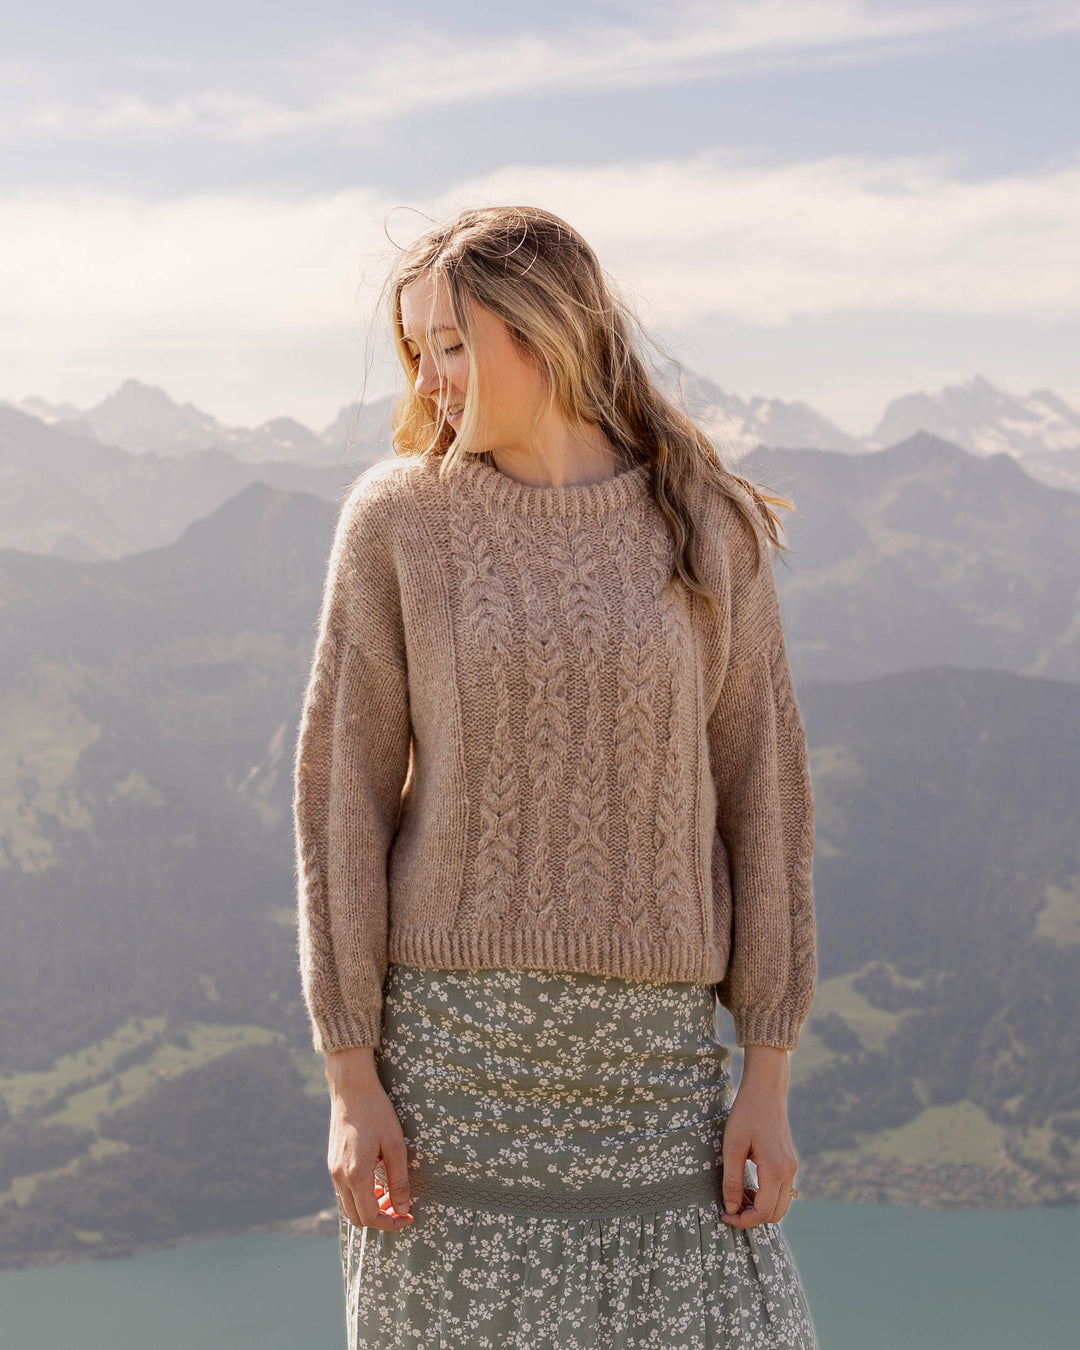
Pocket Coatigan Knitting Pattern
Introducing - the Pocket Coatigan Knitting Pattern

PATTERN
CLICK HERE to get the ad-free, printable pattern PDF
This flattering pocket coat-style cardigan is worked from the bottom, up. Arms and body are initially worked separately and then joined to form the shoulders.
Skill Level: Intermediate
Materials Used:
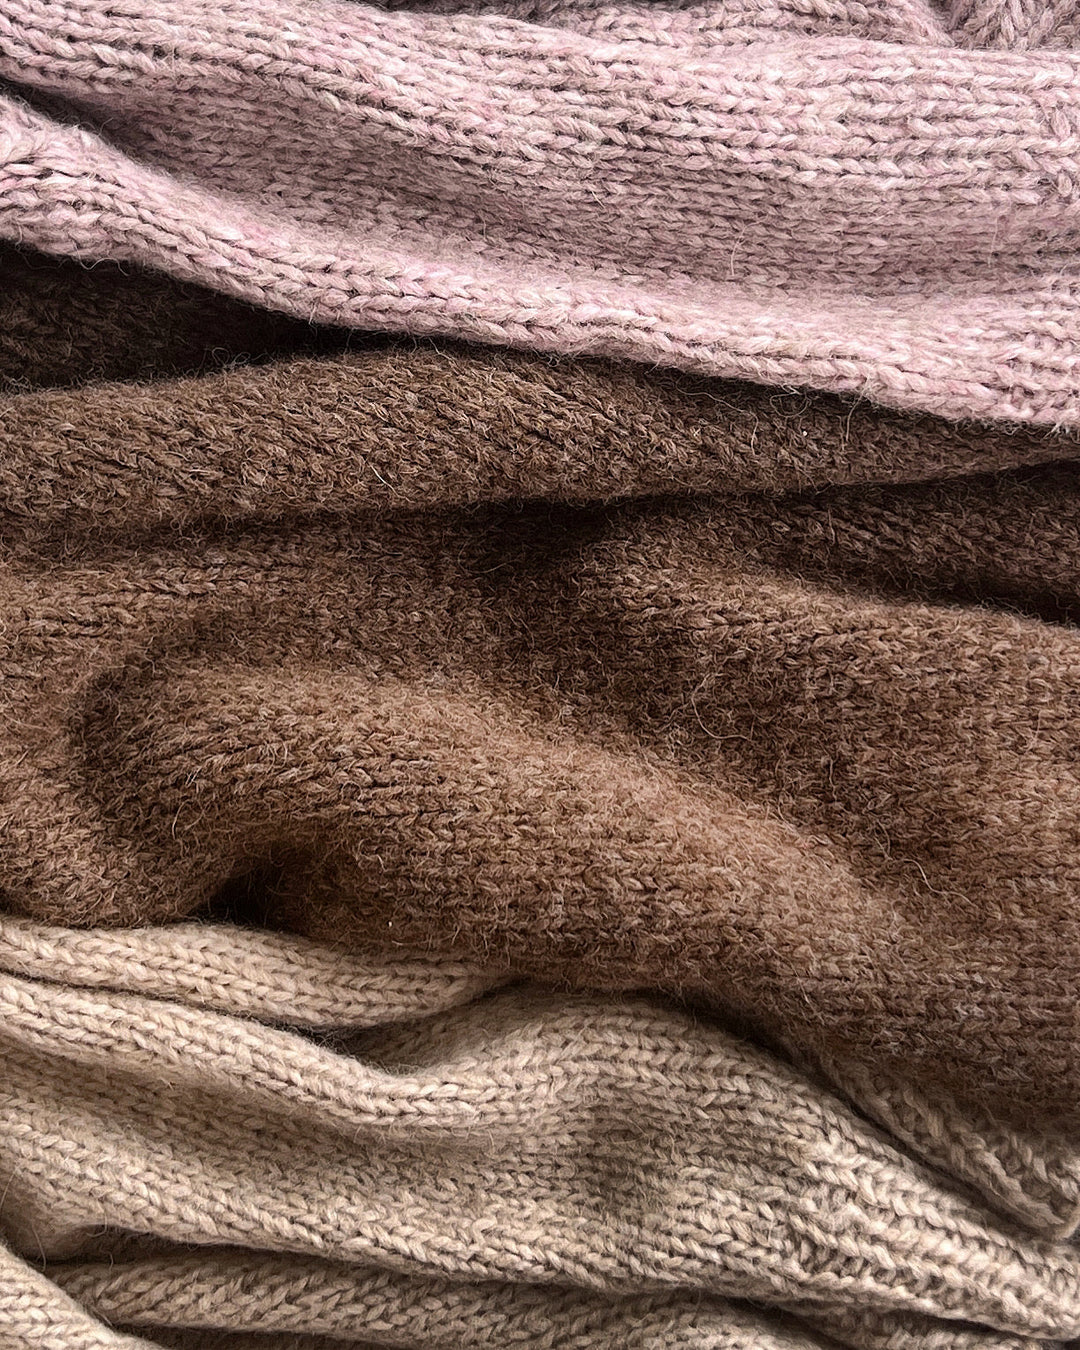
- 7, (8, 9, 10, 11) skeins/ [840, (960, 1080, 1200, 1320) yards] – Buttercream Angel Hair Yarn from Joann Fabrics (Shown in color Black and White)
- Size US 10.5 (6.5 mm) 36” (or longer) circular knitting needle.
- Size US 10.5 (6.5 mm) double pointed needles or circular needle for magic loop technique.
- Size US 11 (8.0 mm) 36” (or longer) circular knitting needle.
- 4 Stitch Markers
- Tapestry needle
Gauge:
13 stitches and 18 rows = 4 inches in stockinette stitch
Sizes:
Note: Pattern is written for smallest size with changes for larger sizes in parentheses. When only one number is given, it applies to all sizes.
Finished Measurements:
S, (M, L, XL, 2X)
Finished Body Circumference: 38, (42, 46, 50, 55)”
Finished Length armhole to cast off edge: 21, (21.5, 22, 22, 22)”
Finished Sleeve Length (with a 2“ cuff): 19, (20.25, 21.25, 21.25, 21.25)”
Notes:
This pattern will be worked seamlessly from the bottom, up. First, the body and sleeves will be worked separately. Then, you will join the sleeves and body to work the shoulders. Sleeves will be worked in the round so use either double pointed needles or a long circular needle for magic loop technique.
Abbreviations:
Beg = beginning
BO = bind off
CO = cast on
Cont = continue
Dec = decrease
K = knit
K2tog = knit 2 together
M1R = make one right. Pick up the bar between the stitch you just knit and the one you are about to knit with your left needle from back to front, knit through the front.
M1L = make one left. Pick up the bar between the stitch you just knit and the one you are about to knit with your left needle from front to back, knit through the back.
P = purl
P2tog = purl 2 together
P2tbl =purl 2 through the back loop. Slip next two stitches knit-wise one at a time. Slip the two slipped stitches back to the left needle purl-wise. Insert right needle from the back first through the second stitch and then through the first stitch. Bring the tip of the needle through the front and purl these stitches together.
PM = place marker
SM = slip marker
Ssk = slip slip knit
St st = stockinette stitch
PATTERN INSTRUCTIONS
With 36” size 10.5 needles, cast on 118, (130, 144, 156, 174) sts.
Row 1: sl1, k1, M1R, k to last 2 sts, M1L, k2.
2: sl1 p-wise, purl across.
Repeat rows 1-2 23, times and then row 1 once more. 168, (180, 194, 206, 224) sts total.
3: BO 25 sts in purl, purl across.
4: BO 25 sts in knit, knit across. [118, (130, 144, 156, 174) sts].
Continue in stockinette stitch until piece measures 21, (21.5, 22, 22, 22)” from cast on edge.
Set piece aside to begin working arms.
Right Arm:
Cast on 27, (29, 32, 37, 43) sts, join to work in round. PM to denote beginning/end of rounds.
1-4: knit.
5 and all inc. rows: k1, M1R, k to end of round.
Repeat rows 1-5 18, (19, 20, 20, 20) times, 46, (49, 53, 58, 64) sts total.
Next round: Bind off 3, (3, 3, 5, 5) sts, k to end of round. Slip sts onto stitch holder.
Left Arm:
Cast on 27, (29, 32, 37, 43) sts, join to work in round. PM to denote beginning/end of rounds.
1-4: knit.
5 and all inc. rows: k to last stitch, M1L, k1.
Repeat rows 1-5 18, (19, 20, 20, 20) times 46, (49, 53, 58, 64) sts total.
Next round: knit to last 3, (3, 3, 5, 5) sts, bind off last 3, (3, 3, 5, 5) sts. *Note: You will need to cast off last st with the first st of next round.
Shoulders and Neck:
Returning to body piece to join arms and body
Body Piece row 1: sl1, k31, (35, 34, 38, 42), BO 3, (3, 3, 5, 5) sts, k48, (52, 68, 68, 82), BO 3, (3, 3, 5, 5) sts, k32, (36, 35, 39, 43).
2: sl1, p to first BO st, PM, p sts for left arm, PM, p sts from body to next BO st, PM, p sts for right arm, PM, p remaining body sts. Body and arms are now joined together and will be worked as one piece.
3: sl1, knit across.
4: sl1 p-wise, purl across.
5-6: as 3-4.
7: sl1, k1, ssk, *k to 3 before M, k2tog, k1, SM, k1, ssk. Rep from * 3 more times, k to last 4 sts, k2tog, k2.
8: purl.
9: sl1, *k to 3 before M, k2tog, k1, SM, k1, ssk. Rep from * 3 more times, k to end of row.
10: purl.
Repeat rows 7-10 6, (6, 7, 7, 8) more times, 86, (104, 94, 112, 124) sts total.
11: as row 7.
12: sl1, *p to 3 before M, p2tbl, k1, SM, k1, p2tog. Rep from * 3 more times, p to end of row.
Repeat 11-12 1, (2, 1, 2, 2) more times. 50, (50, 58, 58, 70) sts total.
13 (size 2X only): as row 7.
Bind off.
Pockets:
Fold cast off edge of pocket up to match front of cardigan, seam.
Count 25 stitches over from the front inside edge of the cardigan, place a removable stitch marker into this row. Fold cast on edge of pocket up to lay flat on front of cardigan. Seam this side of the pocket into the 25th row of stitches as marked.
Neckline:
With size 11 needles, pick up sts into each selvage st along right front (including those seamed for the pocket), into each stitch at back of neck, and into each selvage sts down left front.
1: purl.
2: sl1, k1, ssk, k to last 4 sts, k2tog, k2.
Repeat 1-2 6 more times.
Bind off in purl.
Finishing:
Seam bottom of armhole opening closed, weave in all ends.
To block: Soak in warm water, gently towel off excess water and lay flat to dry.
Be sure to fold when not wearing. The weight of this sweater could pull down and stretch the shoulders if hung on a hanger.
Enjoy!