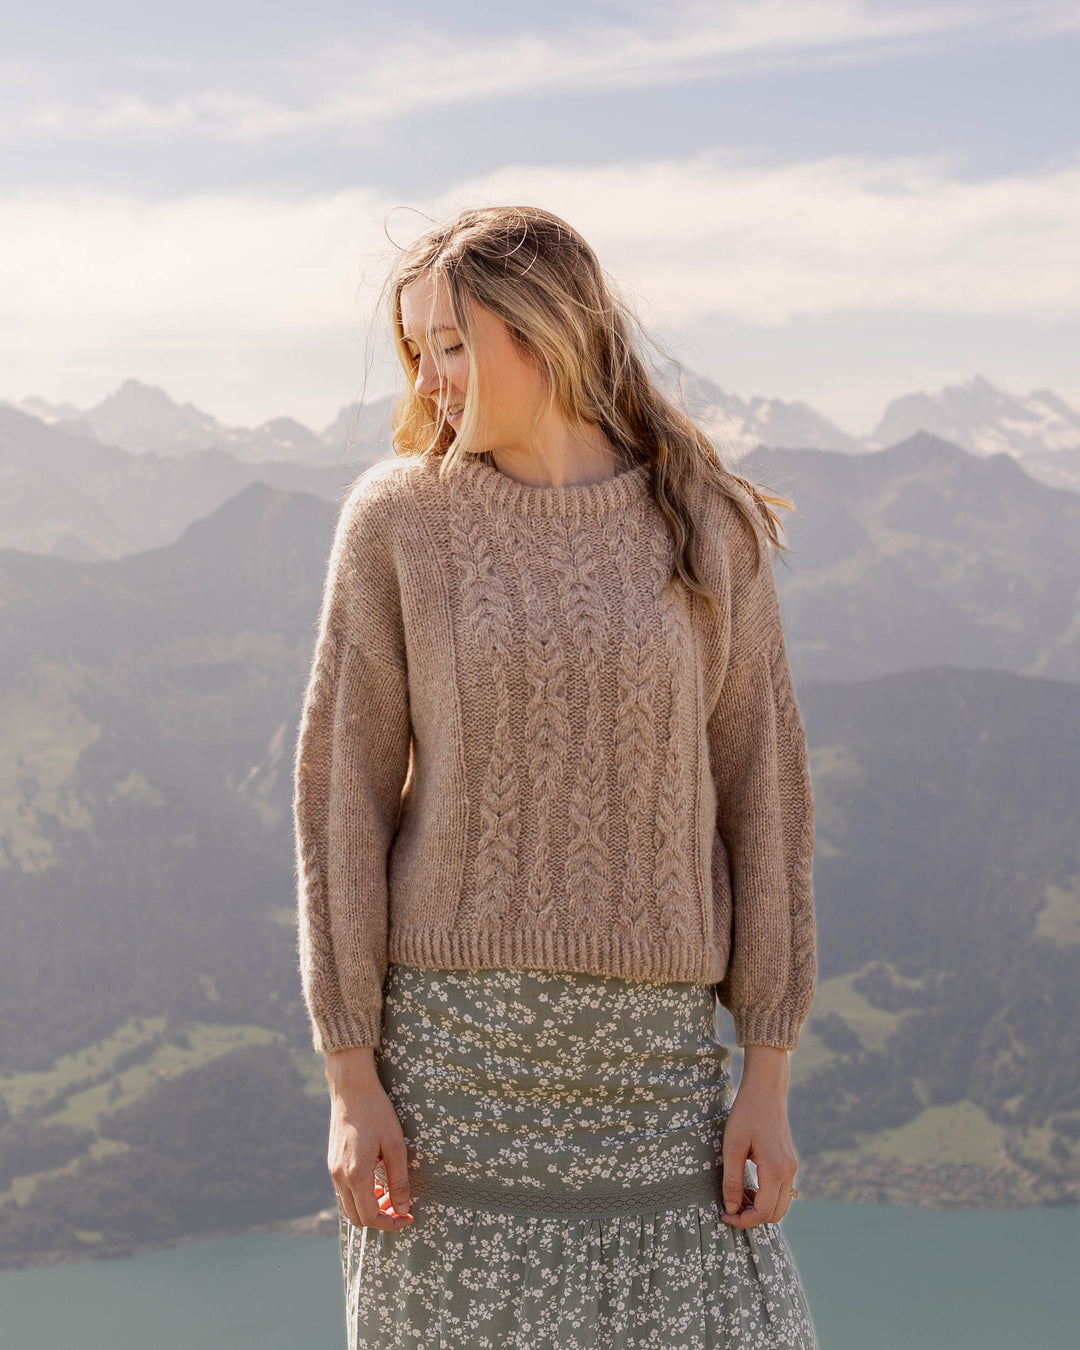
Sunday Morning Rib Stitch Sweater Knitting Pattern
Introducing: the Sunday Morning Rib Stitch Sweater -- Free Knitting Pattern
The Sunday Morning ribbed sweater is a top down, raglan style knitting pattern worked in 3 by 3 rib stitch. This knitting pattern is one of my absolute favorites -- I love the simplicity of both the style and pattern.

Scroll down to access the free knitting pattern or keep reading to learn a bit more about the design!
The Design
I've been planning on designing a rib stitch sweater knitting pattern for quite a while! I always love the look of rib sweaters. They are so timeless and cozy looking! Knitters know that rib stitch is actually super easy -- so that's a win win!
If you've never made a top down raglan sweater before, then get ready to be amazed. This sweater construction technique is so fun and enjoyable to knit. Basically, it is worked from the top down, in the round, with increases worked on either side of the 'raglans' to shape the body and the sleeves.
It is worked completely in one piece and in the round! This sweater construction is actually perfect for beginners who are ready for the jump into sweater knitting!
Sunday Morning Rib Stitch Sweater Knitting Pattern
© ORIGINALLY LOVELY 2021
This pattern and photographs of this garment are property of Kaitlin Barthold of Originally Lovely. This pattern, photos, and design are subject to copyright and are for personal use only. All commercial use is strictly prohibited. You may not reproduce or distribute this pattern under any circumstances.
The free version of this pattern must be accessed from the webpage.
To purchase an ad-free, printable PDF of the Sunday Morning Sweater on Ravelry, CLICK HERE
To purchase an ad-free, printable PDF of the Sunday Morning Sweater on Etsy, CLICK HERE
Skill Level
Intermediate
For this pattern, you will need to know how to knit, purl, work in the round, be familiar with different increases and decreases, and work the tubular bind off.
Although this is listed as an intermediate level knitting pattern, I do think that advanced beginners who are ready to dive into sweater construction will enjoy this pattern as well.
Materials
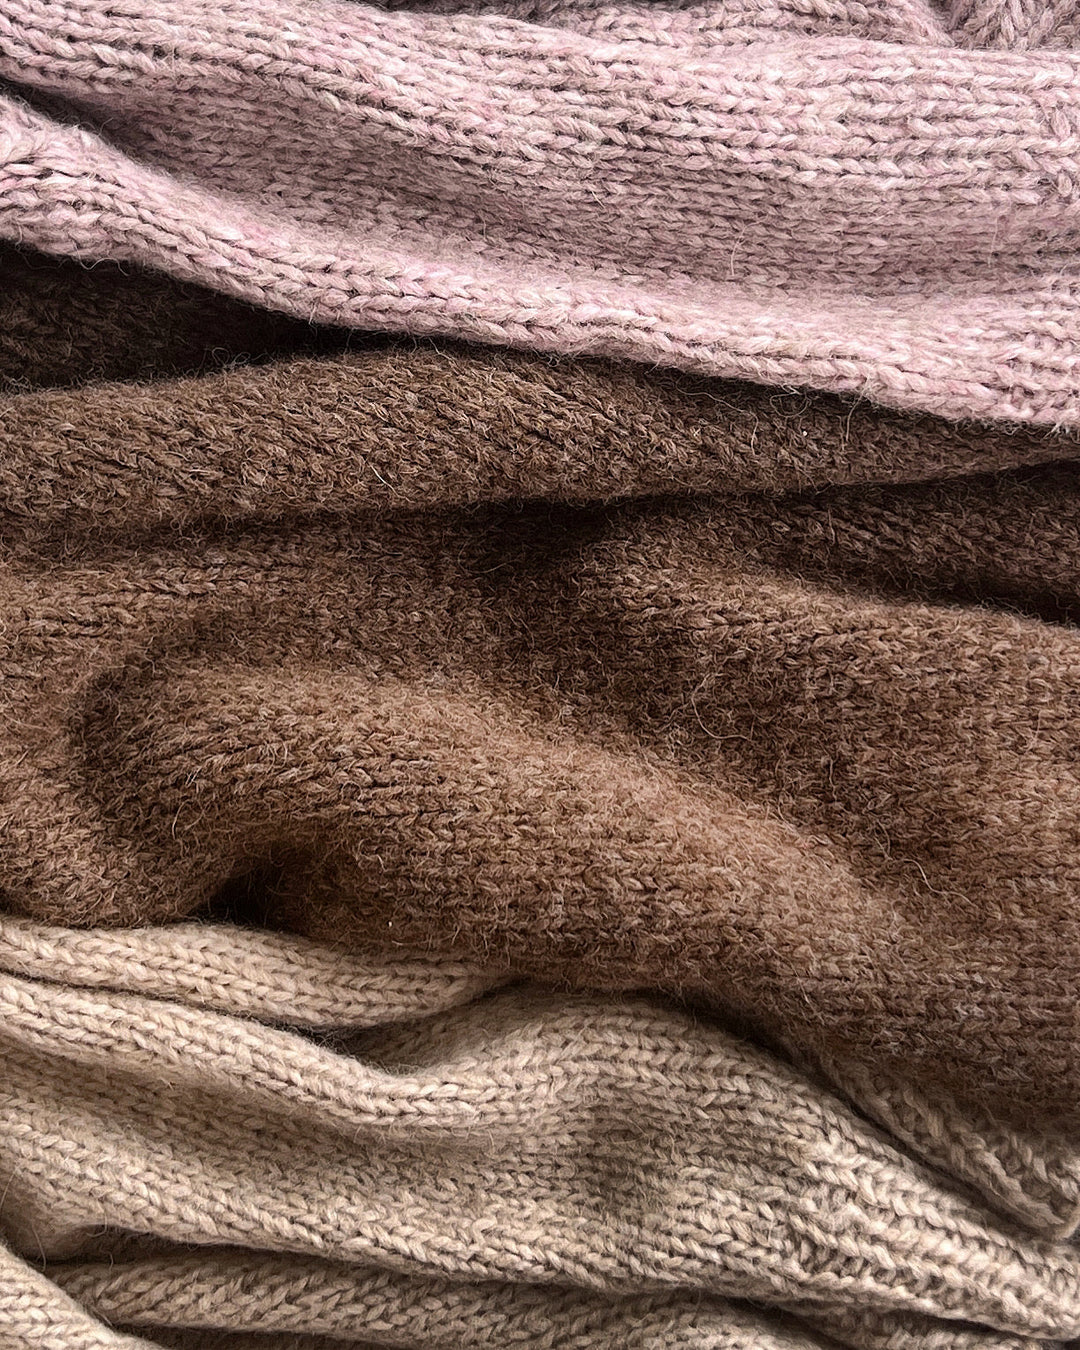
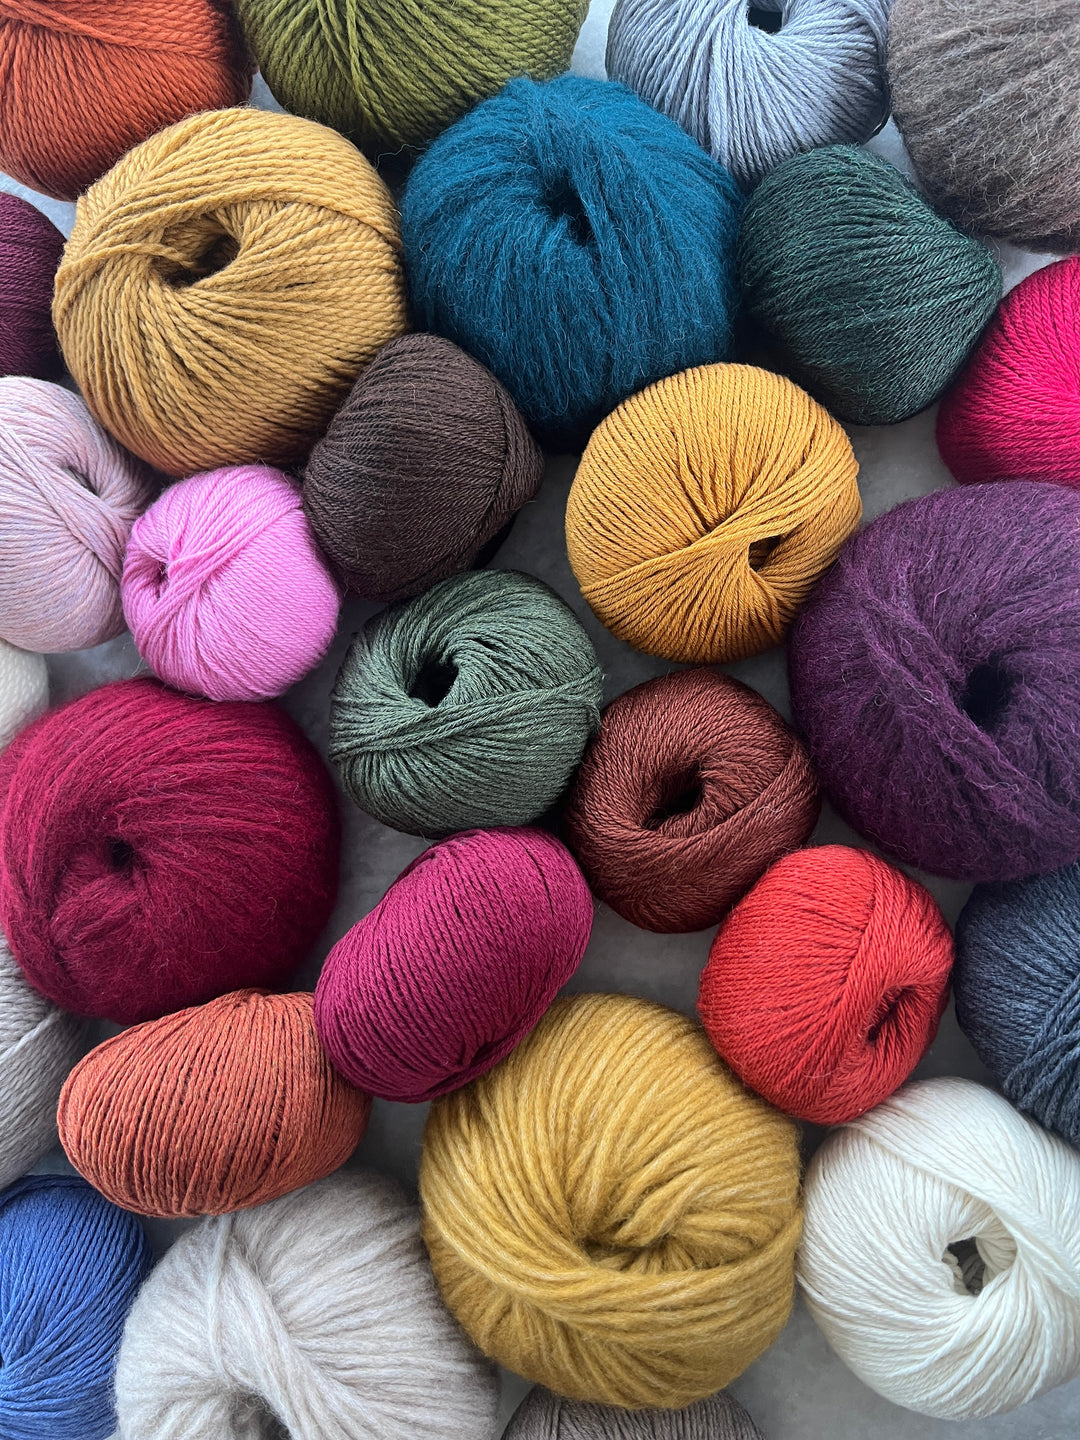
5, (5, 6, 7, 7), (8, 8, 9, 10) skeins, [approx 585, (645, 735, 825, 895), (990, 1085, 1160, 1275) yards] Lion Brand Hue + Me Yarn (shown in the color Desert) or other Bulky weight yarn
Size US 11 (8.0 mm) 32” or longer circular knitting needles (for yoke and body)
Size US 11 (8.0 mm) Double Pointed Needles or Long Circular Needle for Magic Loop (for sleeves)
Size US 10 (6.0 mm) 24” circular knitting needles (for neckline and hem)
Size US 10 (6.0 mm) Double Pointed Needles or Long Circular Needle for Magic Loop (for sleeve hem)
Stitch Markers
Tapestry needle to weave in ends
Notes
This raglan style sweater is worked from the top, down and the ribbing is created using a 3x3 rib stitch. Once you have increased to shape the yoke, you will separate to work the body and sleeves in the round.
Finished Dimensions
| XS | S | M | L | XL | 2X | 3X | 4X | 5X | |
| Bust/Chest Circumference | 38.5 | 41.5 | 46 | 50.5 | 53.5 | 58 | 62.5 | 65.5 | 70 |
| Length | 22.5 | 23 | 23.25 | 23.5 | 23.75 | 24 | 24 | 24.75 | 24.75 |
| Sleeve Length | 17.5 | 17.5 | 17.5 | 17.5 | 17.5 | 17.5 | 17.5 | 17.5 | 17.5 |
XS, (S, M, L, XL), (2X, 3X, 4X, 5X)
The Sunday Morning sweater knitting pattern is written for the smallest size with changes for larger sizes in parenthesis. When only one number is given, it applies to all sizes. To keep track of your size, you can highlight or circle all numbers for your chosen size before you begin.
Help Choosing Size
This top is designed to be worn with 8-10” of positive ease. Model is 6’ tall, has a 33” bust, and is wearing a size Small with 8.5” of positive ease. For best fit, choose a size that is 6-10” larger than your corresponding bust measurement. For example, if your bust is 45”, you would wear a size XL.
Gauge
10.5 stitches and 16 rows = 4” in k3, p3 rib stitch on size US 11 (8.0 mm) needles
Abbreviations
This pattern is written using US English terminology using Craft Yarn Council standards
Beg = beginning
BO = bind off
CO = cast on
K = knit
k2tog = knit two together
k2tbl = knit two together through the back loop
M = stitch marker
M1 = make one. Make one stitch according to pattern.
M1K = make one knit. Either M1L or M1R according to established pattern.
M1L = make one left. Pick up the bar between the stitch you just knit and the one you are about to knit with your left needle from front to back, knit through the back.
M1R = make one right. Pick up the bar between the stitch you just knit and the one you are about to knit with your left needle from back to front, knit through the front.
M1P = make one purl. Either M1LP or M1RP according to established pattern.
M1LP = make one left purl. Pick up the bar between the stitch you just knit and the one you are about to knit with your left needle from front to back, then purl through the back loop of the strand.
M1RP = make one right purl. Pick up the bar between the stitch you just knit and the one you are about to knit with your left needle from back to front, then purl through the front loop of the strand.
P = purl
Rep = repeat
RS = right side, you will be working a RS row when the outside of your work (right side) is facing you
SM = slip marker
St = stitch
Stst = stockinette stitch
WS = wrong side, you will be working a WS row when the inside of your work (wrong side) is facing you
[ ] = work instructions within brackets as directed
* = repeat the instructions following the single asterisk as directed
Rib Sweater Knitting Pattern
Cast on 49, (49, 49, 49, 49), (49, 49, 49, 49) sts.
Set Up Row: p1, PM, k1, PM, p3, PM, k3, p3, k3, PM, p3, PM, k3, [p3, k3] 2x, PM, p3, PM, k3, p3, k3, PM, p3, PM, k1, PM, p1.
Row 1 (RS): k1, SM, M1LP, p1, M1R, SM, k3, SM, M1L, p3, k3, p3, M1R, SM, k3, SM, M1L, p3, [k3, p3] 2x, M1R, SM, k3, SM, M1L, p3, k3, p3, M1R, SM, k3, SM, M1L, p1, M1RP, SM, k1. [59 sts total].
To keep the pattern concise, you will be directed to ‘work in patt’ at certain times from this point forward. What this means is that you will knit the knit stitches and purl the purl stitches in continuation of the 3x3 rib pattern as established in the set up row and row 1.
If you have trouble deciphering whether or not you need to knit or purl the next stitch, just remember that if the purl bump below the next stitch on your needle is facing you, you need to purl the stitch. If the purl bump is facing away from you, you need to knit.
Row 2 (and all WS rows until otherwise noted): work in patt slipping Ms as you pass.
3: k1, SM, M1LP, *work in patt to next M, M1R, SM, k3, SM, M1L. Rep from * three more times, work in patt to last M, M1RP, SM, k1. [69 sts total].

5: k1, SM, M1L, *work in patt to next M, M1R, SM, k3, SM, M1L. Rep from * three more times, work in patt to last M, M1R, SM, k1. [79 sts total].
At the end of row 5, do not turn. You will now cast on sts for the neckline and complete the yoke in the round.

You will now cast on sts for the neckline and complete the yoke in the round.
Round 6 (RS): Cast on 5 sts, PM. This M will now denote beg/end of each round. Join to work in rd, k1, remove M, work in patt around to last 6, remove M, k2, p3, k1. [84 sts total].
7: work in patt to next M, M1RP, SM, k3, SM, M1LP. Rep from * three more times, work in patt to end of rd. [92 sts total].
8: work in patt slipping Ms as you pass.
From this point forward, you will need to pay attention to the increases to maintain the 3x3 ribbing pattern. What this means is that when you have just worked 3 purl stitches and are instructed to M1, you will M1L or M1R (knit increase) because the next st would be a knit stitch. Alternatively, when you have just worked 3 knit stitches and are instructed to M1, you will M1LP or M1RP (purl increase) to maintain the 3x3 rib pattern.
If you need help remembering if you need to increase right, just look at the k3 raglan sts. On the right side of the raglans, you will increase right (M1R or M1RP), on the left side of the raglans, you will increase left (M1L or M1LP).
9: work in patt to next M, M1, SM, k3, SM, M1. Rep from * three more times, work in patt to end of rd. [100 sts total].
10: work in patt slipping Ms as you pass.
Repeat rounds 9-10 4, (4, 3, 3, 3), (2, 2, 2, 1) more times. [132, (132, 124, 124, 124), (116, 116, 116, 108) sts total].

11: work in patt to next M, M1, SM, k3, SM, k in patt to next M, SM, k3, SM, M1. Rep from * once more, work in patt to end of rd. [136, (136, 128, 128, 128), (120, 120, 120, 112) sts total].
12: work in patt slipping Ms as you pass.
13: work in patt to next M, M1, SM, k3, SM, M1. Rep from * three more times, work in patt to end of rd. [144, (144, 136, 136, 136), (128, 128, 128, 120) sts total].
14: work in patt slipping Ms as you pass them.
Repeat rounds 11-14 1, (2, 4, 5, 6), (8, 9, 10, 12) more times. [156, (168, 184, 196, 208), (224, 236, 248, 264) sts total].
Separate the body and sleeves:
Now, you will begin to work the body of the sweater separately from the sleeves.
Set up round: * work in patt to next M, remove M, k3, remove M, slip next 31 (33, 35, 37, 39) (41, 43, 45, 47) sts onto st holder or scrap yarn, remove M, cast on 4 (3, 3, 5, 7) (7, 6, 8, 8) for underarm, k3, remove M. Rep from * once more, k in patt to end of round.
You will now have separated the front and back body pieces from the sleeves. [102 (108, 120, 132, 144) (156, 162, 174, 186) sts total].
Body:
Set Up: leaving M that denotes beg/end of each rd, k2, *p3, k3. Rep from * to last st, p1.
**Note: Depending on your size, this may or may not change some k sts to p or p sts to k at the underarm. This will be the new pattern. Don’t worry about the rib rows changing, this area will be at the underarm and not visible when finished.
2: work in patt to end of rd continuing in the newly established [k3, p3] patt. Work in patt until body measures 14, (14, 14, 13.5, 13), (13, 12.5, 12.5, 12)” from underarm CO.
Switching to size 10 needles, work one more row in patt.
Then, work 2” in [k1, p1] rib st. Bind off using the tubular bind off method or stretchy bind off method of choice.


Sleeves:
You will now begin working the sleeves. Each sleeve will be worked in the established [k3, p3] patt with a k3 rib at the center of the underarm. Decreases will be worked on either side of this k3 rib. Depending on your size, this may mean that the [k3, p3] patt is not perfectly established or aligned at the underarm. Do not worry about this, as you decrease the sleeve will shape in a uniform way.
Set Up Round 1: Transfer the 31, (33, 35, 37, 39), (41, 43, 45, 47) sts set aside for one of the sleeves onto larger needles, work around sleeve in patt, pick up 5 (5, 5, 7, 9) (9, 7, 9, 9) sts at underarm in knit. [36 (38, 40, 44, 48) (50, 50, 54, 56) sts total].
Set Up Round 2: work around sleeve in patt to sts picked up at underarm, work 1 (1, 1, 2, 3) (3, 2, 3, 3) sts in continuation of the established [k3, p3] patt, k1, PM, k1, PM, k1, work the final 1 (1, 1, 2, 3) (3, 2, 3, 3) sts picked up for the underarm in continuation of the pattern as done on opposite side, work in patt to 1st M placed. This will now be beg/end of each rd.
Round 3: work in patt to end of rd.
Dec round: k1, SM, k2tbl, work in patt until 2 sts remain, k2tog. [34 (36, 38, 42, 46) (48, 48, 52, 54) sts total].
Work 15 (11, 9, 9, 7) (7, 5, 5, 5) rounds in patt then, work another decrease row.
Continue in this way decreasing every 16 (12, 10, 10, 8) (8, 6, 6, 6) th row until 28 (28, 28, 30, 32) (32, 32, 32, 34) sts remain.
Continue in patt even until sleeve measures 15.5” long. You may work more or less and this point to make your sleeve longer or shorter.
Switching to size 10 needles, work one more row in patt.
Then, work 2” in [k1, p1] rib st. Bind off using the tubular bind off method or stretchy bind off method of choice.
Repeat for second sleeve.
Neckline:
You will now switch to size 10 needles to work the neckline.
With RS facing you and beginning on the right side of the back left raglan, pick up 20 sts along left shoulder and to the front; pick up 3 sts across center front; pick up 20 sts along right shoulder; and finally, pick up 15 sts across back neckline. [58 sts total].

Work 3” in k1, p1 rib stitch. Bind off loosely. Fold neckband over to inside of neckline and seam along the ridge where you picked up sts to create a foldover neckband.
Finishing
Weave in all ends and block to finish.
Enjoy!