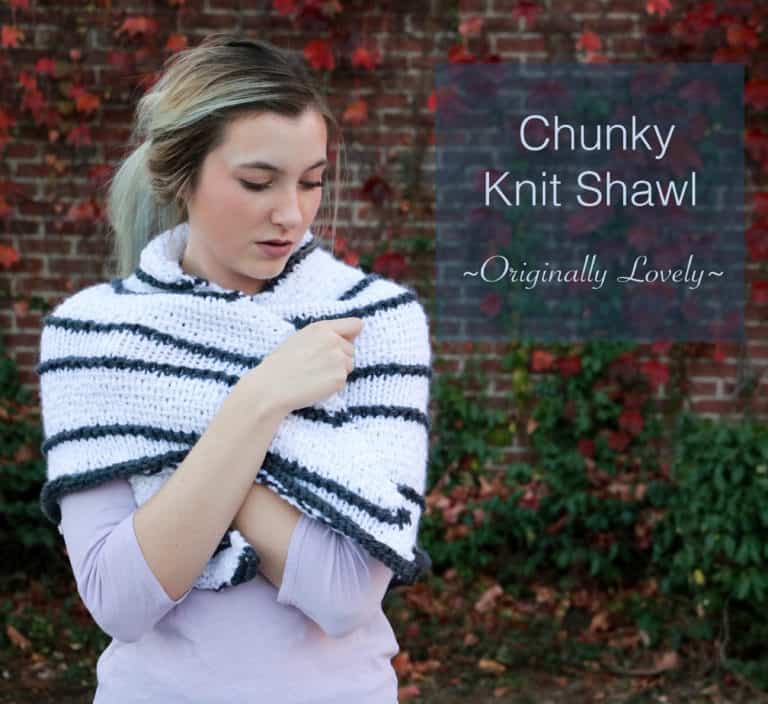
Bow Knitting Pattern
Introducing: the loveliest Knit Bow! A delightful knitting pattern and photo tutorial knit using Originally Lovely Cria yarn.
Worked quickly using a double knitting technique, this playful bow makes the perfect accessory!


Bow Knitting Pattern
© ORIGINALLY LOVELY 2024
This pattern and photographs of this garment are property of Kaitlin Barthold of Originally Lovely. This pattern, photos, and design are subject to copyright and are for personal use only. All commercial use is strictly prohibited. You may not reproduce or distribute this pattern under any circumstances.
The free version of this pattern must be viewed from the webpage.

Skill Level
Intermediate
This bow is knit using a double knitting technique, a chain edge cast on, knit decreases, and an i-cord.
Materials Needed to Knit This Bow
Gauge
33 sts = 4” in double knitting on size 4 needles.
Notes on gauge:
- Double knitting is done by working two layers simultaneously. Because of this, you need to include the stitches shown on both the right side and wrong side of your work in your gauge count. For example, 33 stitches over 4” will appear to be 16.5” over 4” when viewed from just one side of the work.
- Because of the small scale of this pattern, row gauge is not significant. Focus on stitch gauge to create a ribbon that is the proper length to shape your bow.
Choosing Yarn
For this knit bow, it is recommended to use a worsted weight yarn such as Originally Lovely Cria.

Originally Lovely
Cria Yarn
A beautiful, worsted weight yarn made from 100% baby alpaca.
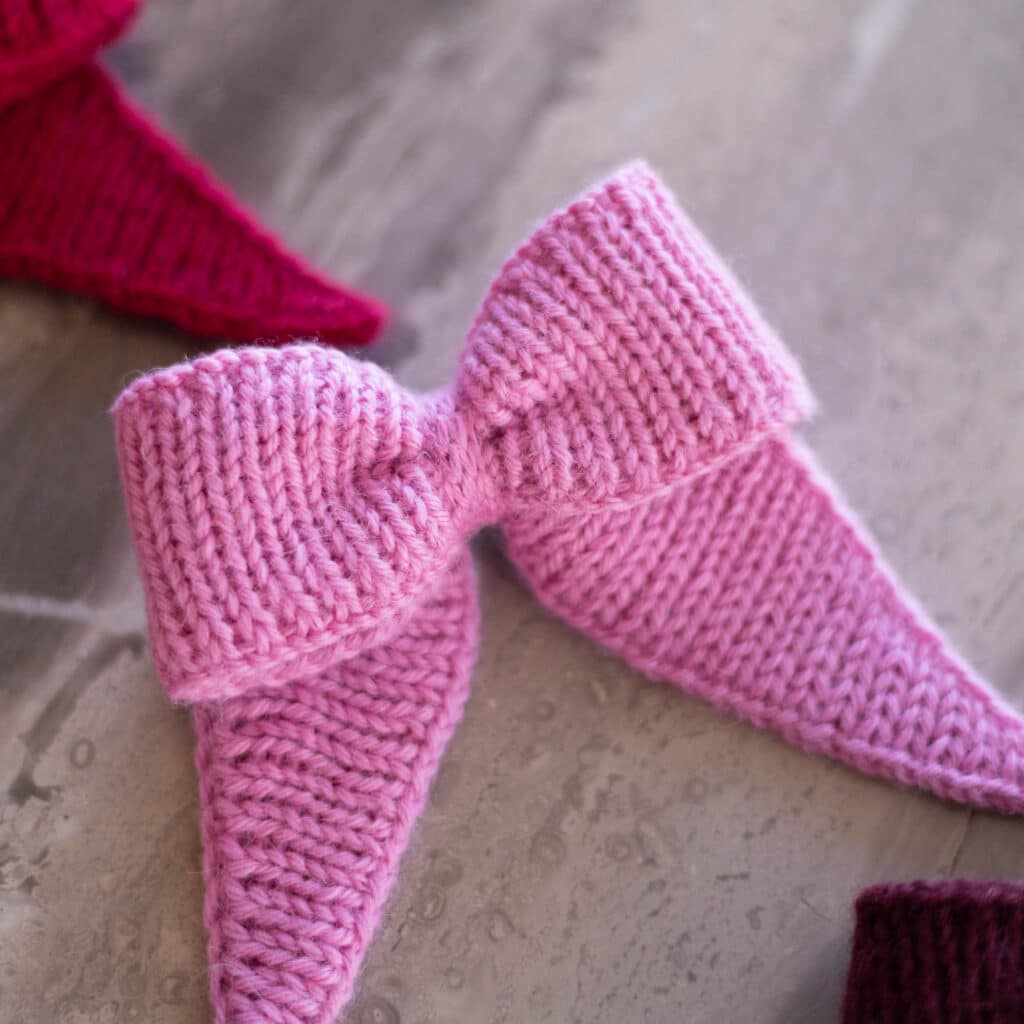
Construction Notes
This pattern is worked length-wise using a double knitting technique. First, you will cast on a large number of stitches that will be the length of the bow ‘ribbon’. Then, you will work the width of the ribbon, decreasing at the end of each round to shape the ribbon points. After you have worked the width of the bow, you will bind off. To form the bow, you will make a 5-stitch i-cord and attach this in the center of the ribbon.
Tips for Modifying
If modifying this pattern to make a bow using a different gauge or weight of yarn, calculate your gauge per inch. Then, multiply this number by 18. This will be the number of stitches you need to cast on to create an ribbon that is 18” long. Then, work the pattern repeat until your ribbon measures 1.75” wide. If modifying this pattern, be sure to cast on an even number of stitches.
Dimensions
This knitting pattern will first create a ribbon that is approximately 18” long and 1.75” wide.
The ribbon will then form a bow that is approx 4.5” wide and 5” long.
Abbreviations
Knitting Pattern Instructions
Ribbon
Using size 4 needles, cast on 150 stitches using the chain edge cast on method.
Row 1: sl1p wyib, (k1, sl1p wyif) to last 3 sts, k3tog. [148 sts].
Row 2: sl1p wyif, (k1, sl1p wyif) to last 3 sts, k3tog. [146 sts].
Repeat row 2 24 more times. [98 sts].
Please note, your ribbon will likely curl a bit at either end. This is ok! Wet blocking will even out the stitches and keep the ends straight.
Bind off Row: sl1p wyif, k1, psso to bind off the first st, p1, psso. Continue in this way, binding off in rib stitch across to last 3 sts, k3tog, pass stitch over to bind off final st. Cut yarn and pull through to secure leaving ends to weave in later.
Wet block your ribbon by soaking in lukewarm water. Remove excess water by rolling gently in a towel. Lay flat and pin into place to dry.
Ribbon Tie
The center tie of the ribbon will be shaped with a 5 stitch i-cord.
Using double pointed needles (or circular needle), cast on 5 sts using backwards loop cast on method, or other thin cast on method of choice.
1: knit.
2-10: slide work across needle, with RS still facing you, carry the working yarn across the back of your work and knit across the row once more.
Repeat row 2 until you have knit a total of 10 rows.
Bind off in knit. Cut yarn leaving a tail.
Forming the Bow:
You will now fold your ribbon and attach the I-cord to shape your knit bow!
Step 1:
Once your ribbon is dry, lay flat with the longer end on bottom. Have i-cord ready to go next to you, with a tapestry needle threaded onto one of the tails.

Step 2:
Fold one end of the ribbon across at a slight angle, leaving about 1/3 of the ribbon flat and lining up the wider point with the bottom of the ribbon.

Step 3:
Next, fold the opposite end of the ribbon across and line up the wider point with the bottom of the first fold. This will be the back of your bow.

Step 4:
Pinch the center of the folded piece and turn over.

Step 5:
Adjust tails to the same length if necessary and shape a nice fold in the center of the top ribbon.

Step 6:
Drape i-cord across bow and pinch into place.

Step 7:
Keeping the bow pinched securely, turn over and sew the cast on edge and the bind off edge of i-cord together using a whipstitch.

Step 8:
Turn your bow back over to the front and make any final adjustments.

Step 9:
Tie the ends of your i-cord together at the back of your bow to secure.

Step 10:
Weave in all ends towards the back of your bow and carefully attach bow to a styling hair clip using a hot glue gun. Alternatively, you may sew your bow onto the hair clip using leftover yarn.

Enjoy!
Pattern Support
I hope you’ve enjoyed knitting your own bow!
For questions, please comment below or email: support@originallylovely.com
Did you Knit this Bow?
Show off your finished work by tagging @originally.lovely or using the hashtags #originallylovely and #KnitBow
Let’s keep in touch!
Join our newsletter list & stay up to date on all things Originally Lovely
Discover more Originally Lovely knitting patterns

Vanilla Mittens

Classic Ribbed HaT