Vanilla Mittens Knitting Pattern
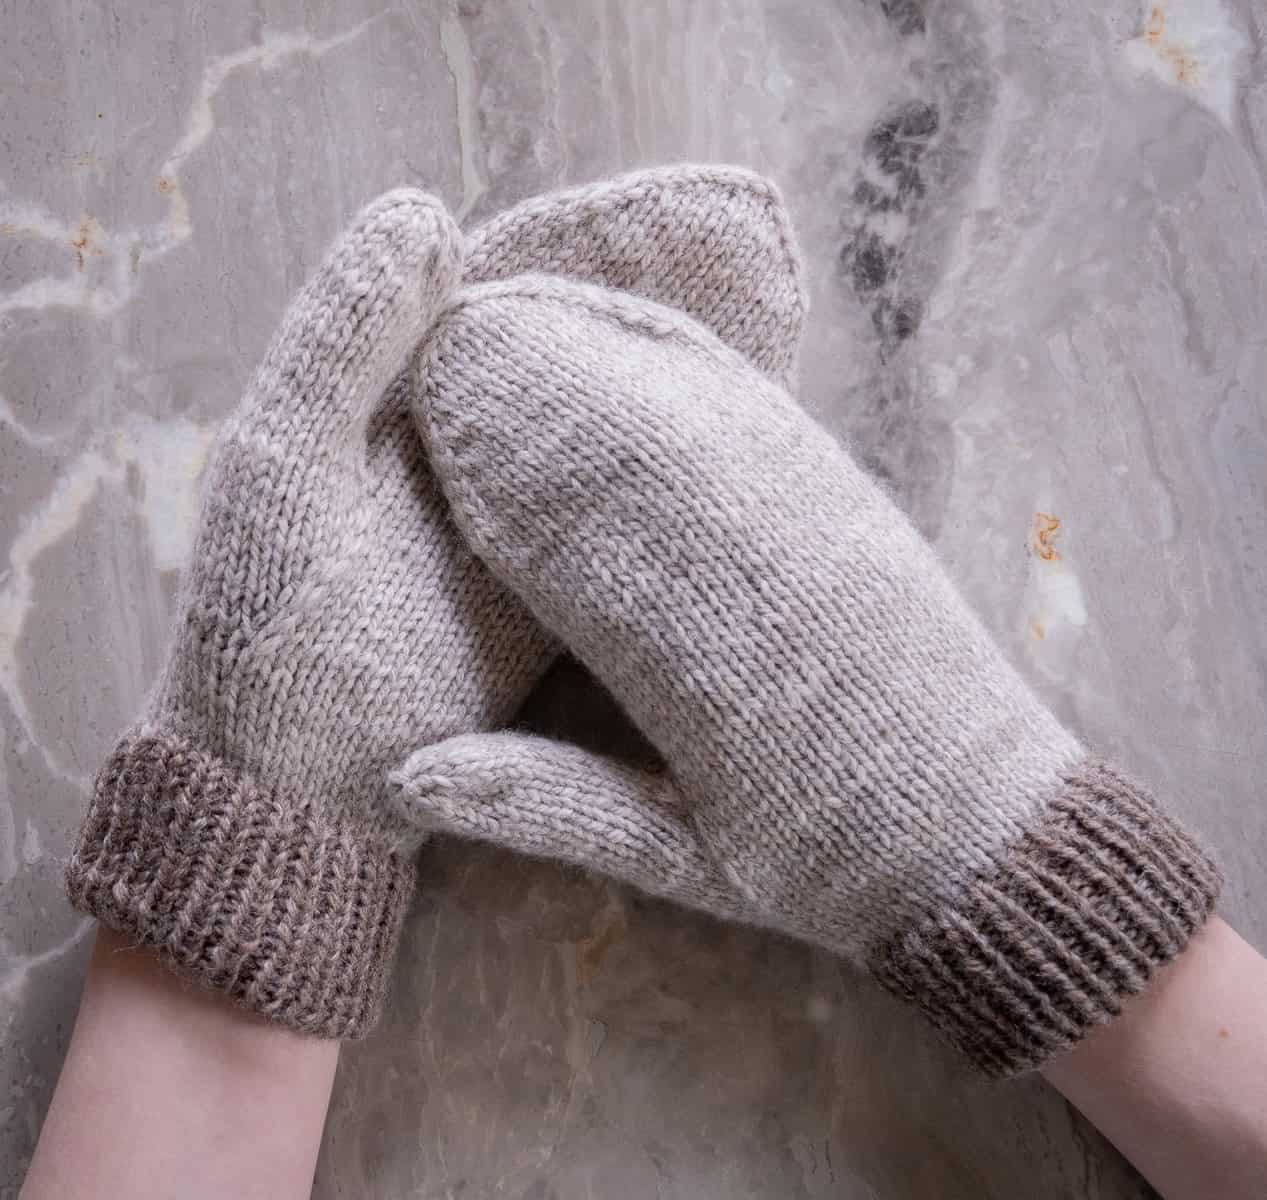
Introducing: the Vanilla Mittens Knitting Pattern – an easy, basic, adult mitten pattern
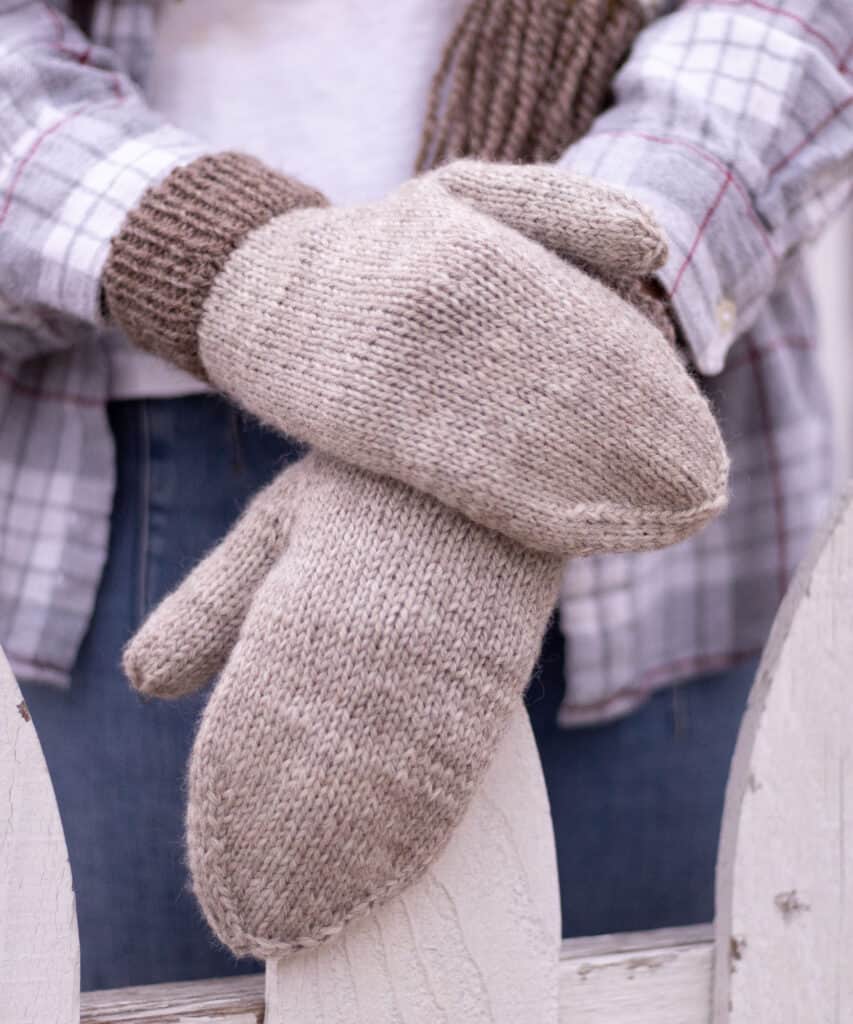
The Vanilla Mittens are designed to be the perfect go-to, classic mittens. This free knitting pattern is available in 7 adult men’s and women’s sizes.
Simple details like slipped stitch increases, a foldover cuff, and a thumb gusset make this the best fitting and most practical mitten knitting pattern!
Pair these mittens with Lana yarn from Originally Lovely for an extra warm, luxurious, and durable pair!
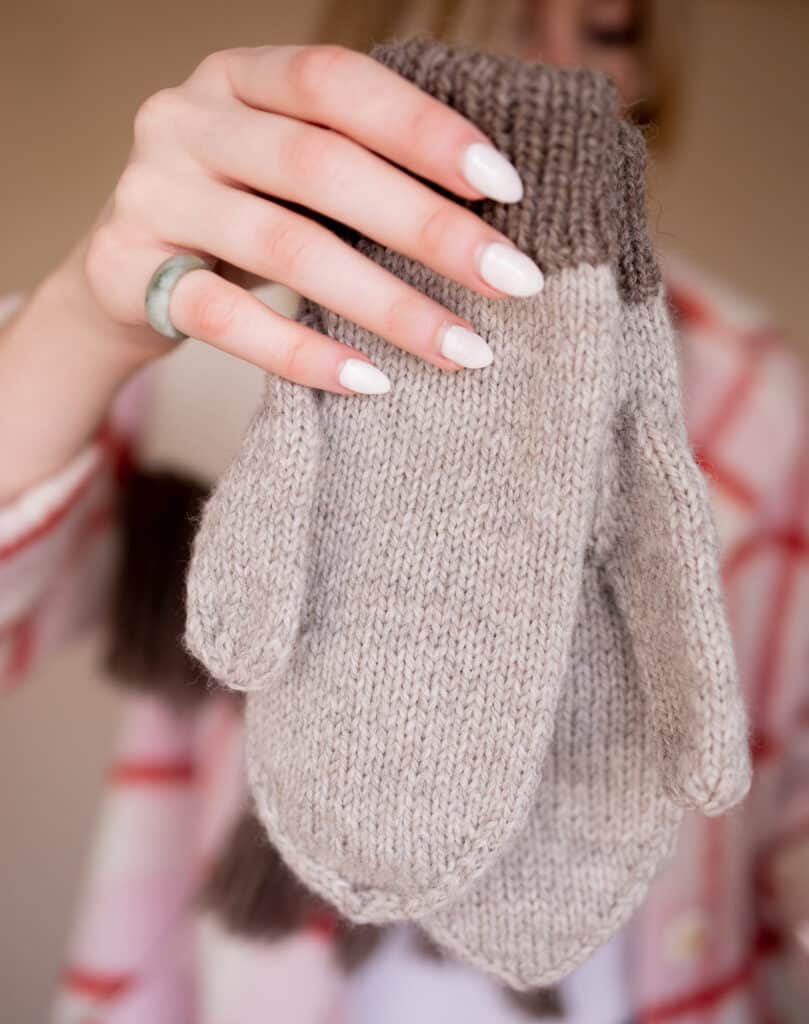
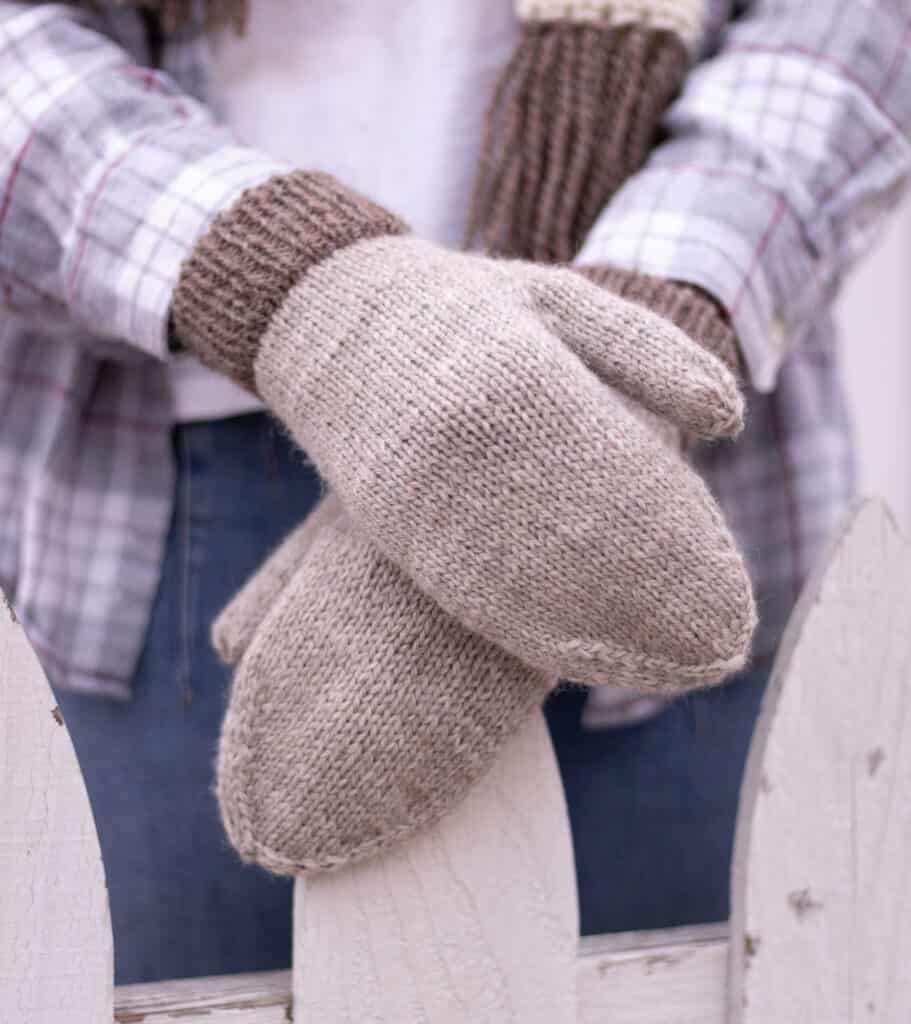

The Vanilla Mittens Knitting Pattern is available as a free pattern below and as a printable PDF on Ravelry and Etsy.
A full, start-to-finish video tutorial is also available for this pattern to help with any techniques you many be unfamiliar with.
Scroll down to access the free knitting pattern or continue reading to learn a bit more about the design and find some pointers to help you knit the perfect mittens!
**please note, some links may be affiliate links which will allow me to make a small commission on products purchased through my referral. This does not influence my opinion or the price of the item that you are purchasing in any way.
The Perfect Mitten Knitting Pattern
My mom and I have this ongoing joke that I can never finish the second item in a set of two. I think a lot of other people have this problem too, especially with socks. That’s where the same ‘second sock syndrome’ came from!
Ultimately, I never wanted to make a second mitten, sock, bootie, etc because I didn’t like the first one! A lot of time and energy goes into knitting so following through to make the second item felt like a waste of time if I already knew I wouldn’t like the finished pair!
After years of knitting other mitten patterns only to be dissatisfied with the result, I’ve designed my own ‘Vanilla’ mittens! These mittens are designed to be the perfect, basic mitten pattern. The pattern I wished existed when I was younger!
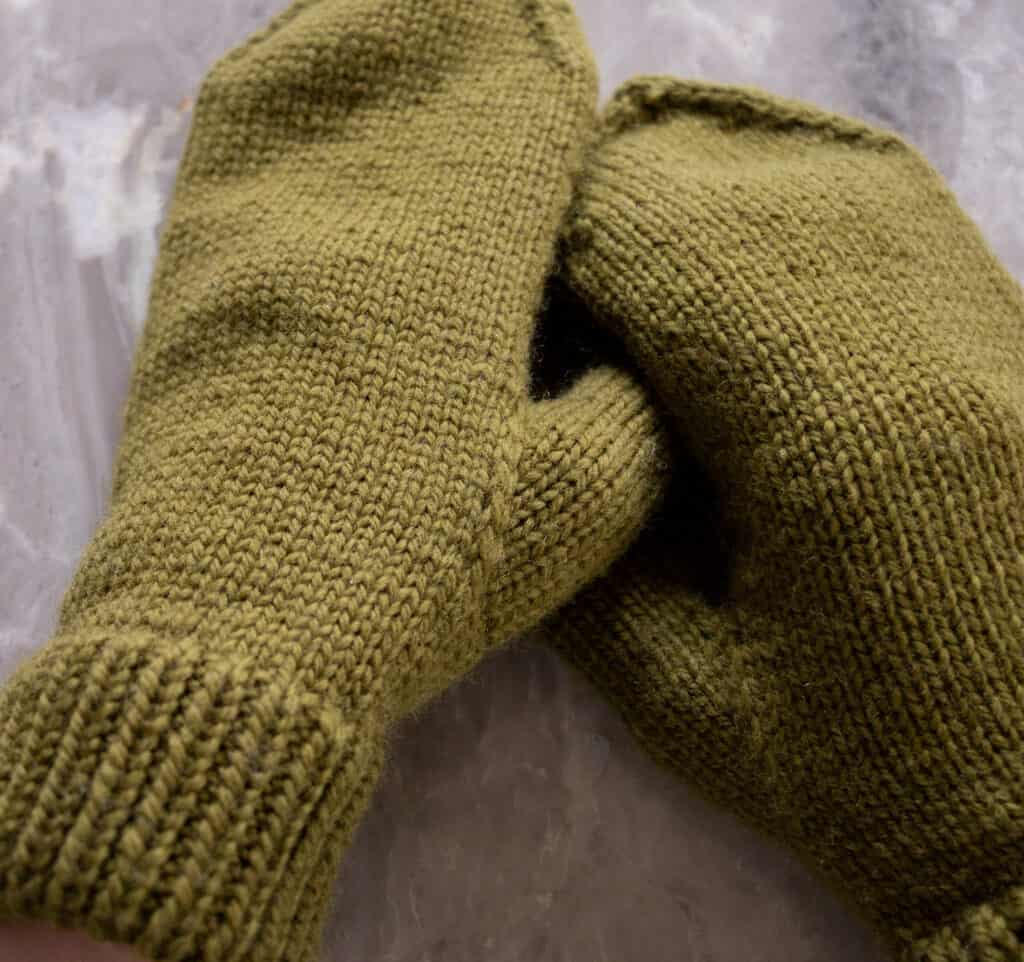
Unique and Thoughtful Details for a Perfect Fit
There are a handful of features that are these mittens so great.
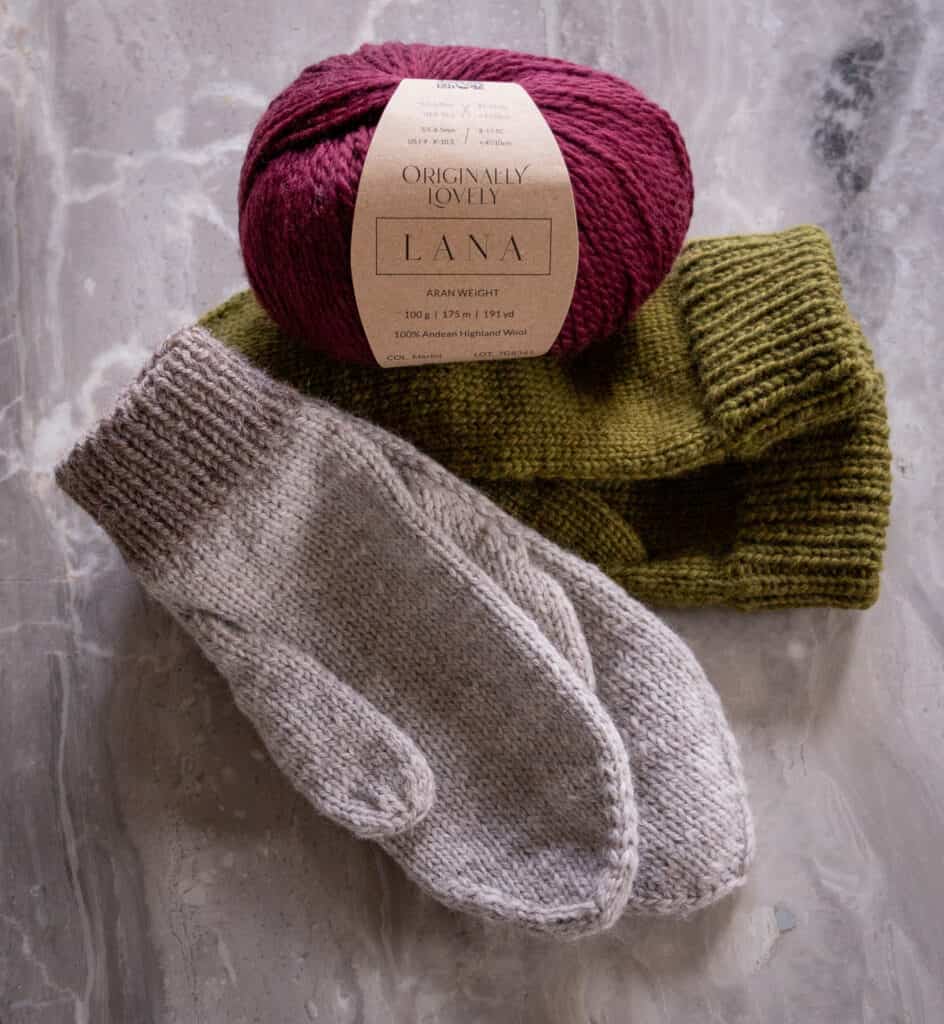
Yarn and Materials
As I mentioned above, the yarn that I chose for these mittens is Lana from Originally Lovely Yarn. This yarn is an aran weight made of 100% non-superwash Andean Highland Wool.
I chose this yarn because it is durable, warm, antimicrobial, and has great elasticity to maintain a proper fit and shape. This yarn is ideal for cold weather accessories.

Originally Lovely Yarn
LANA
Lana is a lovely aran weight yarn made out of 100% Andean Highland Wool. Find out what makes Lana so special!
Although Lana is an Aran weight yarn, the main portion of these mittens is knit using size 5 knitting needles. Using needles this small with a thicker yarn creates a dense fabric that is warm and durable. Basically, these mittens are knit tighter so there are fewer ‘holes’ in the fabric of finished pair!
Please note: Yarn weight and yardage requirements are estimates. Using yarn of different fiber composition, ply, gauge, and any modifications will lead to differences in yarn usage.
Vanilla Mittens Knitting Pattern
© ORIGINALLY LOVELY 2022
This pattern and photographs of this garment are property of Kaitlin Barthold of Originally Lovely. This pattern, photos, and design are subject to copyright and are for personal use only. All commercial use is strictly prohibited. You may not reproduce or distribute this pattern under any circumstances.
The free version of this pattern must be viewed from the webpage.
To purchase an ad-free, printable PDF of the Vanilla Mittens pattern on Ravelry, CLICK HERE
To purchase an ad-free, printable PDF of the Vanilla Mittens pattern on Etsy, CLICK HERE
Skill Level
Intermediate
To knit these mittens you will need to feel comfortable following written instructions and know the following skills: knitting in the round, simple increases and shaping, knit decreases, and picking up stitches. A full video tutorial is available to walk you through unfamiliar techniques.
Materials
1, (1, 1, 1) (2, 2, 2) balls / 191, (191, 191, 191) (382, 382, 382) yards Originally Lovely Lana yarn or similar Aran weight wool yarn
Note: Two color version requires 2 balls (1 main color and 1 accent color) of Originally Lovely Lana yarn for all sizes
Size US 4 (3.5 mm) knitting needles – either Double Pointed Needles or circular needles for Magic Loop
Size US 5 (3.75 mm) knitting needles – either Double Pointed Needles or circular needles for Magic Loop
Stitch holder or scrap yarn to hold live stitches
Tapestry needle to weave in ends

Notes
These mittens will be worked in the round using either Double Pointed Needles or a longer circular needle for the Magic Loop technique. You will begin at the cuff and work upward to shape the hand. Thumb stitches will be set aside as you finish the hand and be worked at the end.
Two color version:
An option for a two color version of these mittens using an accent color cuff and a main color hand will be noted throughout. Two color version requires 2 balls (1 ball main color and one ball accent color) of Originally Lovely Lana yarn for all sizes.
Video Tutorial
A full, start-to-finish video tutorial is available for this knitting pattern:
Finished Dimensions
| Size: | XS | S | M | L | XL | 2X | 3X |
| Finished Hand Circumference: | 6.5″ 16.5cm | 7″ 17.75cm | 7.5″ 19cm | 8″ 20.5cm | 8.5″ 21.5cm | 9″ 23cm | 9.5″ 24.25cm |
| Finished Hand Length: | 6″ 15.25cm | 6.5″ 16.5cm | 7″ 17.75cm | 7.5″ 19cm | 8″ 20.5cm | 8.5″ 21.5cm | 8.5″ 21.5cm |
Hand circumference is measured as the widest distance around your knuckles before your fingers, excluding the thumb.
Please note, hand length can be easily customized in the pattern while hand circumference cannot. Because of this, it is more important to choose a size based on hand circumference.
Pattern is written for smallest size with changes for larger sizes in parenthesis. When only one number is given, it applies to all sizes. To keep track of your size, you may highlight or circle all numbers for your chosen size before you begin.
There will be sections in the pattern that apply only to one size. If the section isn’t explicitly noted, it applies to all sizes.
Help Choosing Size
These mittens are designed to have slight positive ease. Choose a size that is about ½ inch (1.25 cm) larger than your actual corresponding hand circumference. For example, if your hand circumference is 7.5 inches (19 cm), you would knit a size L.
Gauge
22 stitches and 30 rows = 4 inches (10 cm) in stockinette stitch using size 5 needles
Because we are using a smaller needle size than recommended for the yarn, the gauge for these mittens should be quite dense and thick. This will make a pair of mittens that is strong, durable, and warm.
Please note: Always remember to gauge swatch especially when substituting yarn in a pattern! Small changes in gauge can lead to large changes in the finished garment so assure a proper fit with the proper gauge!

Abbreviations
This pattern is written using U.S. English Terminology
AC = accent color
Beg = beginning
BO = bind off
CO = cast on
DPN = double pointed needles
K = knit
K2tog = knit 2 together (right leaning decrease)
M = stitch marker
MC = main color
ML = magic loop technique
M1L = make one left
M1R = make one right
P = purl
PM = place stitch marker
Rd = round
Rep = repeat
Sl = slip one stitch purl-wise with the working yarn in back
Ssk = slip, slip, knit (left leaning decrease)
SM = slip stitch marker
St = stitch
Sts = stitches
Stst = stockinette stitch
YO = yarn over
[ ] = repeat the instructions inside the brackets as directed.
* = repeat the instructions following the single asterisk as directed
Resources
The following resources may be useful if you have questions, come across a new technique, or need additional guidance.
- The video tutorial is always a great place to start for the fastest answer to any questions. Timestamps for specific parts of the pattern are linked in the pinned comment on the video.
- For additional questions that cannot be answered in the video, please comment below or email support@originallylovely.com

Vanilla Mittens Knitting Pattern
Using size 4 needles, cast on 36, (40, 42, 44) (48, 50, 52) sts using either backwards loop cast on or provisional cast on method. If knitting the two color version, begin using AC (color you will be working for the cuff).
NOTE: The cast on method matters because we will be working a ‘foldover cuff’ meaning a double-layered cuff at the wrist. Some knitters prefer the provisional cast on method for this technique but I find that the backwards loop cast on method is the easiest as it keeps the ending stitches from becoming too tight.
Join to work in round. PM to denote beg/end of each round. Knit 3 (3, 4, 4) (4, 4, 4)” / 7.5 (7.5, 10, 10) (10, 10, 10) cm in k1, p1, rib stitch.
NOTE: If you choose not to work a foldover cuff, you can work 1.5, (1.5, 2, 2) (2, 2, 2)” / 3.75 (3.75, 5, 5) (5, 5, 5) cm in k1, p1 rib stitch before switching to size 5 needles and working the hand of the mitten.
Foldover Cuff
On the next round, switch to size 5 needles. If working the two-color version, begin working in MC (color used for the hand portion of the mitten).

You will now work the foldover cuff. To work the cuff, pick up the first stitch from the cast on edge and place onto the left needle. Knit this stitch together with what was the first stitch on your left hand needle. Repeat for each consecutive stitch until all stitches and cast on stitches are worked together. See video tutorial linked above for a more detailed description of this technique.
Hand
Work 7 (7, 9, 9) (9, 11, 11) more rounds even in stst.
Continue on to shape one left hand and one right hand mitten according to the following directions.
Left Hand Shaping
Set Up Round: k to last 5, sl1, PM, k3, PM, sl1.
Round 1: k to M, SM, M1L, k to M, M1R, SM, k1. [38, (42, 44, 46) (50, 52, 54) sts].
2: k to 1 before M, sl1, SM, k to M, SM, sl1.
Repeat rounds 1-2 four (4, 5, 5) (5, 6, 6) more times. [46, (50, 54, 56) (60, 64, 66) sts].
3: k to first M, slip 13 (13, 15, 15) (15, 17, 17) sts between Ms onto scrap yarn or st holder, remove Ms, CO 3 sts, k last st of round to join.
You will now continue working the 36 (40, 42, 44) (48, 50, 52) hand sts and leave the 13 (13, 15, 15) (15, 17, 17) sts set aside for thumb to be worked later.
Right Hand Shaping
Set Up Round: sl1, PM, k3, PM, sl1, k to end of rd.
Round 1: k1, SM, M1L, k to M, M1R, SM, k1, k to end of rd. [38, (42, 44, 46) (50, 52, 54) sts].
2: sl1, SM, k to M, SM, sl1, k to end of rd.
Repeat rounds 1-2 four (4, 5, 5) (5, 6, 6) more times. [46, (50, 54, 56) (60, 64, 66) sts].
3: k1, slip 13 (13, 15, 15) (15, 17, 17) sts between Ms onto scrap yarn or st holder, remove Ms, CO 3 sts, k to end of rd to join.
You will now continue working the 36 (40, 42, 44) (48, 50, 52) hand sts and leave the 13 (13, 15, 15) (15, 17, 17) sts set aside for thumb to be worked later.
Both Hands
Work stst even in round until hand measures 4.5 (5, 5.25, 5.75) (6, 6.5, 6.5)” / 11.5 (12.75, 13.25, 14.5) (15.25, 16.5, 16.5) cm from cuff OR until hand measures 1.5 (1.5, 1.75, 1.75) (2, 2, 2)” / 3.75 (3.75, 4.5, 4.5) (5, 5, 5) cm less than desired finished length.

Decreases
If working Magic Loop method: Verify that the first half of your stitches are on the front needle and the second half are on the back needle.
If working working on DPNs: Adjust your needles so the first half of the sts are divided between needles 1 and 2 and the second half of your sts are divided between needles 3 and 4.
Round 1: k1, ssk, k to 3 before halfway point, k2tog, k2, ssk, k to 3 before end of rd, k2tog, k1. [32, (36, 38, 40) (44, 46, 48) sts].
2: knit.
Repeat rounds 1-2 four more times. [16, (20, 22, 24) (28, 30, 32) sts].
3 (sizes M and 2X ONLY): k to 3 before halfway point, k2tog, k to 3 before end of rd, k2tog, k1. [16, (20, 20, 24) (28, 28, 32) sts].
All Sizes: repeat round 1 two (3, 3, 4), (5, 5, 6) more times. [8 sts]
Final Round: k2. Adjust needles at this point so that the next 4 stitches are on a first needle and the second 4 stitches are on a second needle. Seam these 8 stitches together using kitchener stitch.
NOTE: alternatively, you may thread through the remaining stitches and cinch tight to close.
Break yarn and weave in end to secure.
Thumb
Begin by slipping the 13 (13, 15, 15) (15, 17, 17) sts set aside for thumb onto your needles.
Set Up Round: Pick up 6 sts at hand, this is one stitch from the side of each row and 4 sts across the 3 that were cast on to complete the hand. You will now work the thumb in the round. [19 (19, 21, 21) (21, 23, 23) sts].
1: k to 1 before the 6 picked up stitches, PM, ssk, k4, k2tog, PM. [17 (17, 19, 19) (19, 21, 21) sts].
2: k 1 round.
3: k to M, SM, ssk, k2, k2tog. [15 (15, 17, 17) (17, 19, 19) sts].
Continue working in the round until thumb measures 1.75 (2, 2, 2.25) (2.25, 2.25, 2.5)” from picked up sts OR to desired length. Remove Ms.
Final Round: k1, [k2tog] to end of round.
Thread through remaining sts and cinch to close. Weave in all ends.
Finishing
Weave in all ends to secure.
Block by gently soaking in lukewarm water and lay flat to dry.
Enjoy!
I hope that you enjoyed this knitting pattern and love your new mittens!
Let’s keep in touch!
Join our newsletter list & stay up to date on all things Originally Lovely
Looking for more knitting patterns? Originally Lovely has something for everyone! Here are a few favorites
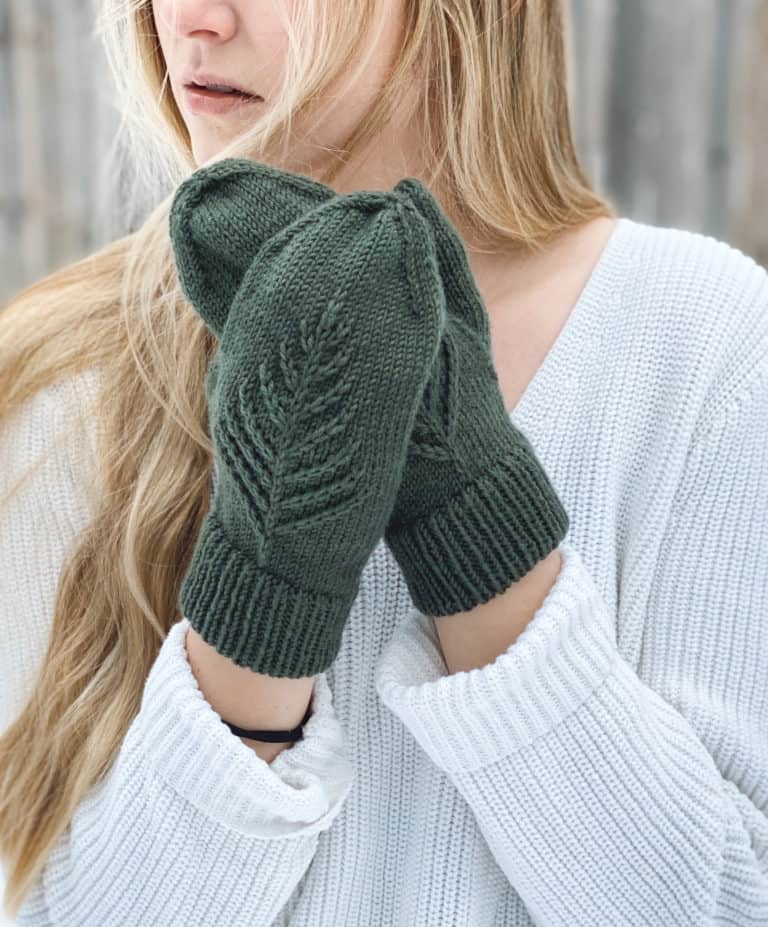
Spruce Mittens
The first mitten pattern I designed, similar to the Vanilla Mittens but with an adorable tree design!

