Heritage Plaid Blanket Crochet Pattern
Introducing: the Heritage Plaid Throw Blanket — Free Crochet Pattern and Video Tutorial
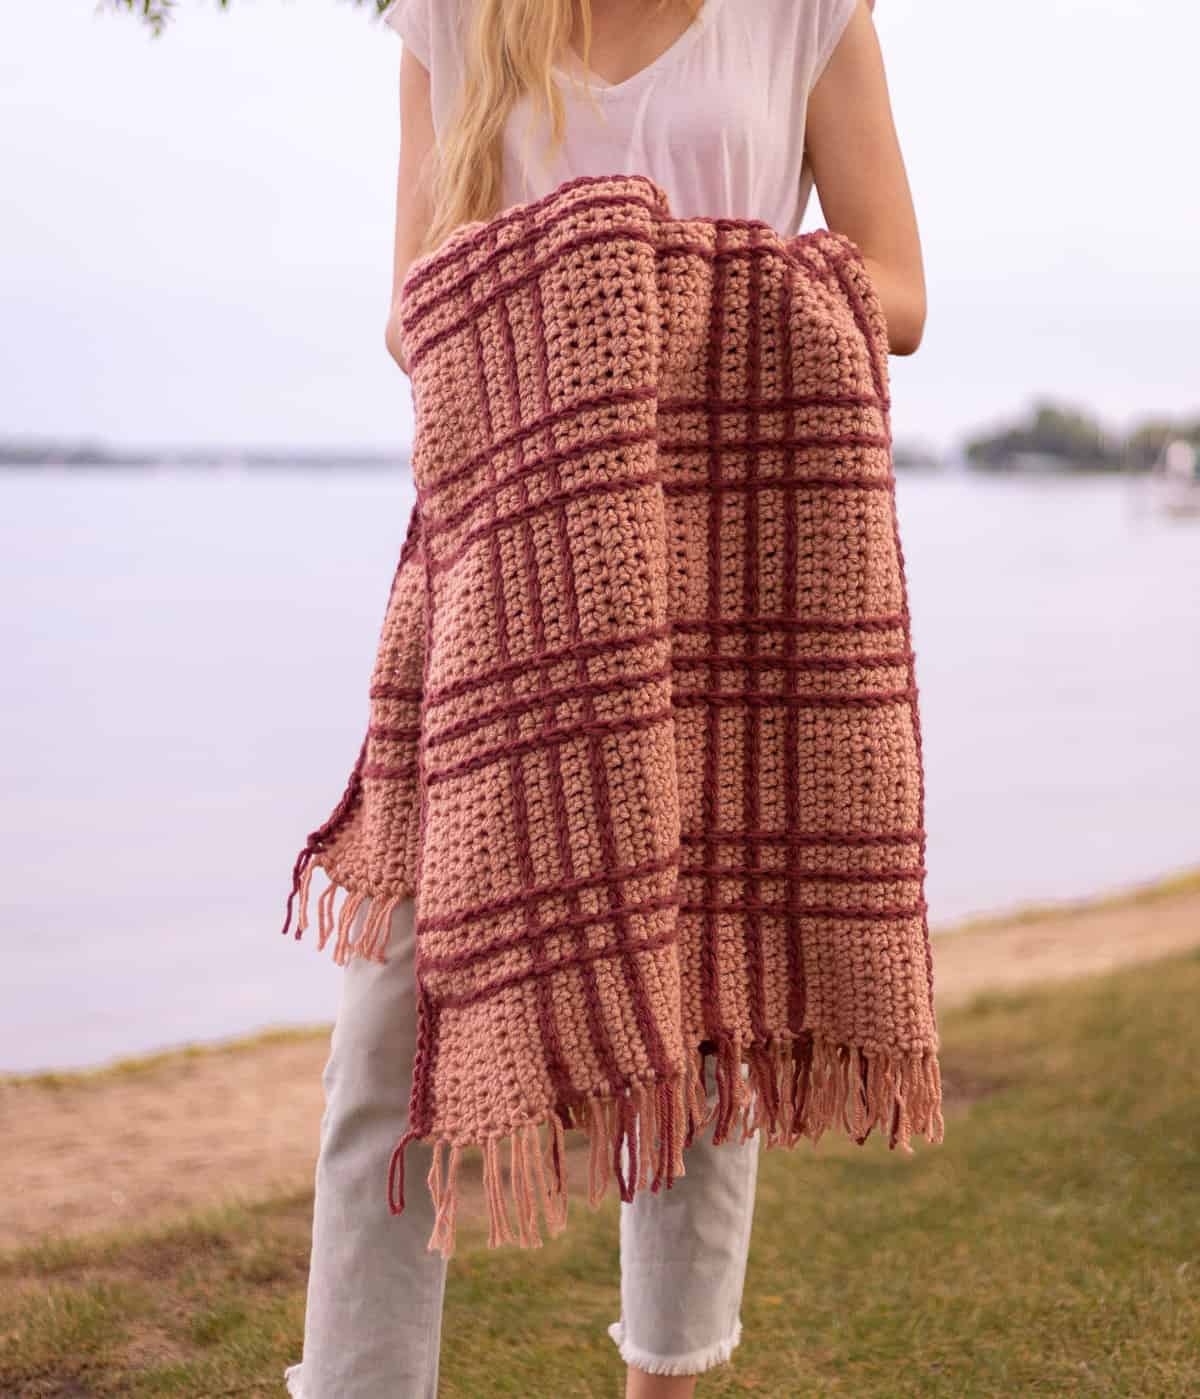
The Heritage Plaid Blanket is a thick and cozy throw that will be a luxurious addition to your home. The timeless design truly feels like a heritage piece that will be enjoyed for generations.
Cozy and stylish, this throw blanket is constructed using Hue + Me yarn which contains 20% wool for added warmth and durability that will hold up to years of love.


Available as a free crochet pattern on my website, a printable PDF on Ravelry and Etsy, and as a kit with Lion Brand Yarn.
Scroll down to access the free pattern, find the step by step video tutorial, or continue reading to learn a bit more about the design and some pointers to help you out.
**please note, some links may be affiliate links which will allow me to make a small commission on products purchased through my referral. This does not influence my opinion or the price of the item that you are purchasing in any way.
Heritage Crochet Plaid Blanket Design
Every now and then I design something and honestly I impress myself. I always have a vision for what I’m making but sometimes the finished item ends up turning out even better than I imagined. It doesn’t happen often but when it does, it’s the best feeling.
The Quinn Pullover, my Granny Square Cardigan, and the Golden Hour Sundress are my recent patterns that I’ve felt this way about. Now, I also have this blanket design to feel extra proud of!

Plaid and crochet are two of those things that everyone seems to want to mix but they normally don’t work that well. I’ve seen plaid blankets that are worked by holding two strands, working stranded color work, weaving in strands at the end, the list continues. The downfall with all of these techniques though is that they really aren’t fun to make and can be a bit tedious.
I think most of us probably crochet and knit because we enjoy it! I want to bring functional art and enjoyment into the world! So therefore designing patterns that are enjoyable to make is something I always try to be mindful of. My stance is that you can design the most gorgeous pattern but if it’s not going to bring people joy, why bother?
Believe it or not, this blanket is actually super fun to make. Basically, its first worked by crocheting a striped blanket. Then you add perpendicular stripes using a quick and easy surface slipped stitch technique. It’s especially fun because your blanket goes from stripe to plaid in no time!

Yarn and Materials
The yarn that I chose for this blanket is Lion Brand Hue + Me. I knew this yarn would be the perfect choice because it is thick so that it works up quickly but not too thick so that it creates an unnecessarily heavy or thick blanket.
Another great benefit of Hue + Me is that its super easy care and machine washable but also contains 20% wool for added warmth and durability! This crochet blanket will truly be a heritage piece that will last a lifetime!
If you are interested in using the same yarn, you might want to shop the crochet kit with Lion Brand Yarn. The kit contains all the yarn needed to make this blanket, a crochet hook if needed, and a free printable copy of the pattern!
If you are interested in using a different yarn for this blanket, check out some of my recommendations below!
Yarn Substitutions:
- Mighty Stitch Bulky by KnitPicks: This yarn is probably the most similar weight to Hue + Me that exists currently. It also contains 20% wool but is a bit more shiny whereas Hue + Me is very matte.
- Brava Bulky by KnitPicks: A great 100% acrylic option if you prefer to not use yarn with wool! I personally haven’t used this yarn much but know people tend to really like it.
- Billow by KnitPicks: I think this yarn would make a very luxurious blanket for a pretty reasonable price. It’s 100% pima cotton which I absolutely adore. It is a slightly thick and thin style yarn so your stitches won’t look perfectly smooth but have a nice additional texture.
- Wool of the Andes Bulky: This yarn is a very affordable 100% wool option that would work really nicely. I think this yarn would be the best option for a fully wool blanket because it will maintain its shape and form nicely and is still soft. Superwash merino by comparison, has a tendency to ‘grow’ over time and would probably lose its shape in a project this large.
- Biggo by KnitPicks: 50% superwash merino, 50% nylon. This yarn would be a great combination of soft and luxurious but still durable. Without the nylon, I would be skeptical but I think that addition will help the blanket hold up nicely.
- Basic Stitch Anti-Pilling by Lion Brand: This yarn is a perfect, no nonsense, easy care acrylic. It comes in tons of shades and is super soft. Perfect if you prefer to not use wool! If you use this yarn, I would hold it double to meet gauge and still make a chunky blanket.
- Feels Like Butta by Lion Brand: Another yarn that I would hold double to meet gauge. This yarn is super soft and has a chainette style construction so you hook definitely won’t split through the strands if that is something that bothers you!
As always, be sure to gauge swatch, especially when substituting yarn. Small differences in gauge can lead to large changes in the size of the finished item!

Heritage Plaid Throw Blanket Crochet Pattern
© ORIGINALLY LOVELY 2022
This pattern and photographs of this garment are property of Kaitlin Barthold of Originally Lovely. This pattern, photos, and design are subject to copyright and are for personal use only. All commercial use is strictly prohibited. You may not reproduce or distribute this pattern under any circumstances.
The free version of this pattern must be viewed from the webpage.
Shop the kit with Lion Brand Yarn HERE
Skill Level
Easy +
Materials
9 skeins / 1233 yards Lion Brand Hue + Me Yarn (shown in Rose Water)
4 skeins/ 548 yards Lion Brand Hue + Me Yarn (shown in Love Song)
Size US L-11 (8.0 mm) crochet hook (favorites linked here)
Tapestry Needle to weave in ends

Notes:
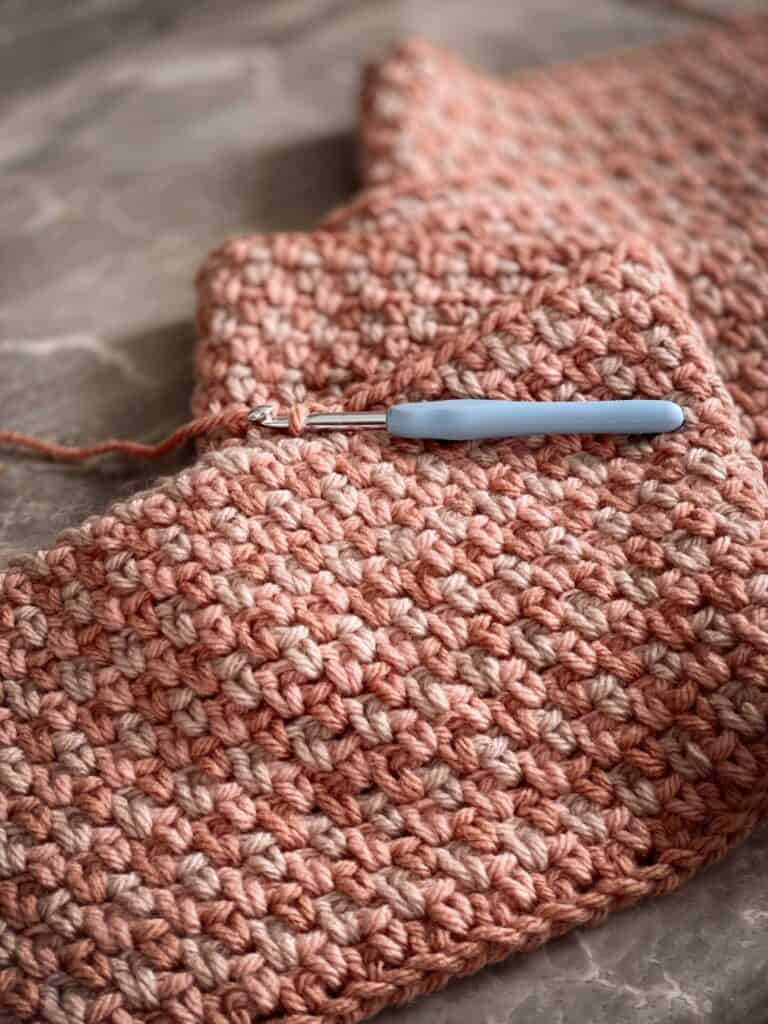
- This blanket is constructed lengthwise. Main color will be worked in extended single crochet and accent color stripes will be worked in slipped stitch. Stripes worked perpendicular to the blanket will be added at the end using a surface slip stitch technique in the accent color. A border and fringe will finish the blanket.
- The chain 1 turning chain in this pattern will not be considered the first stitch of the row.
- A full tutorial for this blanket can be found on my YouTube Channel
Finished Dimensions
This pattern is written in one size and will create a throw size blanket that is 48” wide and 56” long. Tips for modifying this blanket to different dimensions or using different yarn can be found below.
Gauge
6.5 stitches and 6 rows = 4” in extended single crochet
Help Modifying this Blanket Pattern to a Different Size:
This blanket is worked length-wise. What this means is that your foundation chain and following rows will be form the long edge of the blanket
If you plan to modify this pattern, you will need to plan your stitch count in a multiple of 12+8 stitches.
For example, if your gauge was 4 stitches per inch and you wanted to modify this blanket to be around 40″ long, you would repeat the pattern 13 times:
Multiple of 12 * 13 pattern repeats = 156
156 + 8 stitches in addition to the multiple = 164 stitches
164 stitches / 4 sts per inch = 41″
This would mean your blanket would be 41″ long and your foundation chain would be 165 stitches long (164 stitches plus one turning chain). Width can be decided upon as you work the blanket.
It make take some trail and error to figure out how many repeats you want to work but by following this guide, you can modify your blanket to any size using any yarn weight.

Abbreviations:
This pattern is written using U.S. English Terminology
AC = accent color
CH = chain stitch
ESC = extended single crochet. Insert hook into the stitch to be worked. Yarn over and pull up a loop. Yarn over and draw through the first loop only to form a chain. Yarn over and pull through both loops to complete stitch.
MC = main color
SC = single crochet
SLST = slip stitch
ST = stitch
STS = stitches
Heritage Plaid Blanket Crochet Pattern
Ch 93 in MC
Row 1: working into the bars behind the chains, in the second ch from hook ESC, ESC in each ch st across. Ch1 & turn. [92 sts].
2-7: ESC in each st across, ch1 & turn.
8: ESC in each st across, pulling through the final ESC with AC, ch1 & turn.
9: in AC, slst in each st across, ch1& turn.
10: in AC and working into the MC sts once more, slst in each st across, ch1 in MC & turn.
NOTE: In row 10, you will be working into the same stitches worked into in row 9. This means, you will be working into both bars of the MC sts. See fig 1 below.

11: Working into the same st the slsts were worked into, ESC, ESC across. See fig 2 below.

12-14: as 8-10.
15-18: as rows 11-14.
19-26: ESC in each st across, ch1 & turn. On the final row, pull through the final ESC with AC, ch1 & turn.
Repeat rows 9-26 four more times. You will now have 5 repeats of 3 AC stripes (15 AC stripes total).
On the final row, do now switch to AC or ch1 & turn. Cut yarn leaving a tail to weave in and pull through to secure.
Plaid Stripes:
You will now work Surface Slip Stitches on the blanket to create the perpendicular stripes and form the plaid pattern. Surface slip stitches will be worked in the gaps between stitches.
For additional help adding the plaid stripes, check out the video tutorial.
Note: When adding the stripes, be sure to work loosely! If you find that your slipped stitches are too tight or pulling the blanket, you may want to go up a hook size.
- Using Accent color, begin at the bottom corner of the foundation chain row. Count 8 stitches over and in the first row between stitches 8 and 9, insert your hook and pull up a loop. Insert your hook into the gap between stitches on the row directly above and pull up ano ther loop. Pull this loop through the first loop to form your first slipped stitch.
- Continue in this way working up to the final row.
- Turn your blanket over and work the surface slipped stitches back down the other side. Be sure to work in the same hole as done on the opposite side.
- When you have reached the end and are back to the starting point, break yarn leaving a tail to weave in later and pull through to secure.
- Now, you will repeat this surface slipped stitch two stitches over. Then, repeat a third time two stitches over once more. This will be your pattern; 8 stitches, stripe between 8th and 9th stitches, stripe between 10th and 11th stitches, stripe between 12th and 13th stitches. See fig. 3 below to help visualize stripe pattern.
Note: This figure represents a small portion of the blanket pattern. In reality, your blanket will be 21 AC stripes wide and 15 AC stripes tall whereas this diagram represents 6 AC stripes by 6 AC stripes. Vertical lines represent surface slip stitches as they are worked between stitches after the blanket is completed.
Finishing:
You will now add a border along the long edges of the blanket.
Using AC, pull up a look in the corner, ch1, SC into each of the 92 sts across the long edge of the blanket. When you reach the end, turn, slst across to end of row. Break yarn leaving a tail to weave in and pull through to secure.
Repeat for opposite side.
Adding Fringe:
Cut many pieces of yarn 10” long in MC and AC.
Using a crochet hook, attach one strand of fringe per row by inserting your crochet hook into the row and pulling up the center of one strand of fringe. Insert the tails of the yarn through this loop and pull taut. Work MC fringe along MC rows and AC fringe at AC rows.
Note: I like to wait until I have added all of my fringe to fully tighten the strands. This way, if there is a strand that doesn’t look quite right, I can remove it and adjust if needed.
Trim fringe to the same length.
Weave in all ends to secure.
Steam block if desired.
Enjoy!

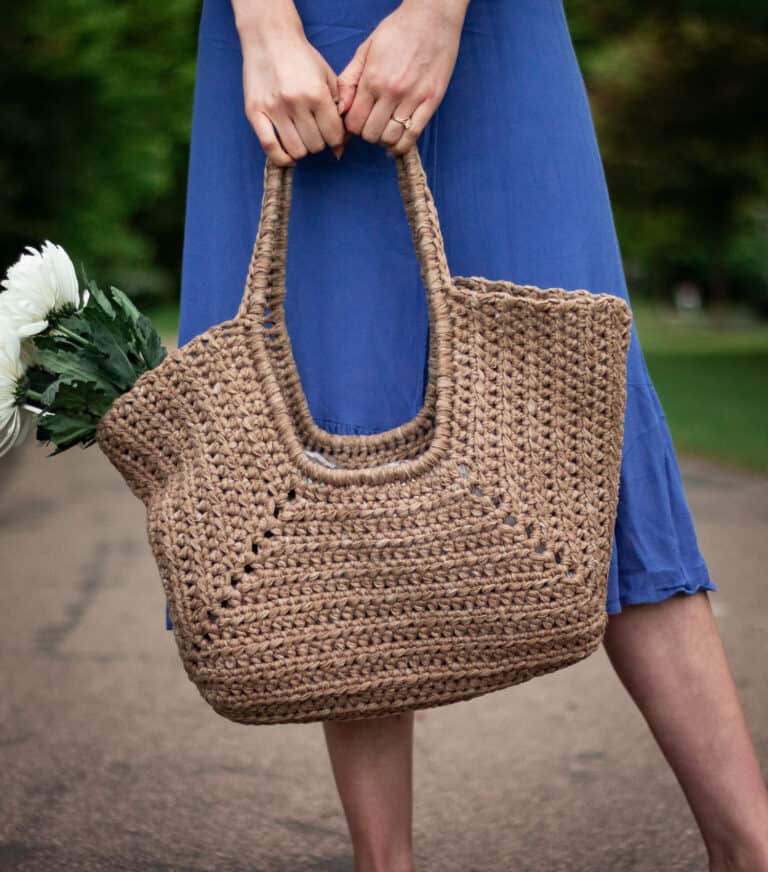
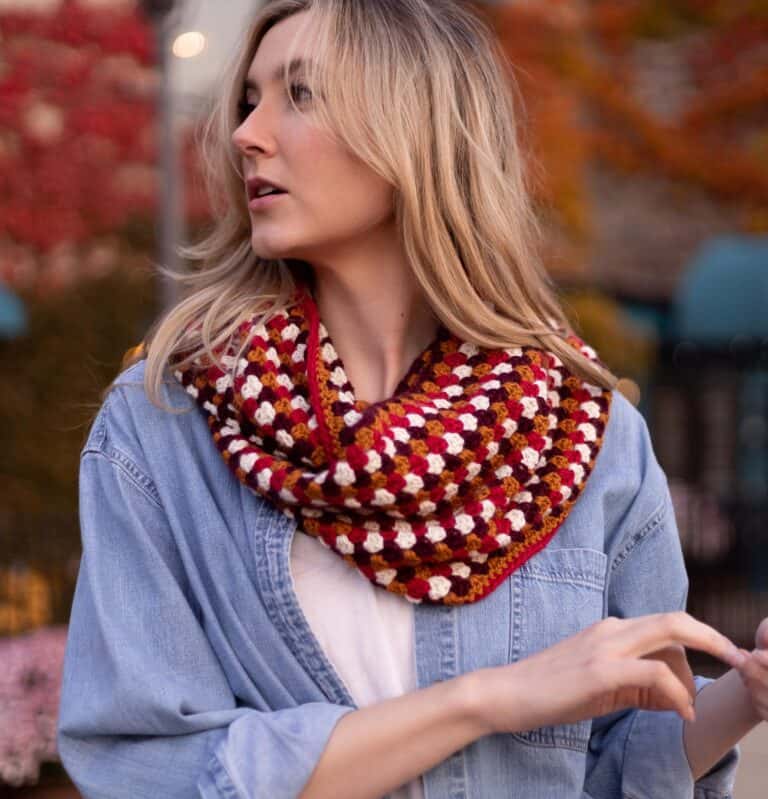
Looking for other free crochet patterns? Check out the Rosebud Scarf, the Cove Tote Bag, or the Seaside Shawl!



This is a beautiful blanket. Thank you so much!
Linda H
how do i get the free pattern for the plaid blanket? I tried everything.
Hi Mary! The free version pattern is meant to be viewed on the webpage. The printable versions of the pattern are only available for purchase. Hope that helps! -Kaitlin