Wavy Baby Blanket Crochet Pattern
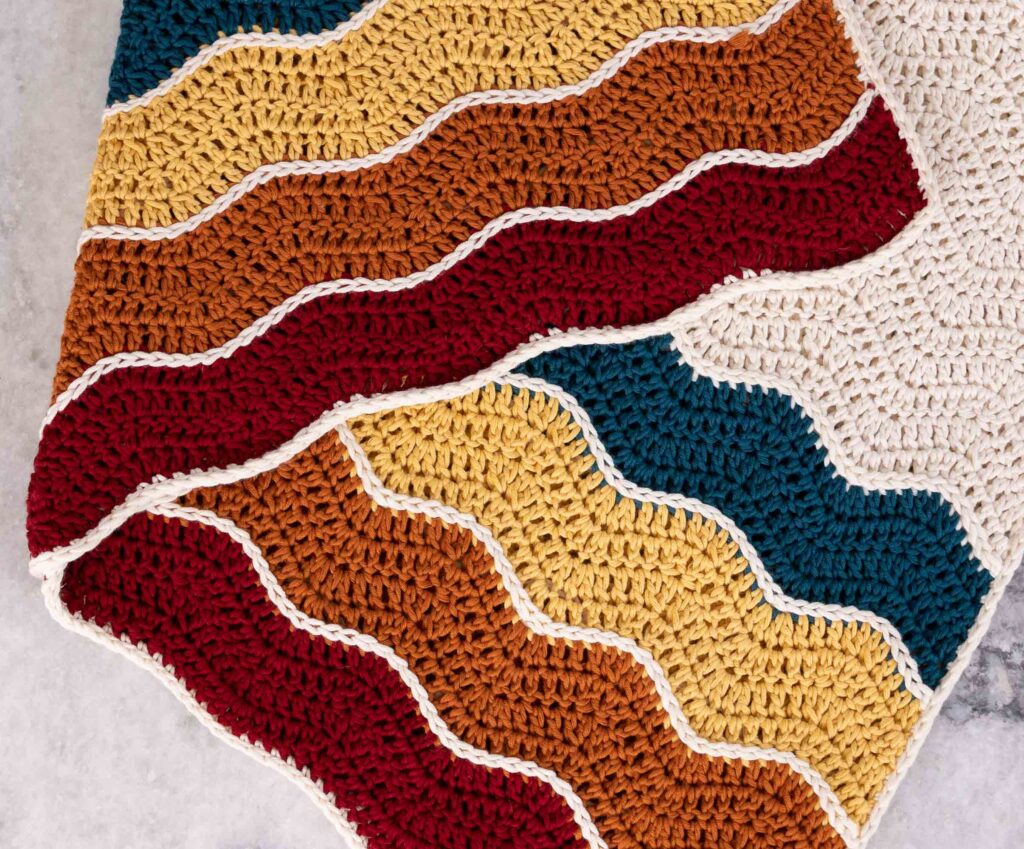
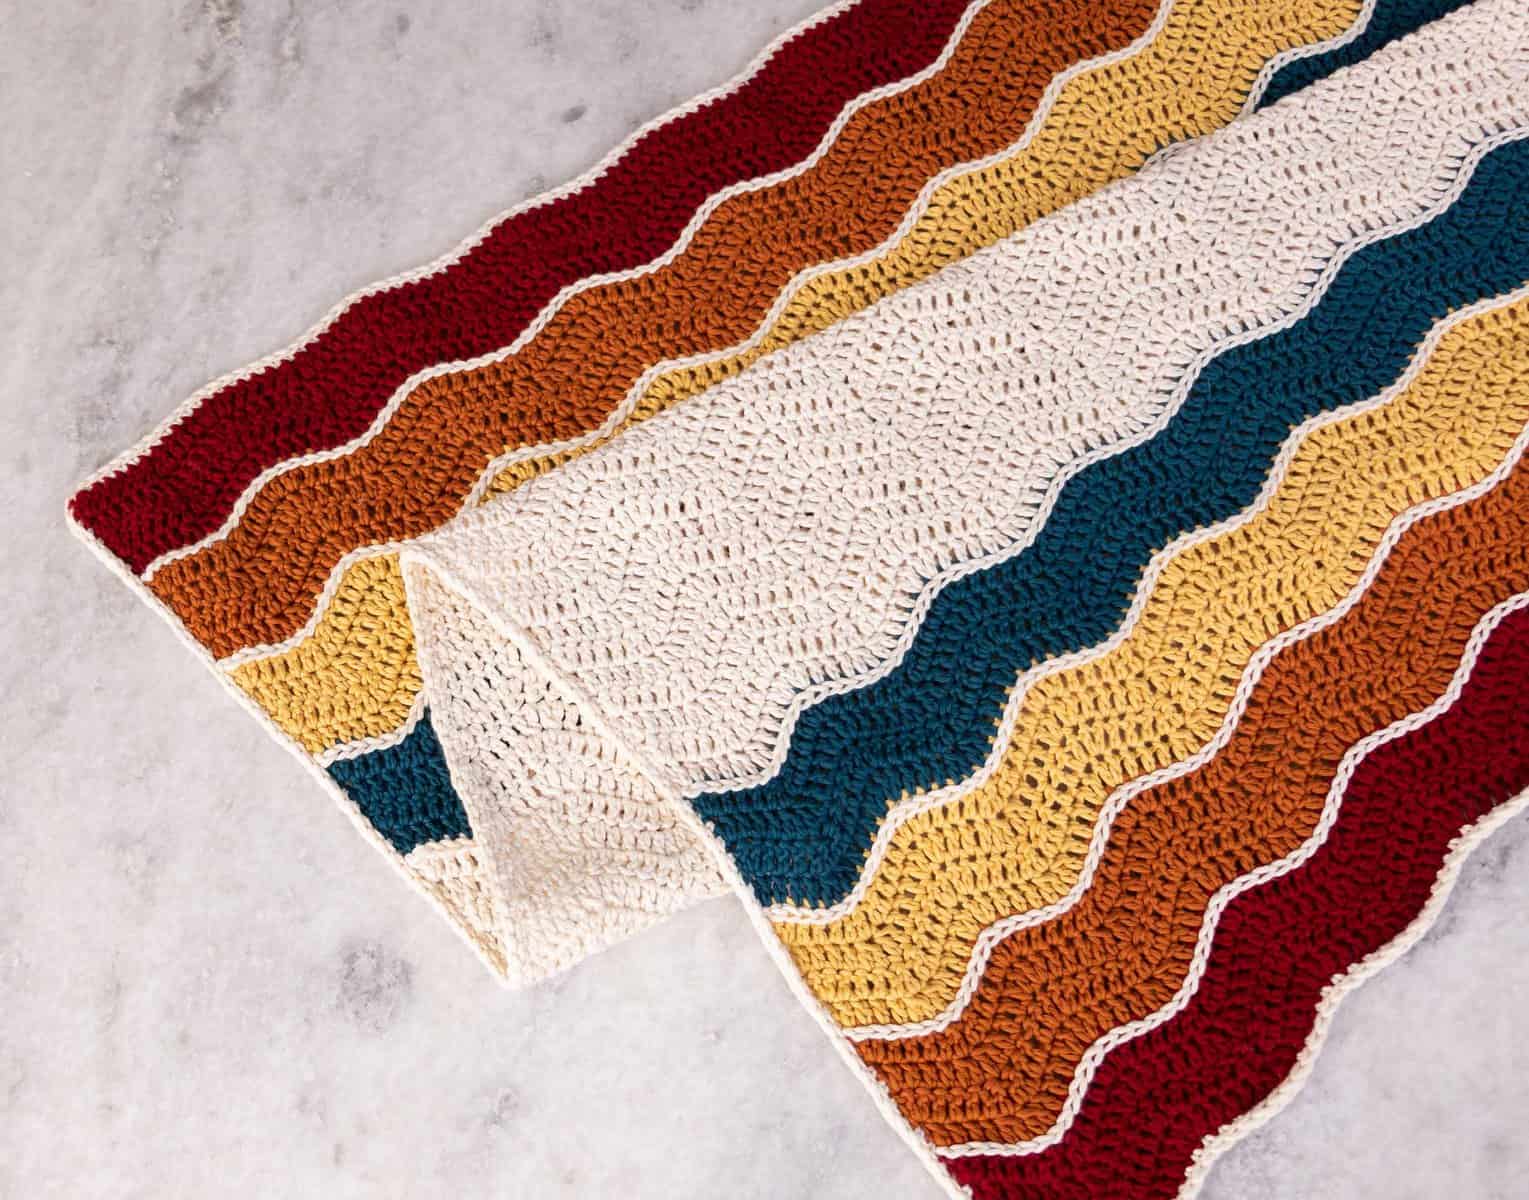
Introducing: the Wavy Baby Blanket Crochet Pattern and video tutorial! A simple, vintage inspired, color blocked baby blanket.
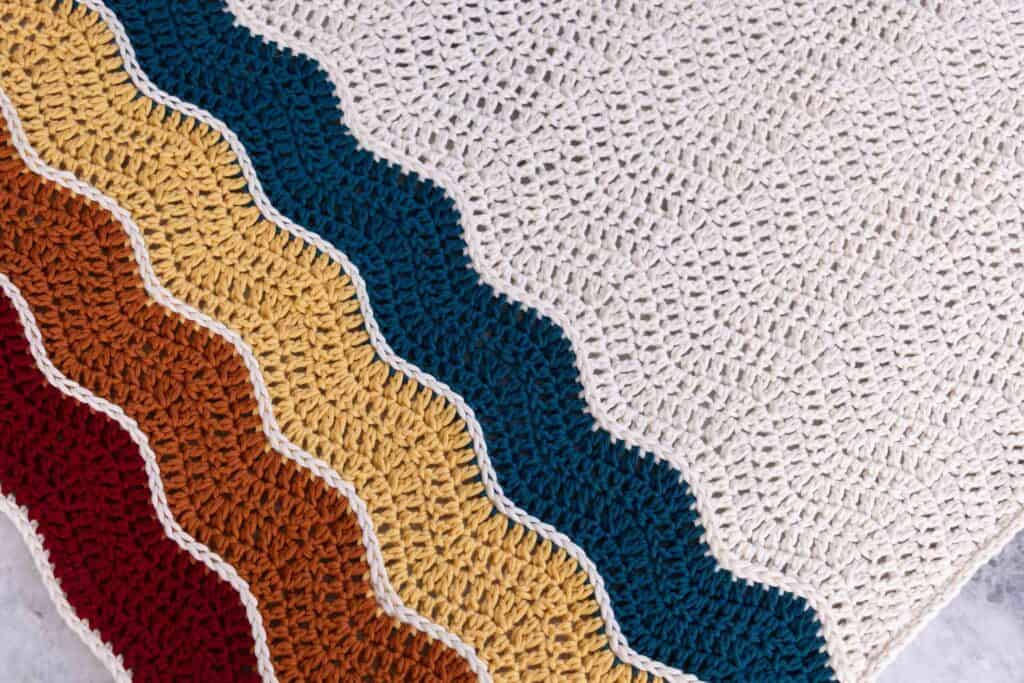
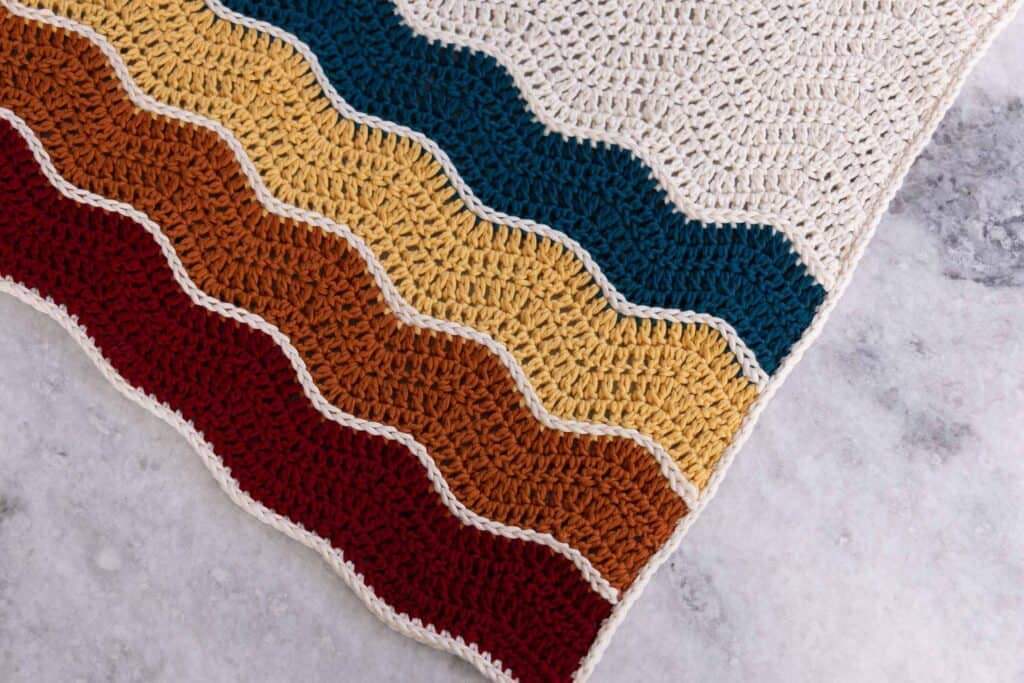
The Wavy Baby Blanket is a simple crochet pattern worked in double crochet using the ripple stitch! Bold color blocking separated by slipped stitch stripes create a striking design that is easily customizable using a color palette of your choice.
The accompanying video tutorial makes this a perfect pattern for beginners looking to advance their skills.
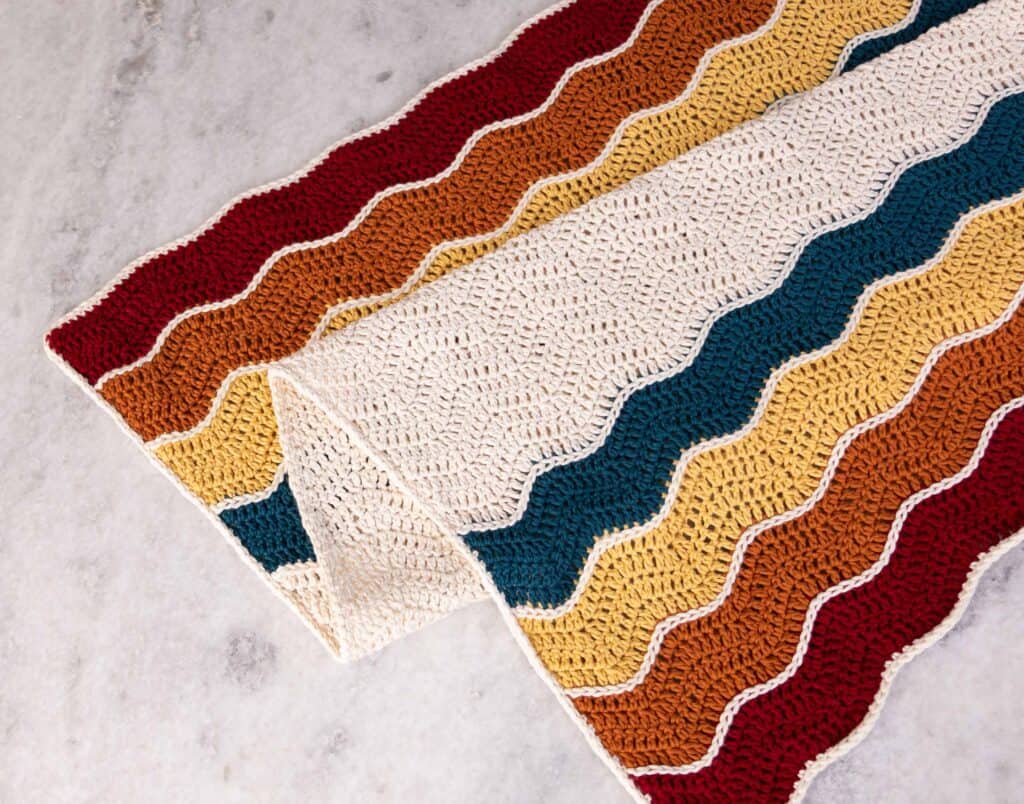
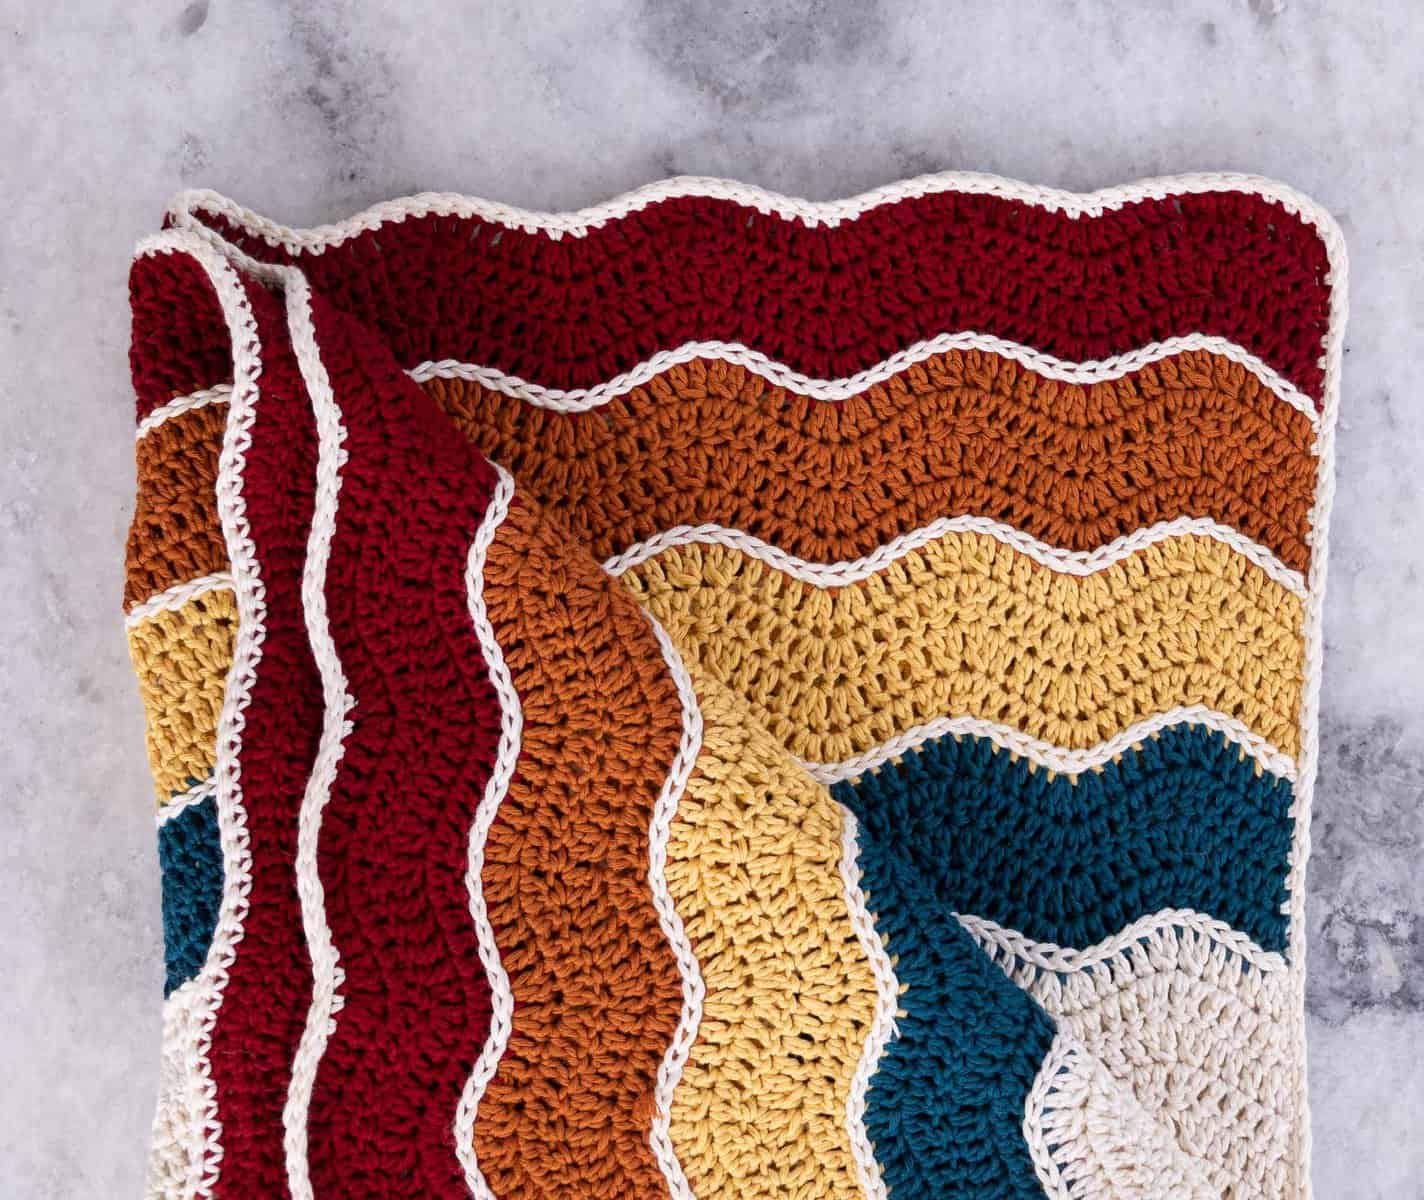
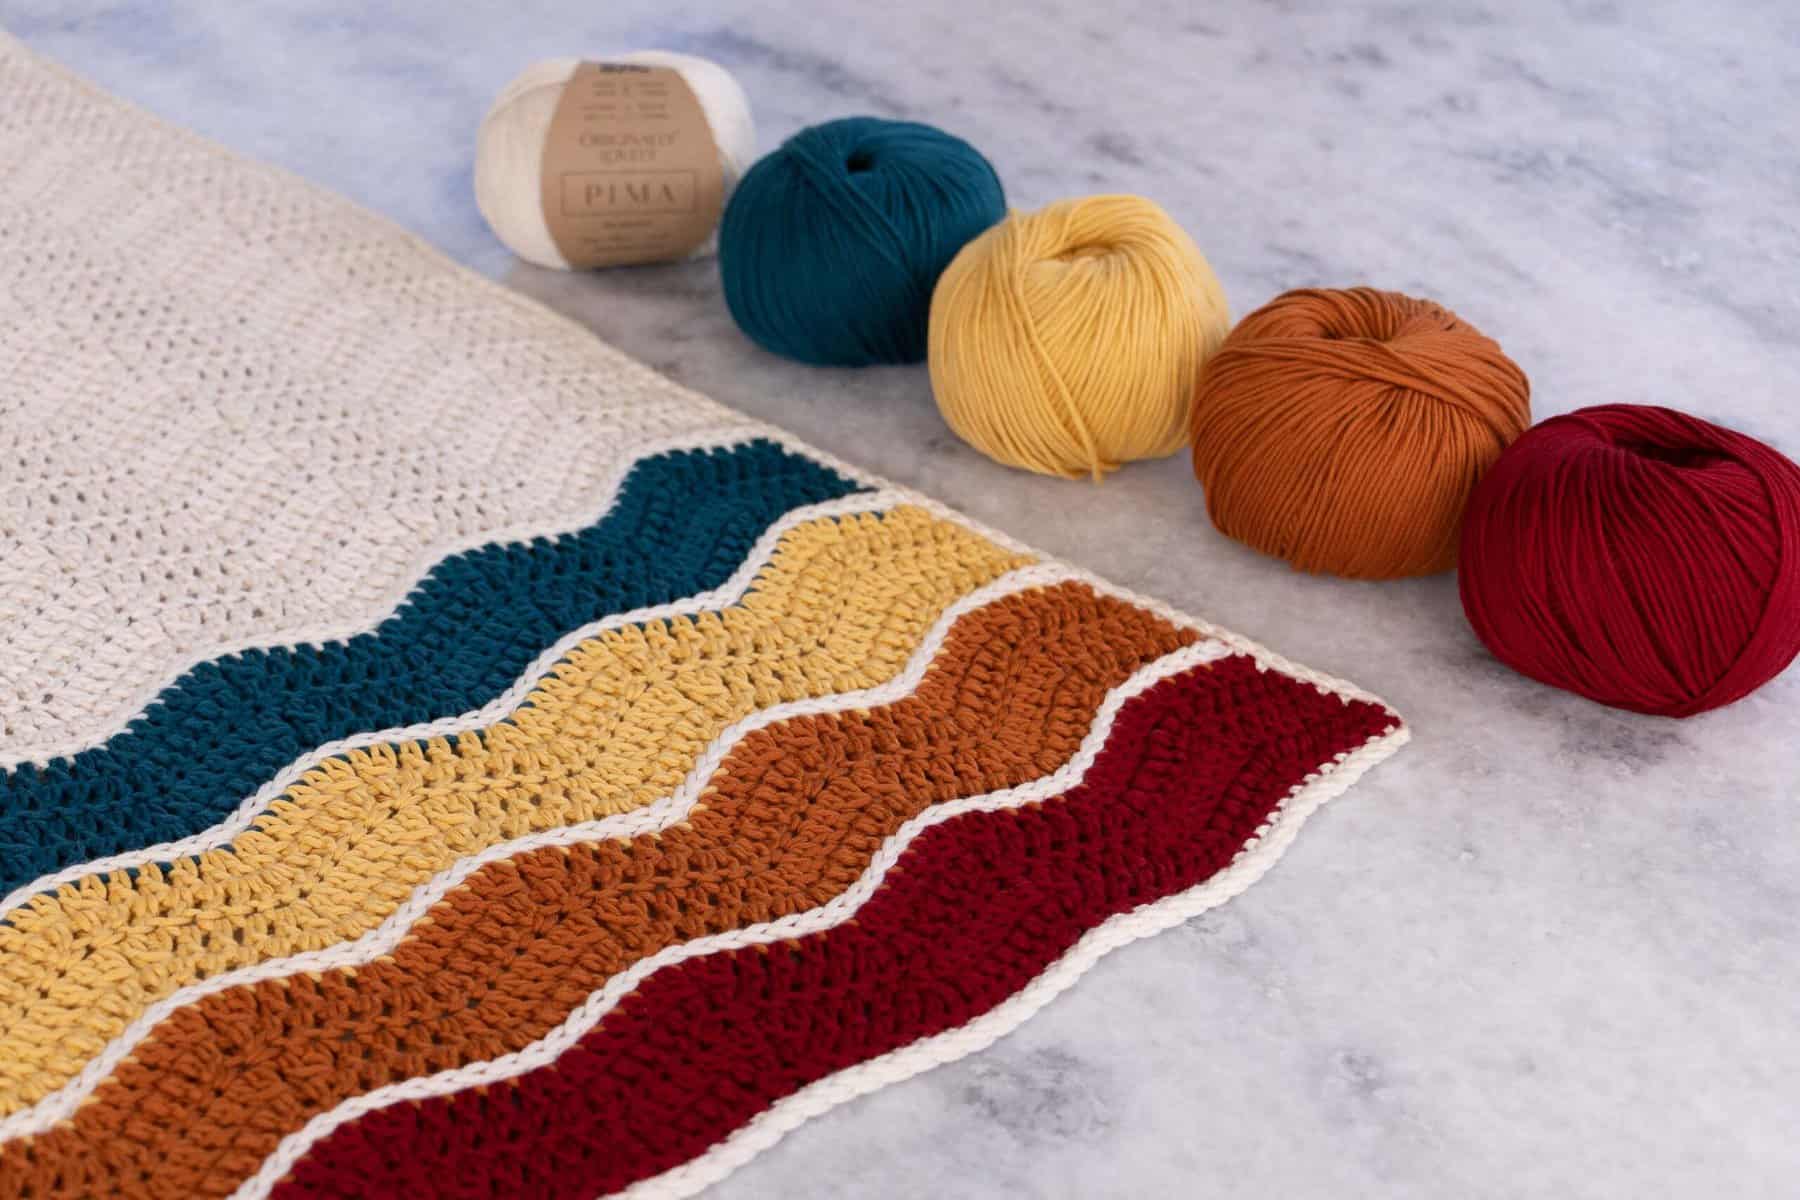
The Wavy Baby Blanket crochet pattern is available for free (shown below), and as a printable PDF on Ravelry and Etsy.
Scroll down to find to the free crochet pattern or continue reading to learn a bit about the design and some pointers to help you out!
**please note, some links may be affiliate links which will allow me to make a small commission on products purchased through my referral. This does not influence my opinion or the price of the item that you are purchasing in any way.
The Design
The Wavy Baby Blanket is a simple crochet pattern with strikingly beautiful color block details. The ripple stitch design is elevated with slipped stitch rows to really make the colorful stripe details pop.
The rainbow design on either end was inspired by vintage rainbow patterns from the 70s! This crochet pattern is perfect to play with different colors of yarns for a unique look.
Yarn
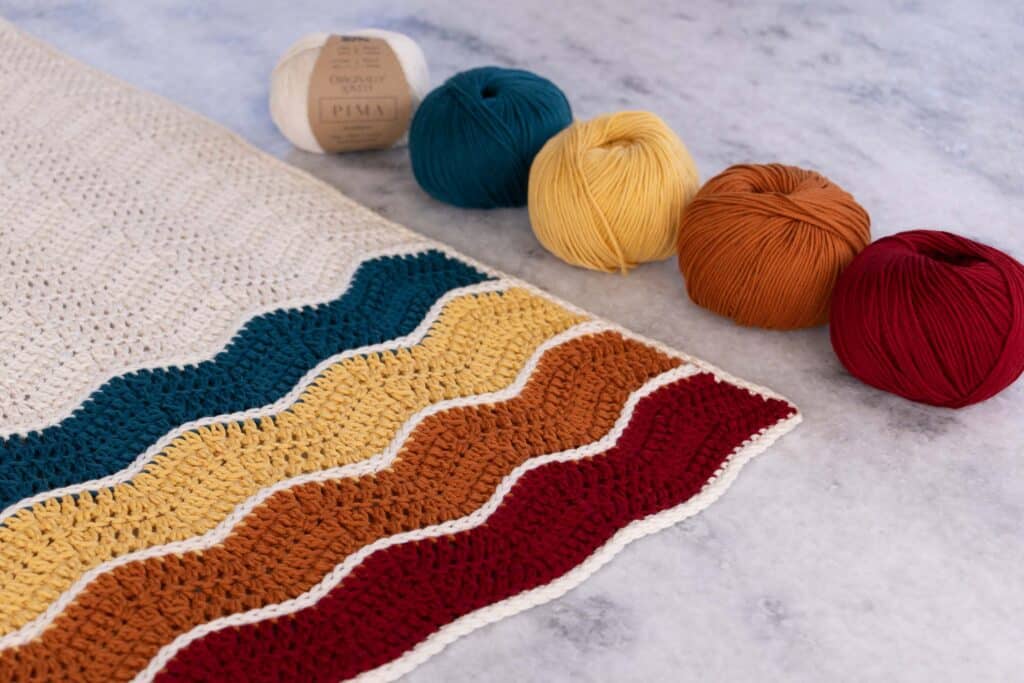
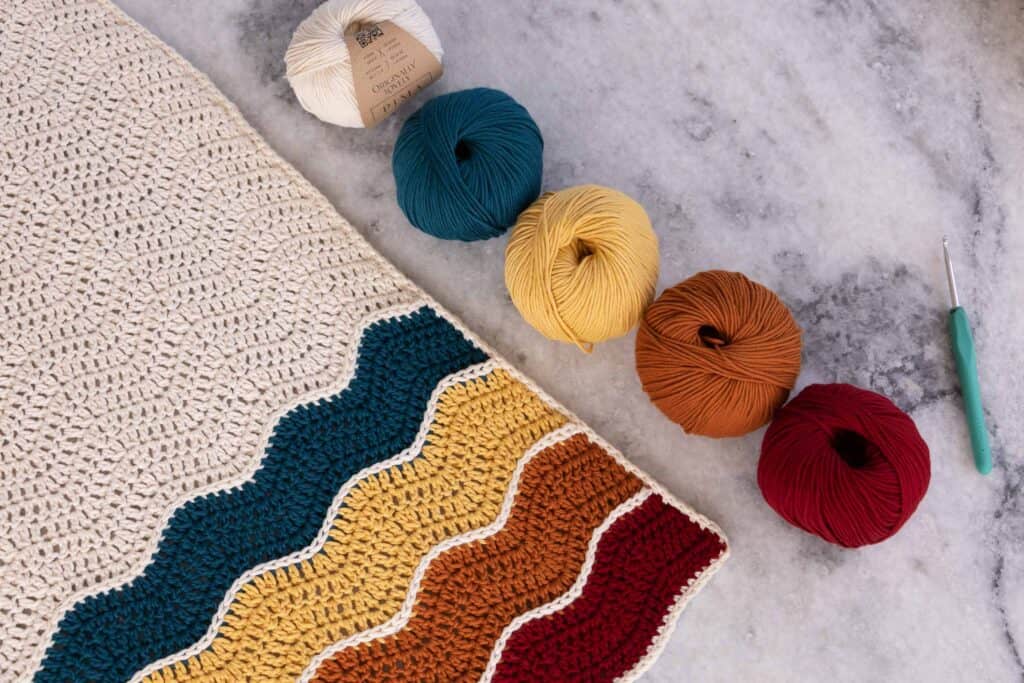
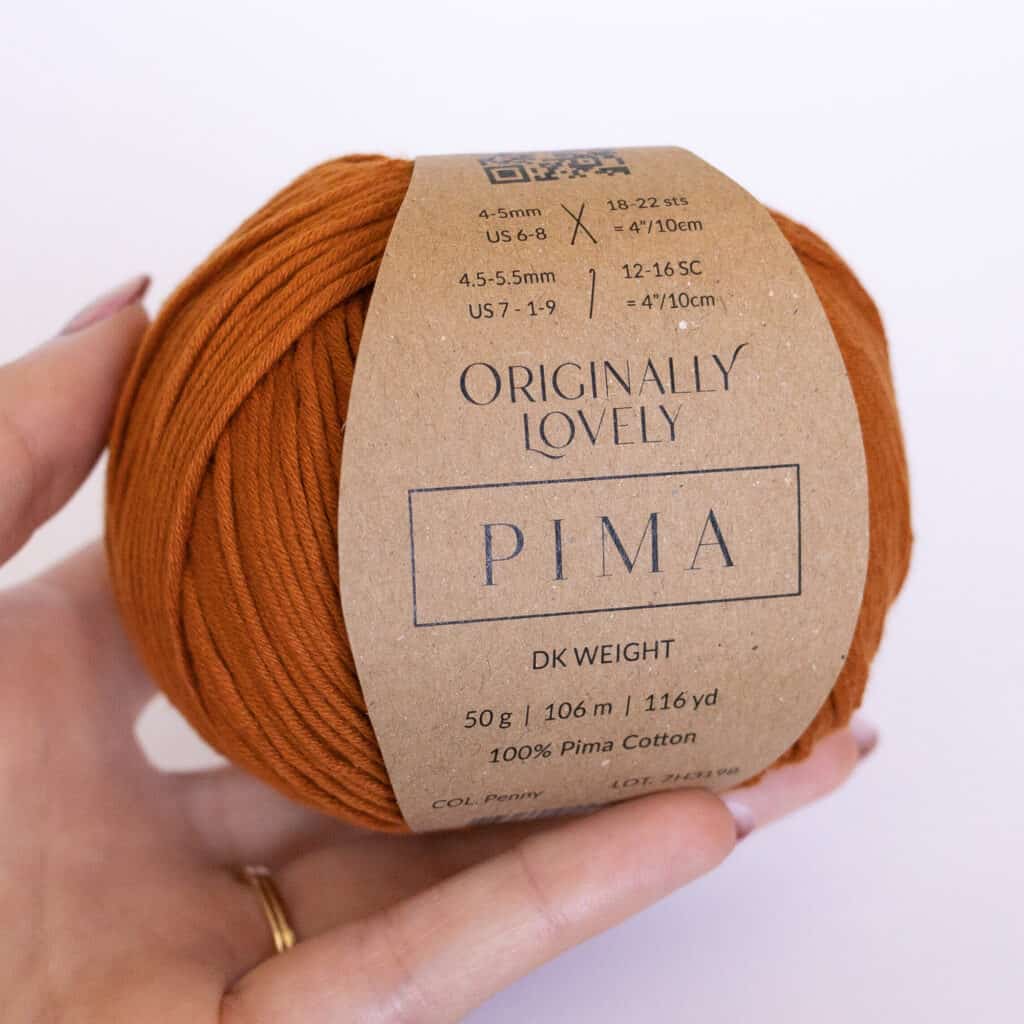
This baby blanket was designed to be used with Originally Lovely Pima yarn. I love this yarn because it has such beautiful stitch definition and stunningly vibrant colors with so many color palette options!
Wavy Baby Blanket Crochet Pattern
© ORIGINALLY LOVELY 2022
This pattern and photographs of this garment are property of Kaitlin Barthold of Originally Lovely. This pattern, photos, and design are subject to copyright and are for personal use only. All commercial use is strictly prohibited. You may not reproduce or distribute this pattern under any circumstances.
The free version of this pattern must be viewed from the webpage.
Follow along with the Wavy Baby Blanket Video Tutorial
Shop the printable, ad-free PDF on Ravelry
Shop the printable, ad-free PDF on Etsy
Skill Level
Easy +
As mentioned before, the accompanying video tutorial makes the Wavy Baby Blanket suitable for adventurous beginners looking to crochet a fun and beautiful baby project.
Materials
7, (10, 14, 17) balls / 812, (1160, 1624, 1972) yards Originally Lovely Pima Yarn
- Color A (Jam): 1, (2**, 2, 2) balls / 116, (232**, 232, 232) yards
- Color B (Penny): 1, (1, 2, 2) balls / 116, (116, 232, 232) yards
- Color C (Banana): 1, (1, 2, 2) balls / 116, (116, 232, 232) yards
- Color D (Ocean): 1, (1, 2, 2) balls / 116, (116, 232, 232) yards
Main Color (Powder): 3, (5, 6, 9) balls / 348, (580, 696, 1044) yards
Size 4.5mm crochet hook – this is my favorite set!
Tapestry needle to weave in ends
**yardage estimates are based on full balls of Pima yarn, different yarn choices may use slightly more or less yarn. The Stroller size blanket will use very little of the second ball of color A.
Please note: Yarn weight and yardage requirements are estimates. Using yarn of different fiber composition, ply, gauge, and any modifications will lead to differences in yarn usage.
Originally Lovely Yarn
PIMA
Pima is a stunning, 100% pima cotton yarn. This yarn has beautiful stitch definition, is naturally cooling, and comes in a range of vibrant hues!
Gauge
13 stitches and 7 rows = 4” in ripple stitch
** This works out to about 3.5 stitches per inch in double crochet
Please note: Always remember to gauge swatch especially when substituting yarn in a pattern! Small changes in gauge can lead to large changes in the finished garment so assure a proper fit with the proper gauge!
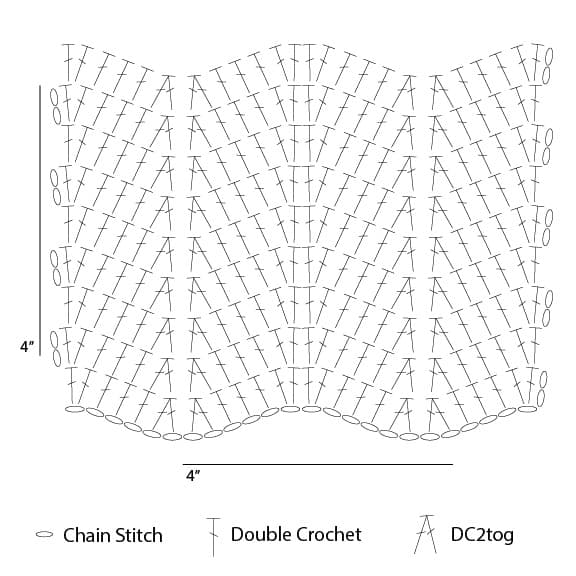
Ripple Stitch Crochet Chart
Notes
In this pattern, turning chains will NOT count as the first stitch.
This pattern will be worked in the following stripe pattern: A, B, C, D, a longer stretch using the Main Color (MC), then the colorblocking will repeat in reverse; D, C, B, A. Slipped stitch stripes using the MC will separate each section. The border will be added at the end using the MC.
Pattern is written for smallest size with changes for larger sizes given in parenthesis using the following format: Security, (Stroller, Baby, Toddler)
To help keep track of your size, you may highlight or circle all numbers for your chosen size before you begin. If only one number is given, it applies to all sizes.
Video Tutorial
A full, start-to-finish video tutorial is available for this crochet pattern: https://youtu.be/K1n7KZdDJrg
Dimensions
| Security | Stroller | Baby | Toddler | |
| Width | 24″ | 31″ | 38″ | 38″ |
| Length | 28″ | 37″ | 37″ | 48″ |
Security, (Stroller, Baby, Toddler)
NOTE: Sample is shown in Stroller size.
Pattern is written for smallest size with changes for larger sizes in parenthesis. When only one number is given, it applies to all sizes. To keep track of your size, you may highlight or circle all numbers for your chosen size before you begin.
Tips for Modifying Pattern
If you plan to modify this pattern, you will need to plan your stitch count in a multiple of 12+2 stitches
First, find your gauge using your chosen yarn and hook size. Then, calculate your desired blanket size based on your gauge.
For example, if your gauge is 6 stitches = 4”, and you want a blanket that is 48 inches wide, you would begin with a chain of 74 stitches. This may take some adjusting to find a number that fits the multiple of 12+2.
Abbreviations
This pattern is written using U.S. English terminology using Craft Yarn Council standards.
* = repeat following the asterisk as many times as directed
Beg = beginning
Ch = chain stitch
Ch sp = chain space
DC = double crochet
2DC = double crochet stitches in the same stitch
DC2tog = double crochet 2 stitches together. Yarn over, and pull up a loop in the next stitch, yarn over and pull through the first 2 loops on your hook, yarn over and pull up a loop in the next stitch, yarn over and pull through the first 2 loops on your hook, yarn over and pull through all 3 loops on your hook.
SC = single crochet
Sk = skip
Slst = slipped stitch
Sp = space
St = stitch
Sts = stitches
Resources
The following resources may be useful if you have questions, come across a new technique, or need additional guidance.
- The video tutorial is always a great place to start for the fastest answer to any questions. Timestamps for specific parts of the pattern are linked in the pinned comment on the video.
- For additional questions that cannot be answered in the video, please comment below or email support@originallylovely.com
Wavy Baby Blanket Crochet Pattern Instructions
Beginning with color A, chain 86 (110, 134, 134) stitches.
Row 1: Working into the bar behind the chains and beginning in the 3rd ch from hook, *2DC, DC next 3, DC2tog, DC2tog, DC next 3, 2DC. Rep from * to end of row. Ch2 & turn. [84 (108, 132, 132) sts].
2: *2DC, DC next 3, DC2tog, DC2tog, DC next 3, 2DC. Rep from * to end of row. Ch2 & turn.
3-4: As row 2. On row 4, pull through the final 2 loops of the last DC st with MC. Ch1 & turn.
5: Slst into each st across. Ch1 & turn.
6: Slst into the same st as worked into in the previous row across. Ch2 in color B & turn.
Section B:
7: Into the same st worked in the last 2 rows, *2DC, DC next 3, DC2tog, DC2tog, DC next 3, 2DC. Rep from * to end of row. Ch2 & turn.
NOTE: To easily find which stitch to work into in row 7, look for the stitches crocheted in color A which should be between the MC slipped stitches.
8-9: *2DC, DC next 3, DC2tog, DC2tog, DC next 3, 2DC. Rep from * to end of row. Ch2 & turn.
10: *2DC, DC next 3, DC2tog, DC2tog, DC next 3, 2DC. Rep from * to end of row, pulling through the final 2 loops of the last DC st with MC. Ch1 & turn.
11-12: as rows 5-6 in MC. Ch2 in color C & turn.
Section C:
13-16: as rows 7-10 using color C.
17-18: as rows 5-6 in MC. Ch2 in color D & turn.
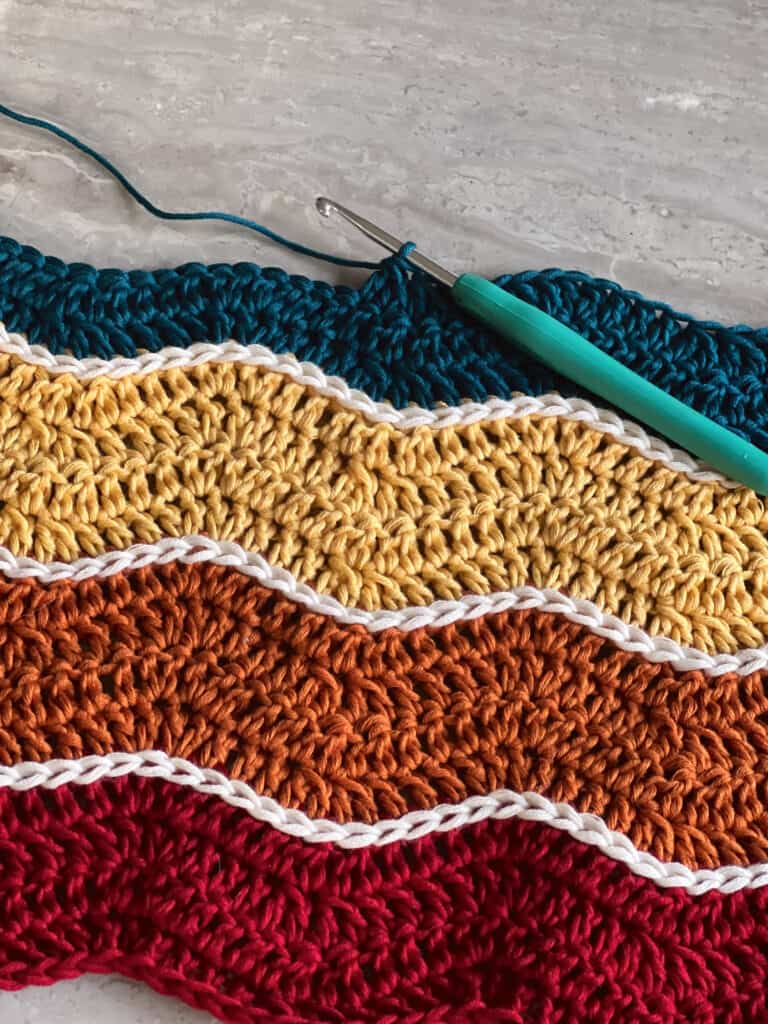
Section D:
19-22: as rows 7-10 using color D.
23-24: as rows 5-6 in MC. Continuing with MC, ch2 & turn.
Main Color Section:
25: as row 7 in MC.
Continue even (as row 7) using MC until you have worked a total of 16 (32, 32, 52) MC rows. On the final row, ch1 & turn.
Section D:
You will now work resume working the slipped stitch rows and color blocking.
27: Continuing with MC, slst into each st across. Ch1 & turn.
28: Slst into the same st as worked into in the previous row across. Ch2 in color D & turn.
29: Into the same st worked in the last 2 rows, *2DC, DC next 3, DC2tog, DC2tog, DC next 3, 2DC. Rep from * to end of row.
NOTE: Since the last few rows were all worked in MC, you will not be able to identify which stitch to work into as easily based off color as done for previous sections. Pay extra attention to work into the DC sts which will be between the two slipped stitch rows.
30-31: *2DC, DC next 3, DC2tog, DC2tog, DC next 3, 2DC. Rep from * to end of row. Ch2 & turn.
32: *2DC, DC next 3, DC2tog, DC2tog, DC next 3, 2DC. Rep from * to end of row, pulling through the final 2 loops of the last DC st with MC. Ch1 & turn.
Section C:
33-34: as rows 27-28 in MC. Ch2 in color C & turn.
35-38: as rows 29-32 using color C.

Section B:
39-40: as rows 27-28 in MC. Ch2 in color B & turn.
41-44: as rows 29-32 using color B.
Section A:
45-46: as rows 27-28 in MC. Ch2 in color A & turn.
47-50: as rows 29-32 using color A. On the final row, pull through the final 2 loops of the last DC st with MC. Ch1 & turn. Continue on to work the border.
Border:
Round 1: SC into each st across row, ch1 & turn to work down long edge of blanket, SC along edge of blanket working 2 SC sts into each DC, do not SC into slst rows, [96, (128, 128, 168) SC total along edge], ch1 & turn to work along beg row, SC across, ch1 & turn, SC along opposite edge of blanket working 2 SC sts into each DC along edge as done for opposite side, ch1. Slst with 1st st to join. [364, (476, 524, 604) sts].
2: paying careful attention not to work too tight, *slst in each SC st to corner, slst in ch1 corner space. Rep from * to end of round, slst with 1st st to join. Break yarn leaving a tail to weave in and pull through to secure.
Finishing:
Weave in all ends. Block by soaking in warm lukewarm water and lay flat to dry.
Enjoy!
I hope that you’ve enjoyed this crochet pattern and love your new Wavy Baby Blanket!
Let’s keep in touch!
Join our newsletter list & stay up to date on all things Originally Lovely
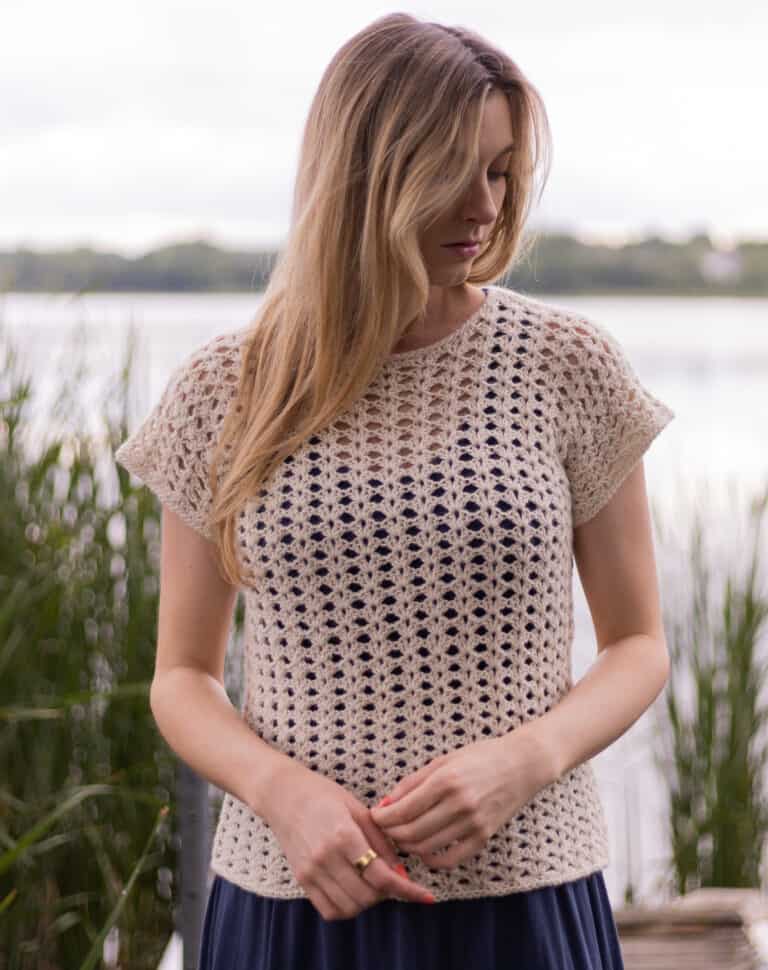
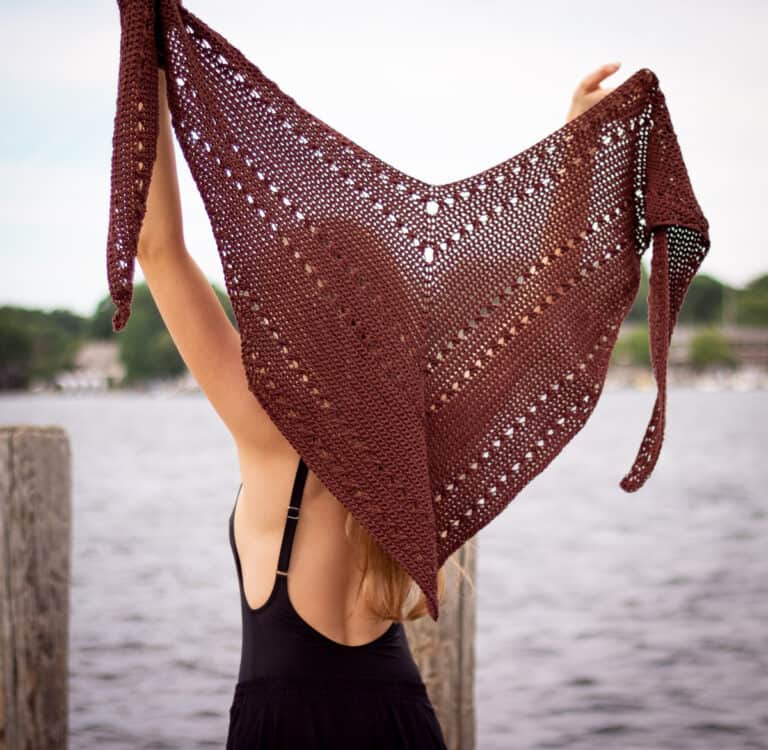
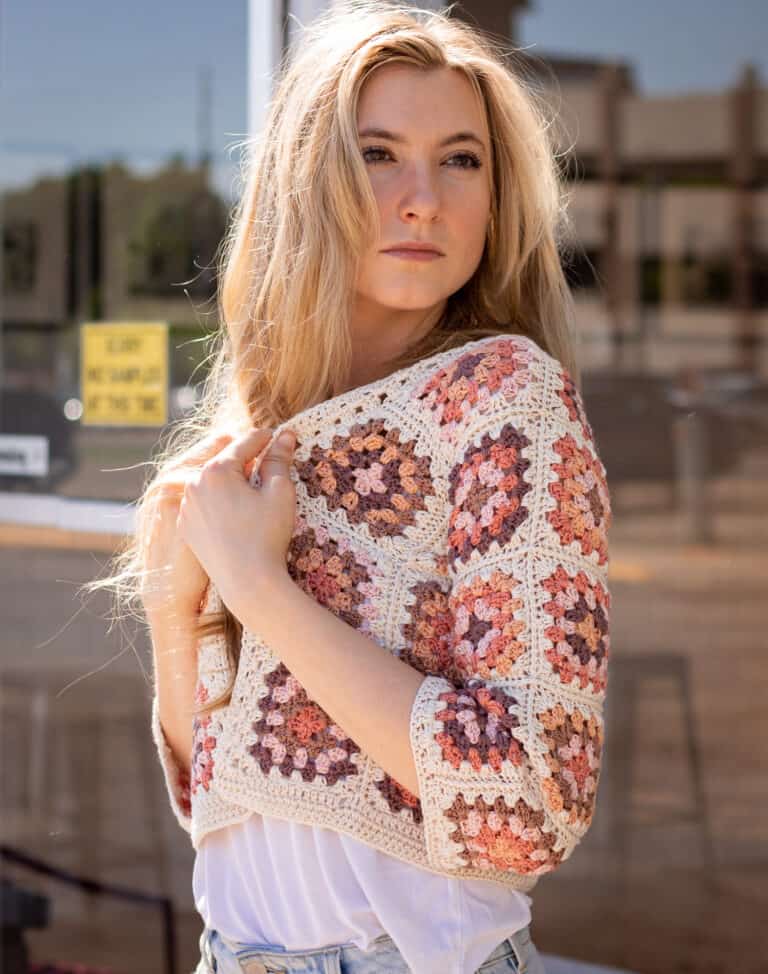
Looking for more crochet patterns? We have something for everyone! Here are a few favorites:
Maria Top
The coolest, summer top crocheted in the iconic granny stitch! Make using one color or many for endless possibilities.
Granny Square Cardigan
Forever a favorite. A modernized version of the classic & colorful cardigans we all know and love.

4 Comments