Maria Top Crochet Pattern
Introducing: The Maria Top — Free Crochet Pattern
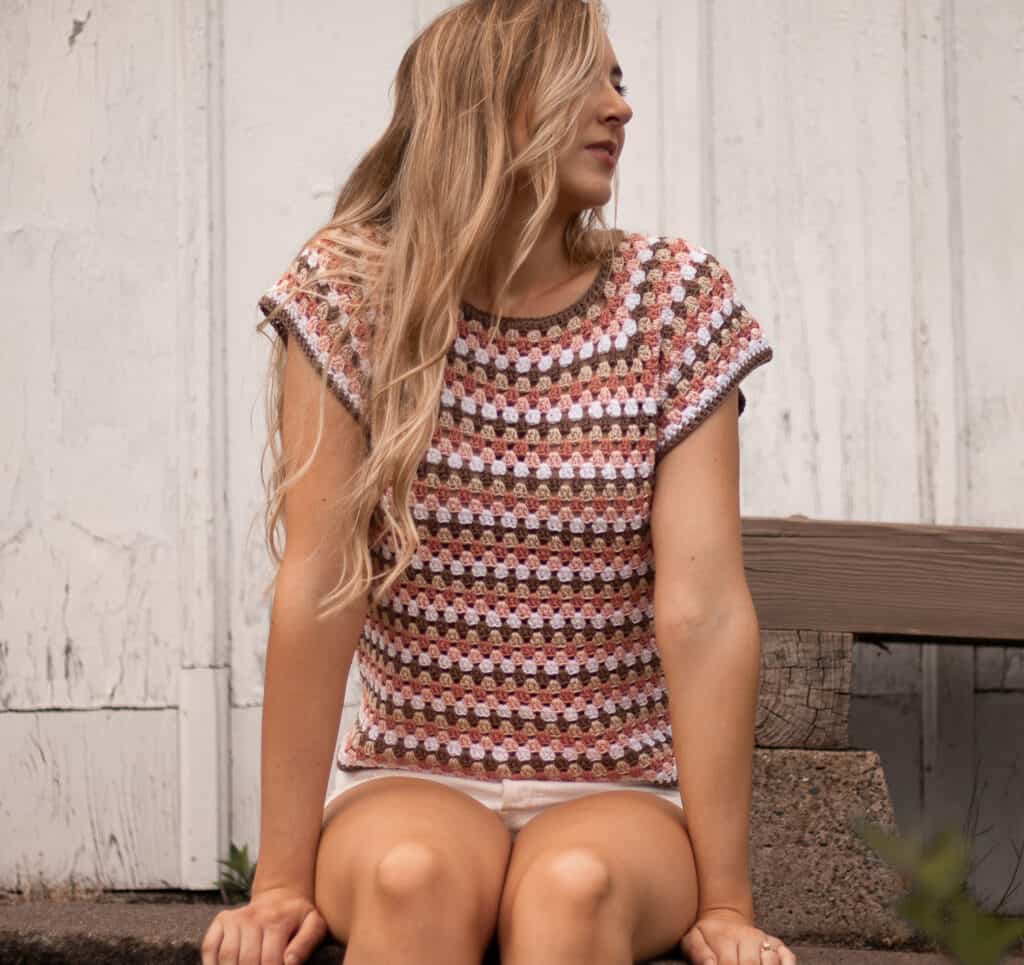
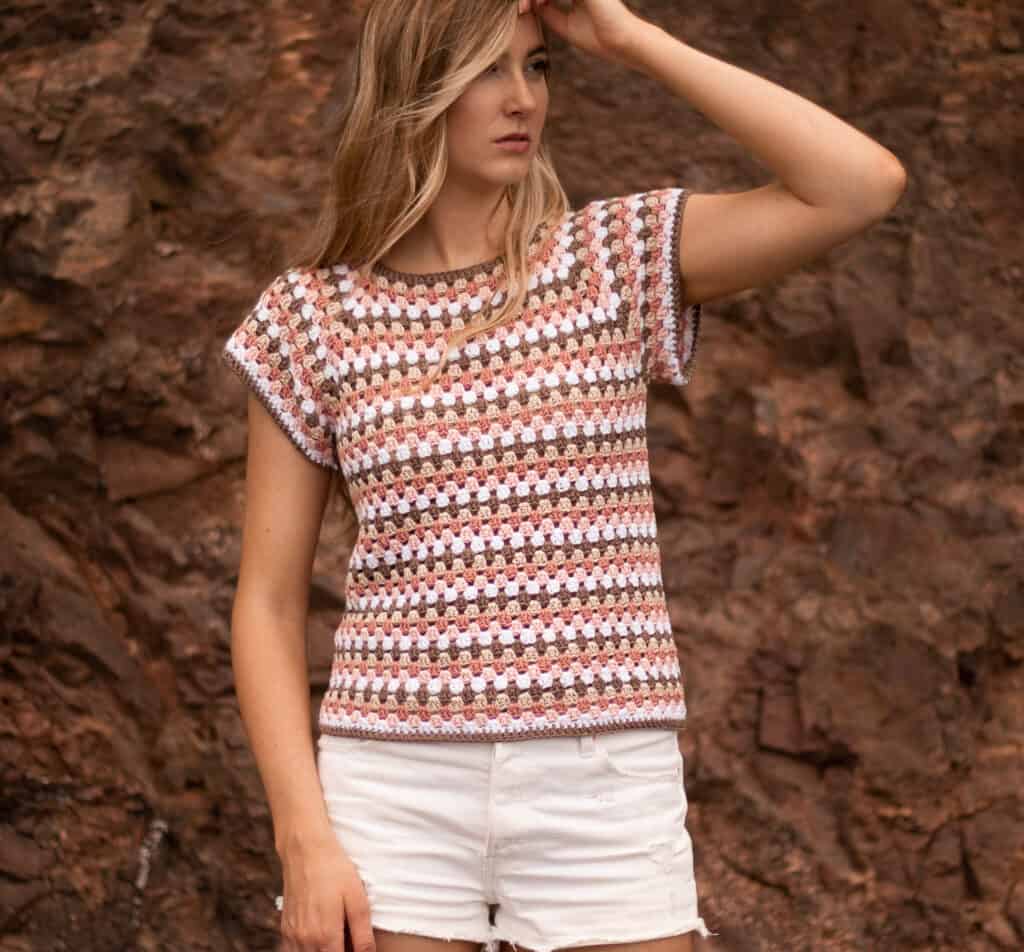
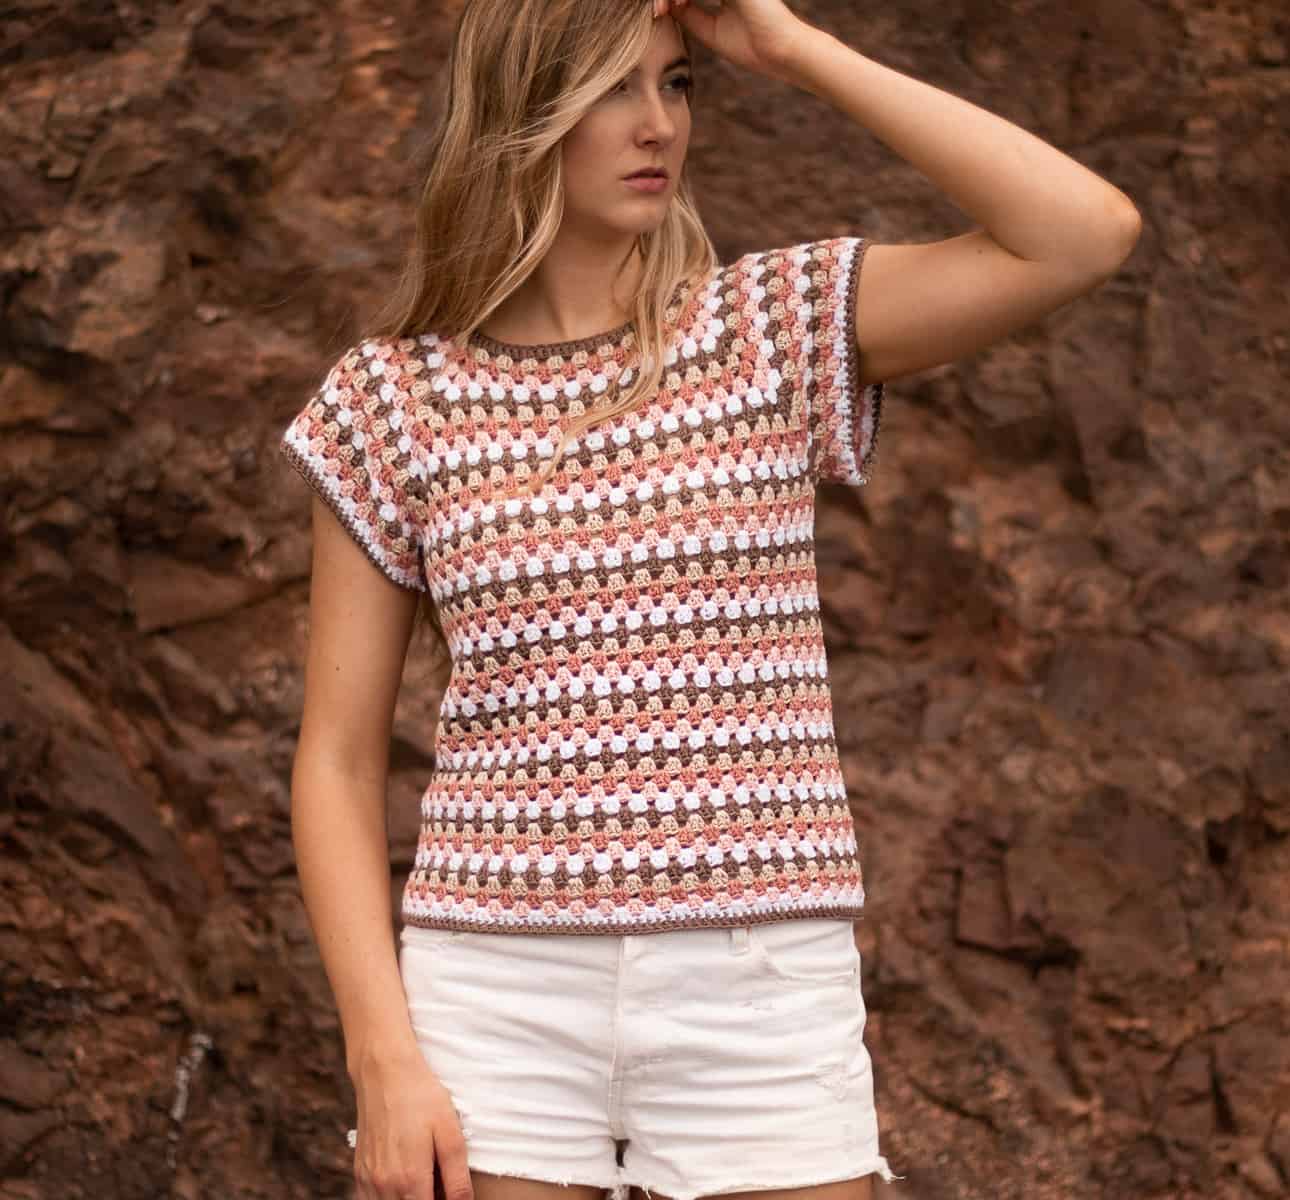
This beginner friendly crochet top pattern is worked from the top, down in granny stitch.
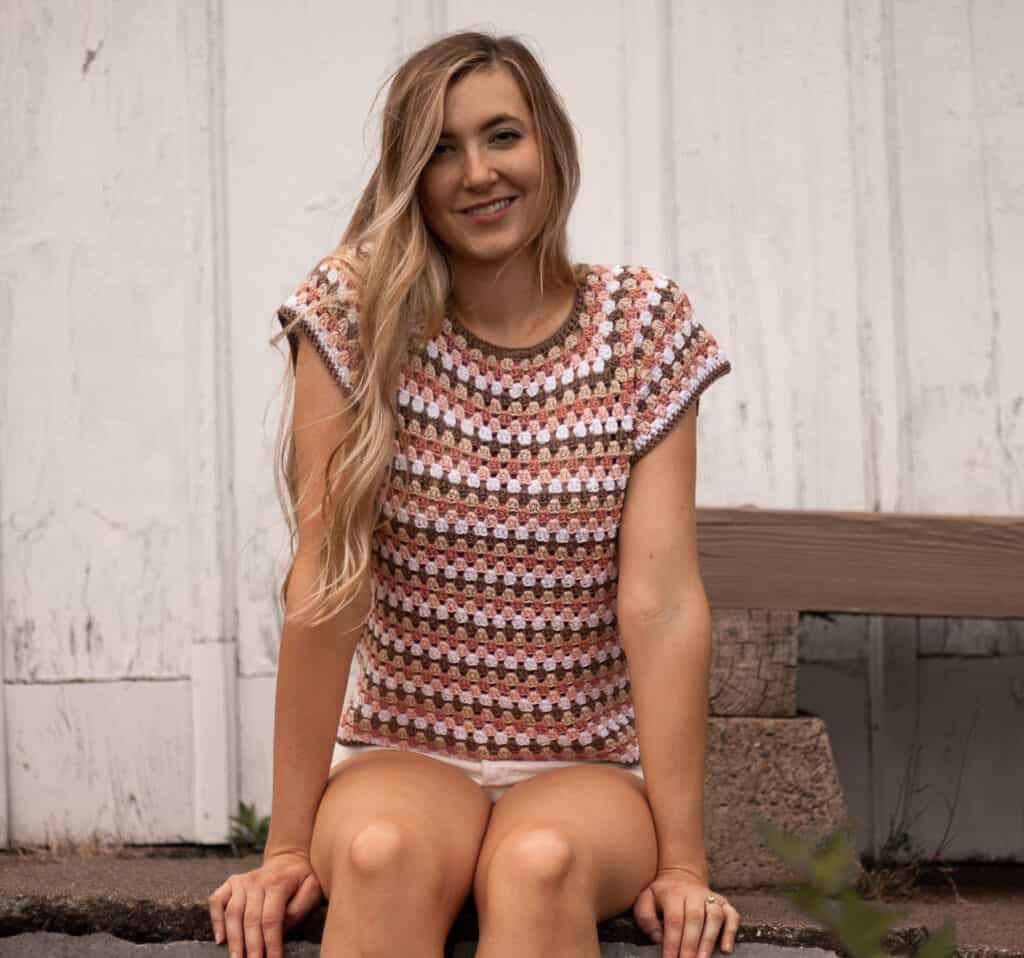
Available as a free pattern and as a kit with Lion Brand Yarn. Scroll down to access the free pattern or continue reading to learn a bit about the design and some pointers to help you out!
**please note, some links may be affiliate links which will allow me to make a small commission on products purchased through my referral. This does not influence my opinion or the price of the item that you are purchasing in any way.
The Design
Knitting and Crochet have a stereotype associated with them that they are for ‘grandmas.’ Which is fine, grandmas are amazing, but I think we should be able to enjoy the hobbies we love regardless of age.
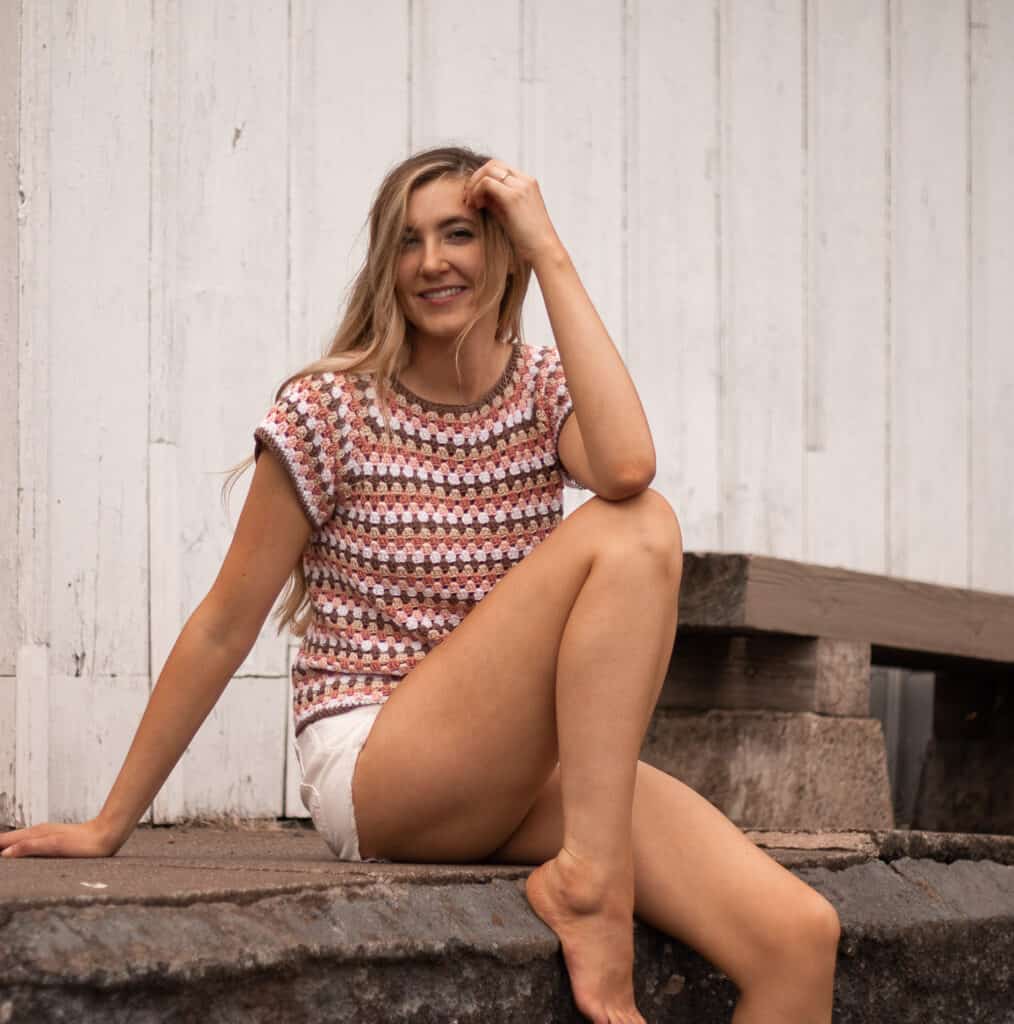
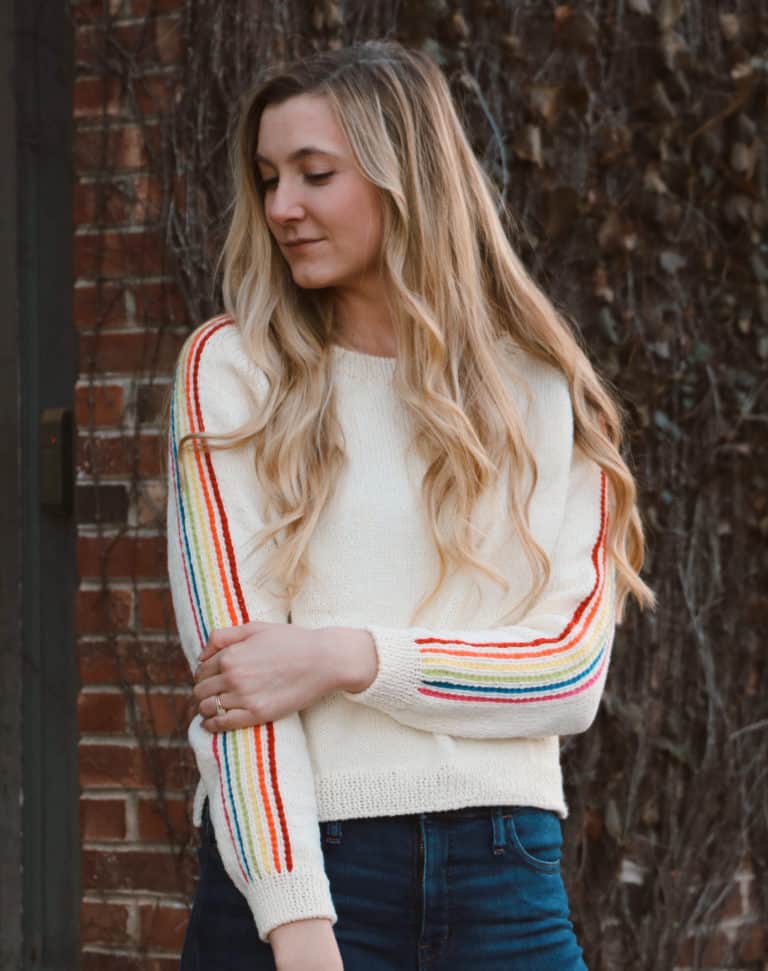
When someone asks you where you got this top (which they will) you can tell them that you made it and its actually crocheted in granny stitch!
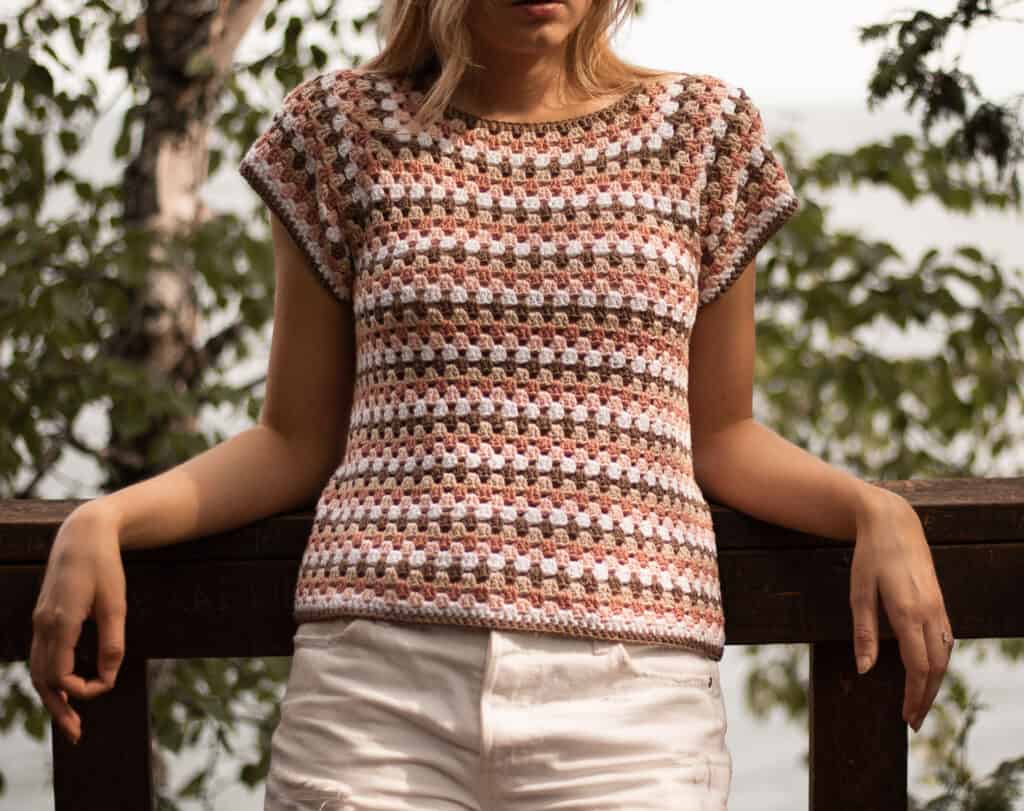
One of my favorite parts of this top is that it’s actually super fun to make! I love seeing the colors develop and the stitches are quite large so it doesn’t take that long.
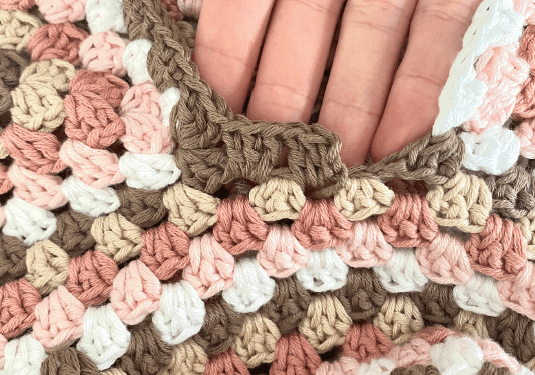
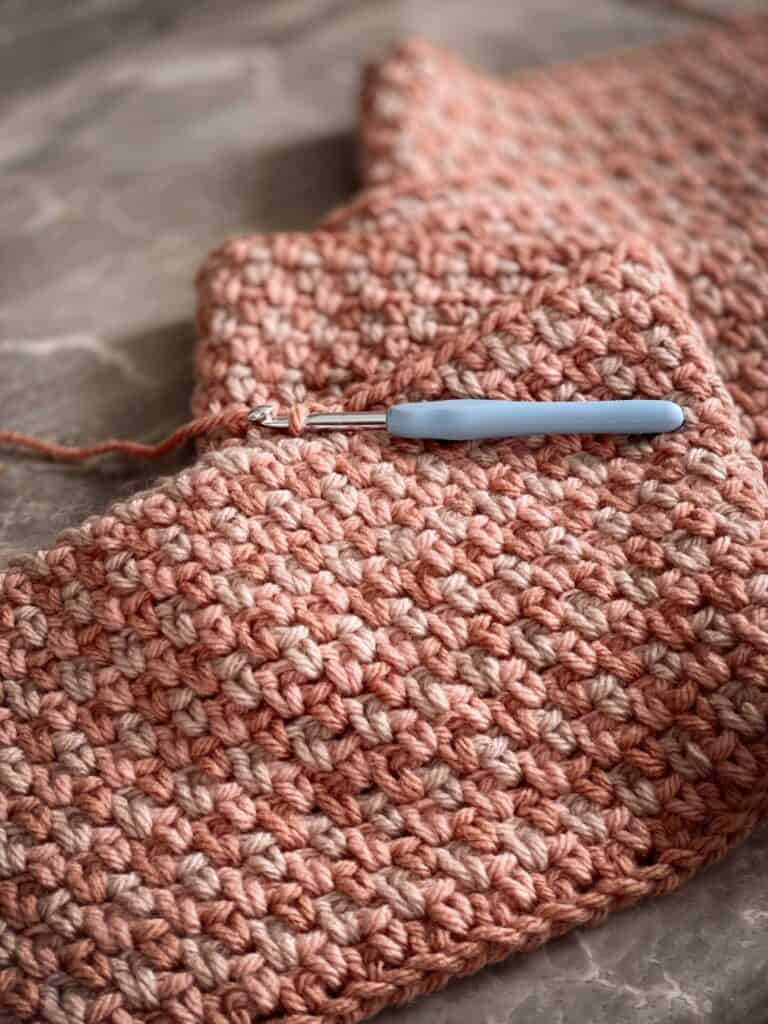
Granny stitch is super easy to work because you aren’t actually crocheting into a stitch, you are crocheting into a gap space. This means your hook slides in so easily because the gap space is quite a bit larger. Granny stitch is the perfect stitch to work when you are watching tv or are paying attention to other things as well.
If you’ve never worked granny stitch before, no worries! This is my favorite tutorial that will show you how to work this stitch. Please note, this tutorial is shown flat but this top will be worked in the round but the stitch itself is the same.
How this crochet top is constructed
This crochet top is worked from the top, down using a raglan style construction. This means that you are increasing at corners of the yoke to shape the body and the sleeves. The corners are worked just as the corners of a granny square would be worked!
Another great thing about this sweater is that its worked in-the-round so there will be no seaming at the end. Just weave in the ends and you are done!
I will note that I didn’t weave in the ends for every row, I actually tied knots and it worked out great! 🙂 Generally I avoid knots in my work but this top was an exception!

Yarn and Materials
The yarn that I used for this top is Lion Brand Coboo. This is my all time favorite warm weather yarn. Its made of 50% cotton and 50% bamboo so it is amazingly soft with beautiful drape. I will note though, this yarn does have a tendency to split when working so if that is something that bothers you it might be best to go with another option. For me personally, I don’t notice a big issue with splitting. It could be because I use these crochet hooks which are my favorite.
One way to make this top more cost effective is to change the number of colors you are using based on your size. For example, if you are planning on using 5 colors to crochet a 5X top, you would need 10 balls of yarn because you need over 100g per color. But, if you modify this and use 7 colors, you would only need one ball of each color. This would save you from buying three more balls of yarn!
Yarn Substitutions
Although I highly recommend Lion Brand Coboo yarn, there are many other great yarns out there that will work as well! Luckily, this top is worked using DK weight yarn which is a super common yarn weight. Some of my favorites are:
- Cotton Bamboo from Lion Brand LB Collection: this yarn is from Lion Brand’s premium yarn line so it’s quite luxurious. There isn’t as many colors with this yarn so it might work best with fewer stripe colors or for a solid top.
- CotLin from KnitPicks: another amazing summer yarn, CotLin comes in tons of colors and is super affordable. This yarn would be perfect for a top with lots of colors. Just note, this yarn comes in 50g balls so adjust how much you need to order accordingly!
- Gloss DK from KnitPicks: this yarn is a super dreamy combination of 70% merino wool and 30% silk. This would be perfect if you want your top to be a bit lighter since cotton can be a little heavy. Wool is also warmer than cotton but with this airy stitch I think it would still be comfortable
Maria Top Crochet Pattern
© ORIGINALLY LOVELY 2021
This pattern and photographs of this garment are property of Kaitlin Barthold of Originally Lovely. This pattern, photos, and design are subject to copyright and are for personal use only. All commercial use is strictly prohibited. You may not reproduce or distribute this pattern under any circumstances.
The free version of this pattern must be viewed from the webpage.
Shop the kit with Lion Brand Yarn HERE
To purchase an ad-free, printable PDF of the Maria Top on Ravelry, CLICK HERE
To purchase an ad-free, printable PDF of the Maria Top on Etsy, CLICK HERE
Skill Level
Easy +
Materials
350, (375, 425, 475, 500), (550, 600, 650, 700) grams / 815, (870, 985, 1100, 1160), (1275, 1395, 1510, 1625) yards Lion Brand Coboo yarn; 1, (1, 1, 1, 1), (2, 2, 2, 2) balls in each color Taupe, Tan, Mauve, Pale Pink, and White.
Size G-6 (4.0 mm) crochet hook (my favorite crochet hook set linked here)
Tapestry Needle to weave in ends
NOTE ON YARN: As mentioned above, you can make this more cost effective by using more colors for the larger sizes and use more full balls. For example, with size 5X you may choose to use 7 colors, each in a 100g ball of yarn.
Notes
This pattern is worked seamlessly from the top, down. You will begin at the neckline, increase in a raglan style to shape your sleeves and body, and then separate. Your body will be finished first, followed by each sleeve. This top is shown using 5 colors and switching after each row in the same order throughout the sweater. You may use more or less colors depending on your preference.
NOTE: In this pattern, the ch3 at the end each row counts as the first double crochet for the next row.
Finished Dimensions
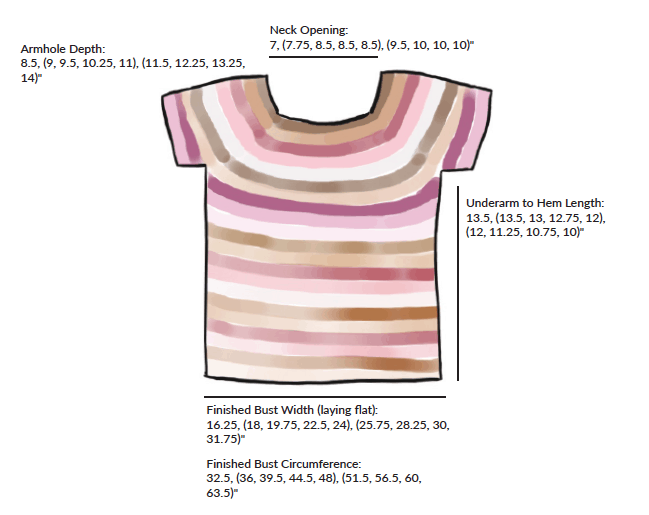
| XS | S | M | L | XL | 2X | 3X | 4X | 5X | |
| Bust/Chest Circumference | 32.5 | 36 | 39.5 | 44.5 | 48 | 51.5 | 56.5 | 60 | 63.5 |
| Finished Length | 22.5 | 23 | 23 | 23.5 | 23.5 | 24 | 24 | 24.5 | 24.5 |
XS, (S, M, L, XL), (2X, 3X, 4X, 5X)
Crochet pattern is written for smallest size with changes for larger sizes in parenthesis. When only one number is given, it applies to all sizes. To keep track of your size, you may highlight or circle all numbers for your chosen size before you begin.
Help Choosing Size
This top is designed to be worn with 0-4” of positive ease. Model is 6’ tall, has a 33” bust, and is wearing a size Small with 3” of positive ease. For best fit, choose a size that is 0-4” larger than your corresponding bust measurement. For example, if your bust is 45”, you would wear a size XL.
Gauge
14 stitches and 11 rows = 4” in granny stitch using size 4.0 mm crochet hook.
Note on gauge: We are counting each DC as a stitch NOT the 3DC clusters that makes up each granny stitch cluster. This gauge is quite stretchy so be sure not to stretch fabric when you are measuring gauge.
Abbreviations
This pattern is written using U.S. English terminology using Craft Yarn Council Standards
[ ] = work instructions within brackets as many times as directed.
( ) = work instructions within parenthesis as directed.
* = repeat the instructions following the single asterisk as directed.
BLO = back loop only
CH = chain stitch
DC = double crochet
GAP SP = gap space, this is referring to the gap that is created between each double crochet cluster
HDC = half double crochet
RS = right side
SC = single crochet
SLST = slip stitch
SP = space
ST = stitch
STS = stitches
WS = wrong side
Maria Top Crochet Pattern
In Color A, ch 86 (92, 98, 92, 92) (98, 104, 104, 104).
Round 1: in 3rd ch from hook, DC, DC across once in each ch. With new color, slst to join in round, ch3. [84, (90, 96, 90, 90), (96, 102, 102, 102) sts].
2: 2 DC in same st as ch, [skip 2 sts, 3 DC into next st] 5 (5, 5, 4, 4) (4, 4, 4, 4) times, ch2, [skip 2, 3 DC into next st] 8 (9, 10, 10, 10) (11, 12, 12, 12) times, ch2, [skip 2, 3 DC into next st] 6 (6, 6, 5, 5) (5, 5, 5, 5) times, ch2, [skip 2, 3 DC into next st] 8 (9, 10, 10, 10) (11, 12, 12, 12) times, ch2. With new color, slst to join with 1st st, ch3. [92, (98, 104, 98, 98), (104, 110, 110, 110) sts].
Note: You have now set up to shape your raglans. Your piece will look like a rectangle and each ch2 space is a corner. The second and fourth sides will be the body, and the first and third sides will be the sleeves. You will now increase in the chain spaces on each row to shape the raglan yoke.
3: 2 DC in the ch sp right below the slst, 3 DC in each gap space to the ch2 sp, * (3 DC, ch2, 3 DC) in the ch2 sp, 3 DC in each gap sp to the next ch2 sp. Rep from * to last ch sp, 3 DC, ch2, slst with new color to join, ch3. [104, (110, 116, 110, 110), (116, 122, 122, 122) sts].
Repeat row 3 9, (10, 11, 14, 16), (17, 19, 21, 23) more times. [212, (230, 248, 278, 302), (320, 350, 374, 398) sts].
4: 2 DC in the ch sp right below the slst, 3 DC in each gap sp to the ch2 sp, * (3 DC, ch1, 3 DC) in the ch2 sp, 3 DC in each gap sp to the next ch2 sp. Rep from * to last ch sp, 3 DC, ch1, slst with new color to join, ch3. [220, (238, 256, 286, 310), (328, 358, 382, 406) sts].
5: 2 DC in the ch sp right below the slst, 3 DC in each gap sp to the ch1 sp, *3 dc in the ch 1 sp, 3 DC in each gap sp to the next ch1 sp. Rep from * to last ch sp, slst with new color to join, ch3. [216, (234, 252, 282, 306), (324, 354, 378, 402) sts].

Body:
You will now separate your yoke to form two sleeves and join the body of your sweater.
6: 2 DC in ch sp below slst, ch6, skip next 17 (18, 19, 21, 23) (24, 26, 28, 30) gap spaces, 3 DC in next 19 (21, 23, 26, 28) (30, 33, 35, 37) gap spaces, ch6, skip next 17 (18, 19, 21, 23) (24, 26, 28, 30) gap spaces, 3 DC in each gap sp to end of round, slst with new color to join, ch3. [120, (132, 144, 162, 174), (186, 204, 216, 228) sts].
7: skip 4 sts, 3 DC in 5th st (the second ch of the ch6), skip 2, 3 DC in next st, 3 DC in each gap sp until next ch6 sp, 3 DC in second ch st, skip 2, 3 DC in next ch st, 3 DC in each gap sp until last st, 2 DC in the final gap st next to the ch3, slst with new color to join, ch3.
8: 2 DC in ch sp below slst, 3 DC in each gap sp to end of round, slst with new color to join, ch3.
9: skip the gap sp below the slst join, 3 DC in next gap sp, 3 DC in each gap sp to end of round, 2 DC in gap sp under slst join, slst with new color to join, ch3.
Repeat rounds 8-9 until body measures 13.5, (13.5, 13, 12.75, 12), (12, 11.25, 10.75, 10)” from underarm join. You may work more or less rows at this point to make your top longer or shorter. On the last round, ch2 at the end instead of ch3.
Final Round: 1 DC in each st around (be sure to work into the stitches, not the gap spaces), slst to join.
Pull the last stitch all the way through to secure, cut yarn leaving a tail to weave in.
Sleeves:
You will now work each sleeve.
Starting at the center underarm st, begin working in the color next in sequence for your sleeves. See fig. 1 below for help understanding where your underarm st clusters will go.
1: ch3 into center underarm sp, 2 DC in this same sp, 3 DC in each gap sp around sleeve, slst with new color to join, ch3. [60, (63, 66, 72, 78), (81, 87, 93, 99) sts].
2: skip the gap sp below the slst join, 3 DC in next gap sp, 3 DC in each gap sp to end of round, 2 DC in gap sp under slst join, slst with new color to join, ch3.
3: 2 DC in ch sp below slst, 3 DC in each gap sp to end of round, slst with new color to join, ch3.
Repeat rounds 2-3 once more. You may work more rows at this point if you want your sleeves to be longer.
Final Round: 1 DC in each st around (be sure to work into the stitches, not the gap spaces), slst to join.
Pull the last stitch all the way through to secure, cut yarn leaving a tail to weave in.
Repeat for second sleeve.
Finishing:
Weave in all ends to secure.
To block, soak in warm water and lay flat to dry.
Enjoy!
For questions, please email support@originallylovely.com
I’d love to see your finished work! Share on social media using the hashtag #originallylovely or by tagging @originally.lovely and @lionbrandyarn on Instagram!
Looking for other crochet patterns? Check out the April Sweater or the Rosebud Scarf!


Your top is so beautiful. Love it!
The pattern is very beautiful and thank you for making a free option. But I just wanted to say that the light pink lettering is kind of hard to read.
Thank you! And thank you for letting me know, I will change that 🙂
Very pretty
I love those hooks too! I recommend them to everyone! No need for the expensive ones. Also, been crocheting since I was 4, now 44, since I started using the ergonomic hook design, I have less cramping, don’t think I could go back to ones without handles.
Oh! I I will definitely try this patter!
I love that you like them too! They are so good, and the whole set is the price of ONE hook a craft store. Definitely no need for the expensive ones. I buy every new crocheter I know this hook set and everyone loves them!
Hi Kaitlin I’m so excited I came across this cute top. I’m fairly new to crocheting and I’m wondering if you are turning after every round or just continuing in the round. I’m having a difficult time with the placement of the first stitches in the next row, below the slip stitch. It just doesn’t seem to make sense to me, as it feels like the first new stitch is going backwards into the slip stitch space (if that makes sense)
I was hoping you could give me a little clarification, I’m anxious to crochet this top 😊
Also, thank you for the free pattern!!
Kind regards Susan
Hi Susan! For this pattern you are continuing in the round! It does feel weird working behind the slipped stitch, but it helps to have it blend it and look just like another cluster. Hope that helps! Let us know if you have any additional questions 🙂
Thank you for your help. I’ll give it my best try and let ya know how it turned out. I’m excited to make it, thanks for the free pattern 😊
Great, let us know if you have any other questions! (:
Hello! I am hoping you can clear up my confusion. At the begining chain, the medium size is longer than the large and extra large. This number continues thru Row 3 (86 [92, 98, 92, 92] Is this correct?
Hi Jill! This is because the raglan depth/armhole depth is longer as the sizes go up. To account for this change, the body length gets shorter so that the finished total length can stay more consistent throughout! Larger sizes don’t necessarily mean longer/taller sizes. Hope that helps!
Question out of curiosity: How come we slip stitch a new color rather than fasten off an start with a ch 3 with a new color? Honestly just wondering – I’m currently making this top and it’s coming together nicely!
Hi Mia! You can fasten off with new color if that is your preferred choice! Slst with new col to join makes the transition a bit more secure and is quicker, but either creates the same effect.
Hello!
Is anyone else’s numbers not match for step 1 and 2 in XL?
I either have not enough stitches at the end of step 2 or too many stitches left.
Any help would be greatly appreciated.
Christine
Hi Christine! If you want to send us an email to our support email (support@originallylovely.com) we can try to help troubleshoot with you!