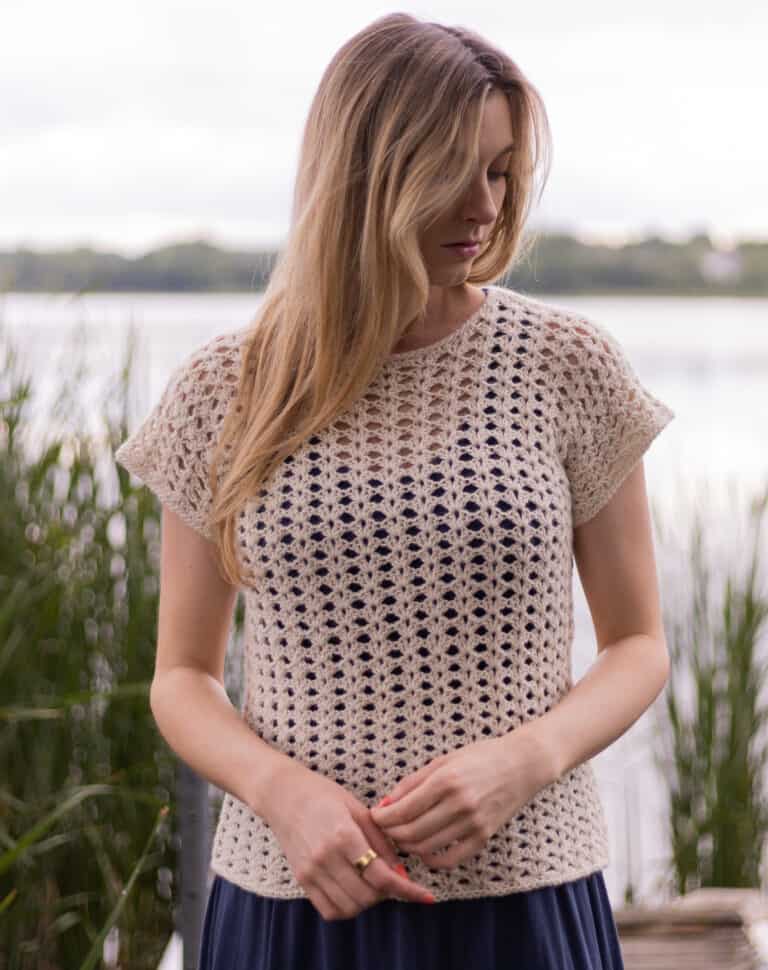
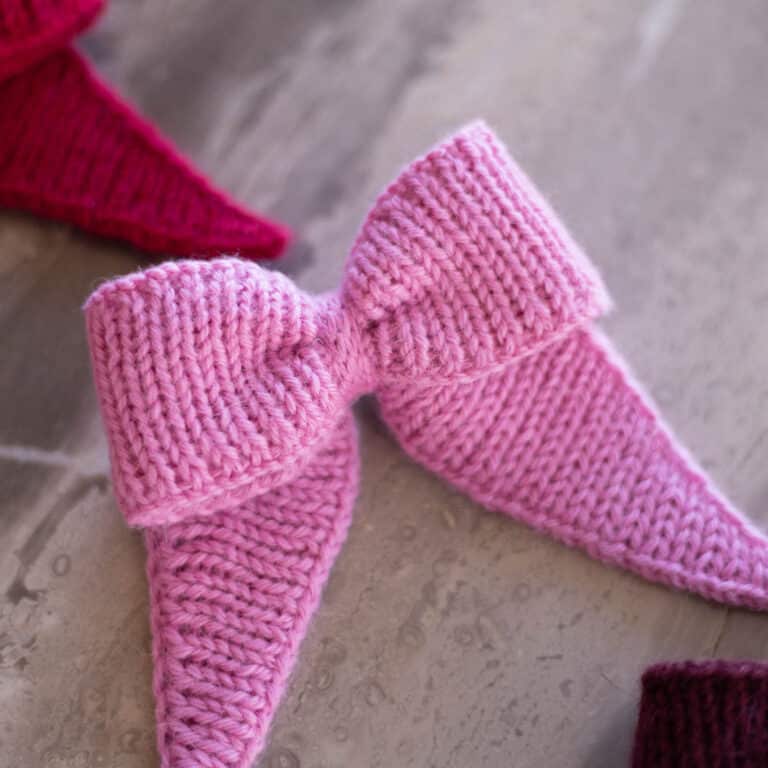
Argyle Hat Knitting Pattern
Knit hats are perfect patterns to make when you are looking for something to give as a gift or a project that won’t take too long but is still fun to make. This argyle hat takes a twist on a classic design through a combination of cables and lace. Knit in the round, it works easily and comes together beautifully!
Below, I have linked the supplies used for the Argyle Hat Knitting Pattern. I used Juniper Moon Tenzing yarn to create a nice and warm hat regardless of the lace pattern. I used exactly 2 balls to make both the hat and a larger size pom-pom.
This pattern (below) really is a joy to knit and is one of my favorite designs I have made. Let me know if you have any questions, I am always here to help out! Also, please remember to subscribe to my email list if you like my patterns.
PATTERN
CLICK HERE to get the ad-free, printable pattern PDF
Materials
Size US 5 (3.75 mm) 16” circular knitting needle
Size US 6 (4.0 mm) 16” circular knitting needle
Size US 6 (4.0 mm) double pointed needles
2 skeins (306 yards) Juniper Moon Farm Tenzing yarn
Cable needle
Pom Pom maker (optional)
Gauge
24 stitches = 4” in stockinette stitch on larger size needles
Abbreviations
SL1: Slip one stitch purl-wise
YO: Yarn over
K2tog: Knit 2 together
SSK: Slip, slip, knit
LC: (left cross) slip next knit stitch onto cable needle and hold in front of work, knit 1 from left hand needle, knit 1 from cable needle.
RC: (right cross) slip next knit stitch onto cable needle and hold in back of work, knit 1 from left hand needle, knit 1 from cable needle.
SK2P: slip one stitch, knit 2 stitches together, pass the slipped stitch over the two stitches that were knit together (left leaning double decrease).
K3tog: knit 3 together (right leaning double decrease).
3RC: (right cross around a central stitch, worked using next 3 stitches) slip next 2 stitches onto right hand needle purl-wise, slip next stitch onto cable needle and hold in front of work, slip the two stitches previously slipped back onto left hand needle, slip stitch from cable needle back onto left needle. Knit 1, LC.
3LC: (left cross around a central stitch, worked using next 3 stitches) slip next stitch onto cable needle and hold in front of work, slip next 2 stitches onto right hand needle, slip stitch from cable needle onto right hand needle, slip all 3 stitches back to left needle. RC, Knit 1.
Notes
This pattern will be worked in the round. Instructions written in parenthesis will be repeated across the round as directed. Extra instructions or notes will be written in brackets.
PATTERN
Cast on 126 stitches on size 5 needles. Join to knit in round.
Work 5 inches in k1, p1 rib stitch.
Place marker to denote beginning of round. Switch to size 6 needles on the next round.
Row 1: (k9, sl1, k3, sl1) across.
2: k8, RC, k3, LC, (k7, RC, k3, LC) 7 times, k7, RC, k3. LC final stitch remaining with first stitch of next round.
3: (k7, sl1, k5, sl1) 8 times, k7, sl1, k5.
4: (LC, k5, RC, k5) across.
5: k1, sl1, (k5, sl1, k7, sl1) across until last 12 stitches, k5, sl1, k6.
6: k1, (LC, k3, RC, k1, YO, ssk, k1, k2tog, YO, k1) 8 times, LC, k3, RC, k1, YO, ssk, k1, k2tog, YO.
7: k2, (sl1, k3, sl1, k9) 8 times, sl1, k3, sl1, k7.
8: k2, (LC, k1, RC, k3, YO, SK2P, YO, k3) 8 times, LC, k1, RC, k3, YO, SK2P, YO, k1.
9: k3, (sl1, k1, sl1, k11) 8 times, sl1, k1, sl1, k8.
10: k3 (3RC, k5, YO, ssk, k4) 8 times, 3RC, k5, YO, ssk, k1.
11: As row 9.
12: (k2, RC, k1, LC, k2, k2tog, YO, k1, YO, ssk) across.
13: k2, (sl1, k3, sl1, k9) 8 times, sl1, k3, sl1, k7.
14: k1, (RC, k3, LC, k2tog, YO, k3, YO, ssk) 8 times, RC, k3, LC, k2tog, YO, k3, YO, ssk with first stitch of next round.
15: [last stitch of last round is now first stitch of this round and will be the first “slipped stitch”]. (sl1, k5, sl1, k7) across.
16: (RC, k5, LC, k5) across.
17: (sl1, k7, sl1, k5) 8 times, sl1, k7, sl1, k4. [leave last stitch to be worked with 1st stitch of next round].
18: (RC, k1, YO, ssk, k1, k2tog, YO, k1, LC, k3) across until last stitch, sl1.
19: (k9, sl1, k3, sl1) across.
20: (k3, YO, k3tog, YO, k3, LC, k1, RC) across until last 3 stitches, k1, sl1, k1.
21: k10, (sl1, k1, sl1, k11) across until last 4 stitches, (sl1, k1) twice.
22: k3, (k2tog, YO, k5, 3LC, k4) 8 times, k2tog, YO, k5, 3LC, k1.
23: As row 21.
24: (k2, k2tog, YO, k1, YO, ssk, k2, RC, k1, LC) across.
25: (k9, sl1, k3, sl1) across.
26: k1, (k2tog, YO, k3, YO, ssk, RC, k3, LC) repeat until last stitch, LC with first stitch of of next round.
27: (k7, sl1, k5, sl1) 8 times, k7, sl1, k5.
Repeat rows 4-25 once more.
CROWN DECREASES
Switch to double pointed needles on the next round.
1: (ssk, k5, k2tog, k5) across.
2: (sl1, k5) across.
3: (ssk, k3, k2tog, k1, YO, SK2P, YO, k1) across.
4: (sl1, k3, sl1, k5) across.
5: (ssk, k1, k2tog, k2, YO, ssk, k1) across.
6: (sl1, k1, sl1, k5) across.
7: (3RC, k2tog, YO, k1, YO, ssk) across.
8: (sl1, k1, sl1, k5) across.
9: sl1, k1, (ssk, k3, k2tog, k1) across to last 5 stitches, ssk, k3, k2tog with first stitch of next round.
10: (k1, sl1, k3, sl1) across.
11: (k1, ssk, k1, k2tog) across.
FINISHING
Cut yarn leaving a 10” tail. Thread through remaining needles twice and pull tight to cinch closed. Tie off and weave in all ends. Attach pom-pom if desired.
CLICK HERE to get the ad-free, printable pattern PDF
I hope you like this pattern and make your own Argyle Beanie! Thanks for reading 🙂
With Love, Kaitlin


Hello, I can’t download the file, do you have a solution by any chance?
Okay, forget my comment, it worked the 10th time, sorry :p
I’m glad it worked! I’m not sure why it would’ve before but I’ll look into it 🙂 thanks for letting me know!
This has become my favourite hat pattern. Thank you for sharing.
I’m so glad you like it, thanks for reading 🙂
Is there a way to make it smaller? I would like it a little less loose and I have a small head. Is there a way to take out a single repeat?
Hello! Yes you could take out a single repeat–you can also size down your needles!