Simple Summer Tank Top Knitting Pattern
Introducing: The Simple Summer Tank Top — Free Knitting Pattern
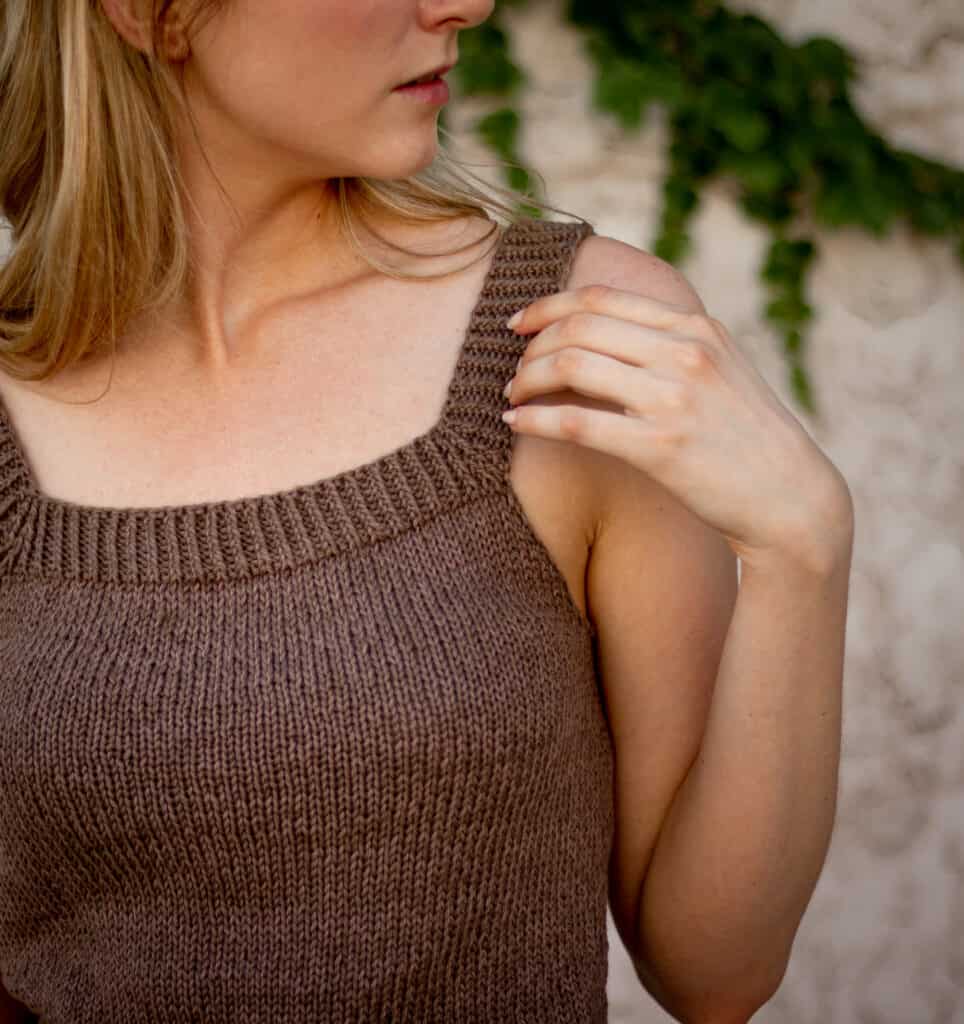
This easy, beginner friendly tank top knitting pattern is worked in the round from the top, down. Unique sleeve and neck detailing create a stylish and modern square neckline.
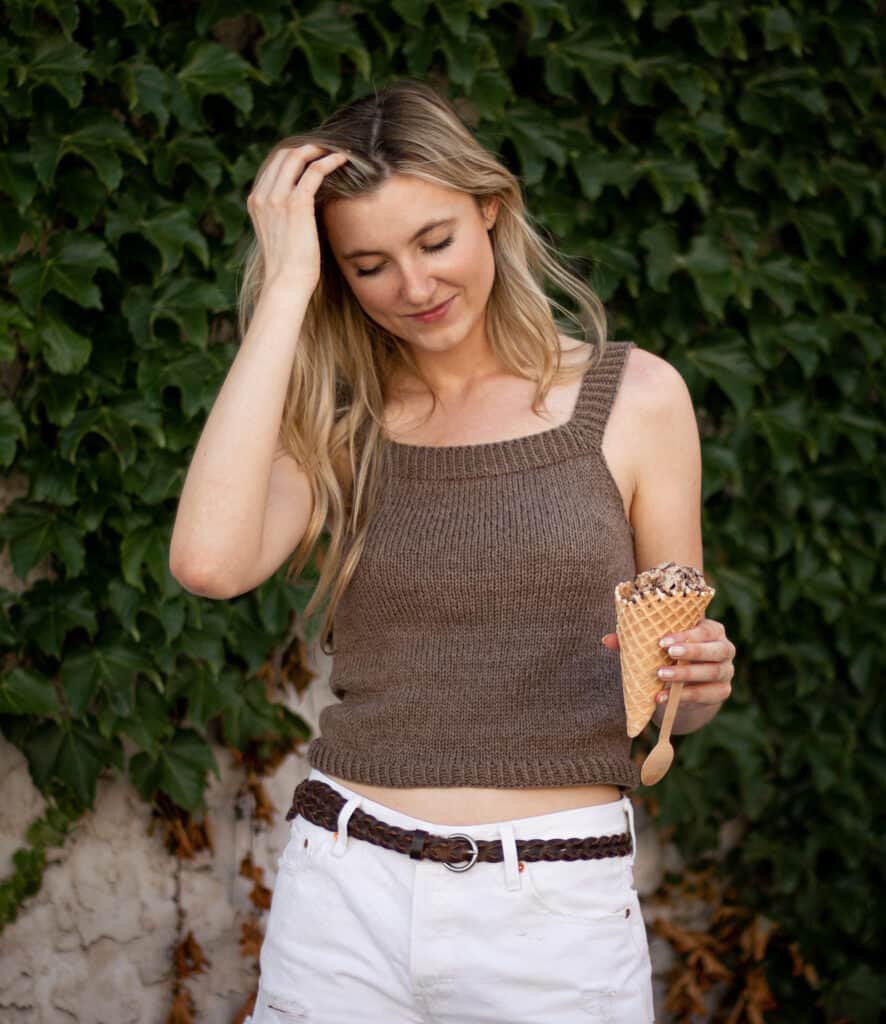
Available both as a free knitting pattern, a printable PDF on Ravelry or Etsy, and as a kit with Lion Brand Yarn. Scroll down to access the free knitting pattern or continue reading to learn a bit about the design and some pointers to help you out!
**please note, some links may be affiliate links which will allow me to make a small commission on products purchased through my referral. This does not influence my opinion or the price of the item that you are purchasing in any way.
The Design
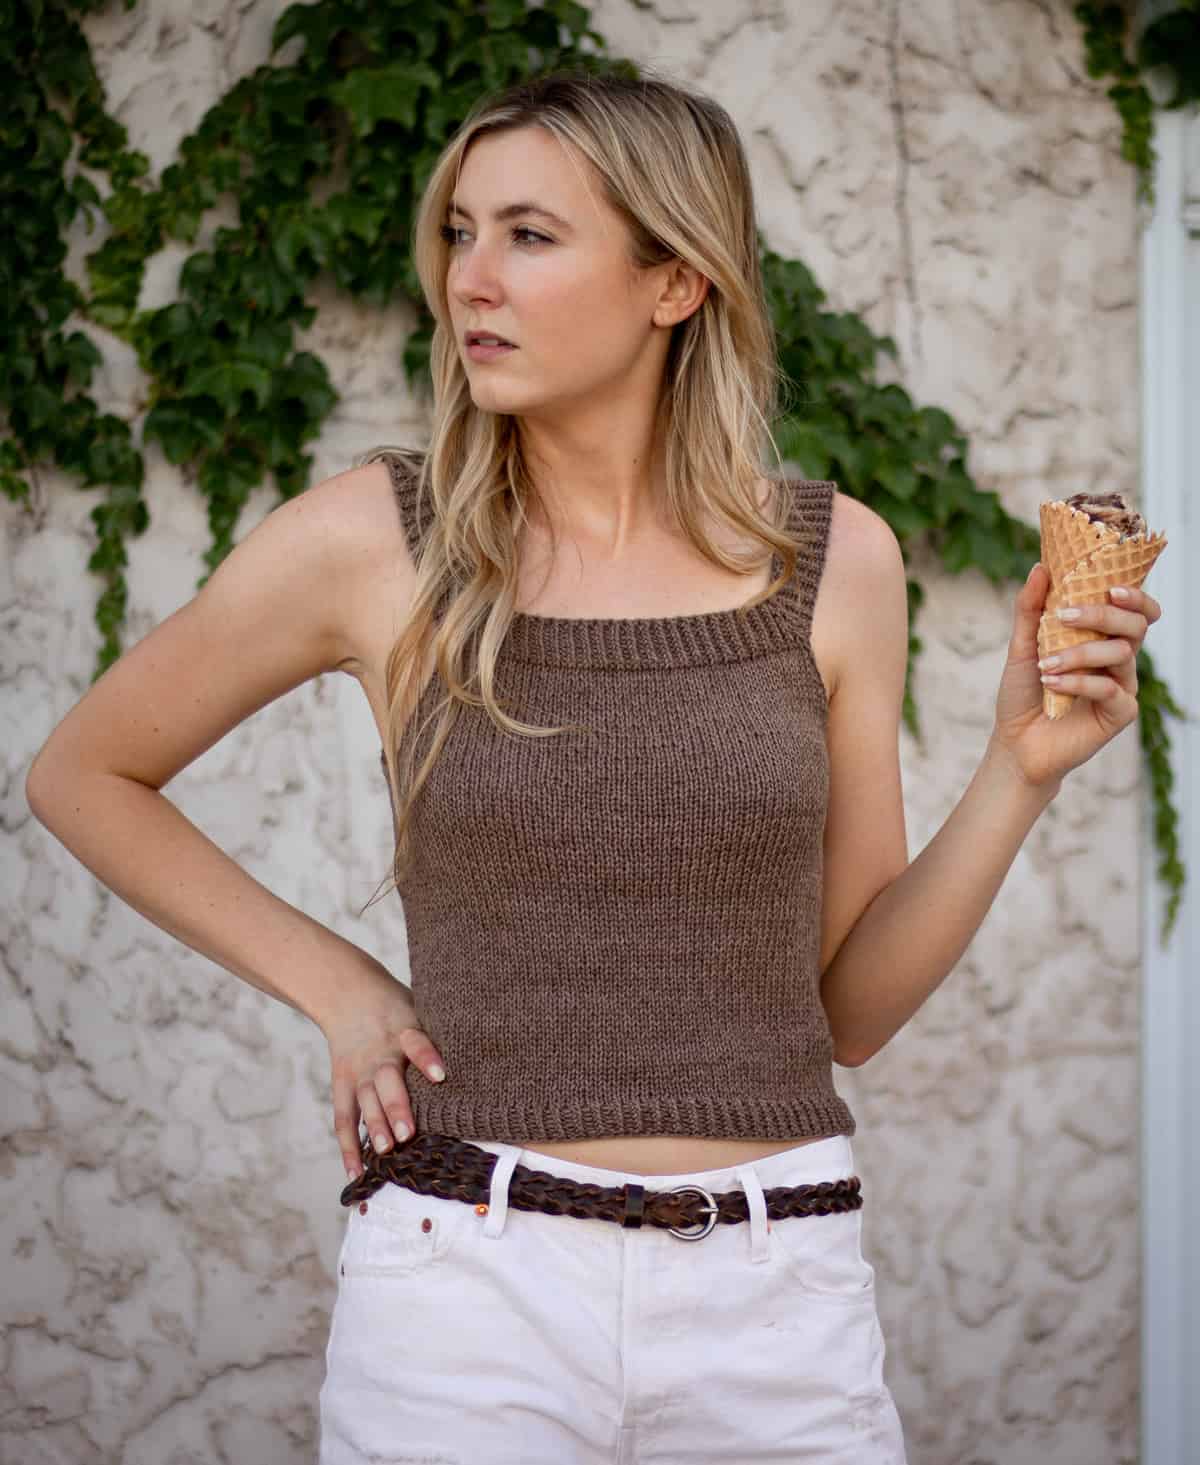
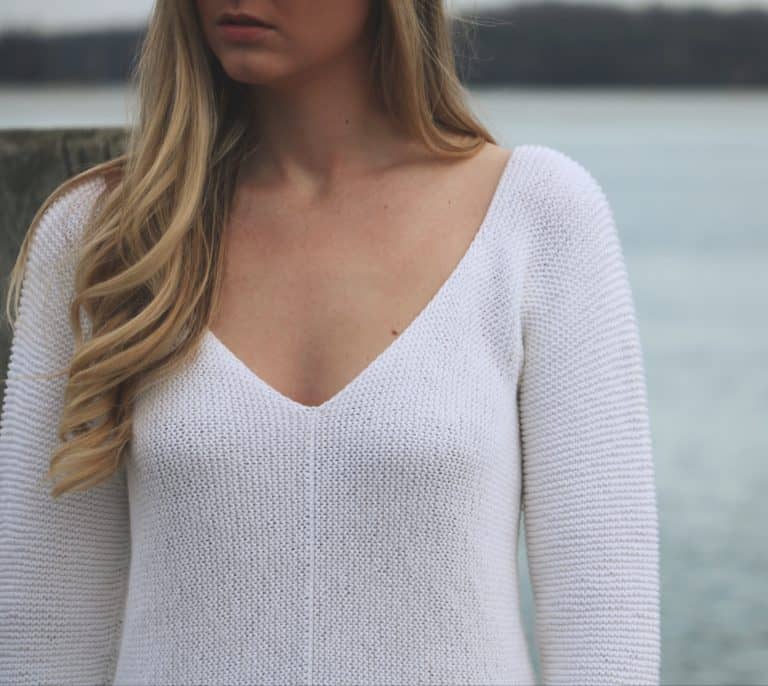
This simple, square neck tank will be your go-to warm weather top. The unique neckline construction adds interest to an otherwise simple crop top style tank.
This tank top is designed to be slightly cropped but easily customizable to any length. Quick to make, this pattern is perfect for beginners and seasoned knitters alike!

Yarn and Materials
The yarn that I used for this top is Comfy Cotton Blend from Lion Brand Yarn. I have used this yarn in so many other designs such as the Piper Sweater and the Rainbow Stripe Sweater — it truly is one of my favorites!
If you are interested in using this exact yarn, you might want to check out the knit kit which contains all the yarn needed to make this top in your size and a free copy of the pattern!
If you want to substitute for a different yarn, I have some of my favorites listed below. Any worsted weight yarn that meets the gauge will be a great substitute! I will note that online Comfy Cotton Blend is listed as a DK weight but I ~strongly~ feel like it works better as a worsted weight!
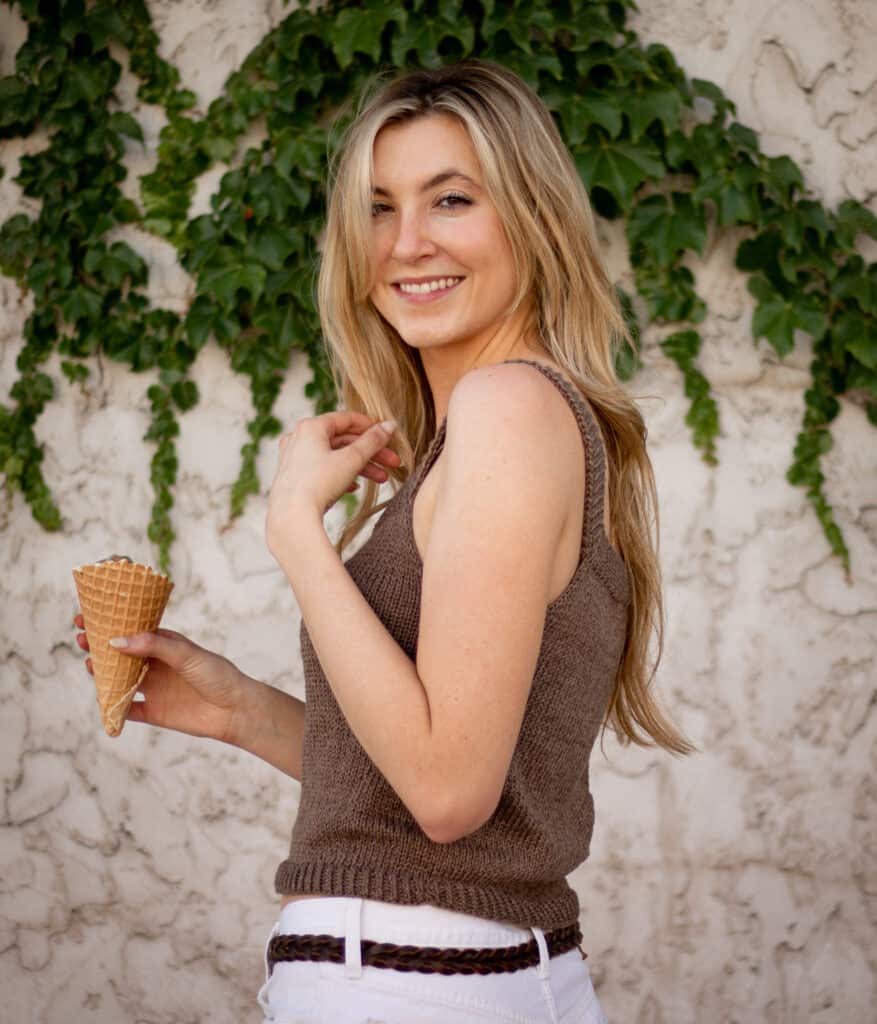
Yarn Substitutions
Some other yarns that I recommend for this tank top are:
- Lion Brand Pima Cotton: I was super excited when Lion Brand released this pima cotton yarn — I LOVE pima cotton. Its just like regular cotton but softer and a tiny bit silky without too much shine
- LB Collection Mako Cotton: This yarn is amazing, I didn’t even know cotton could be this soft. Its definitely the most luxurious cotton yarn I know of. It has a chain style construction so it won’t split between your needles and it a bit fluffier if you like that look!
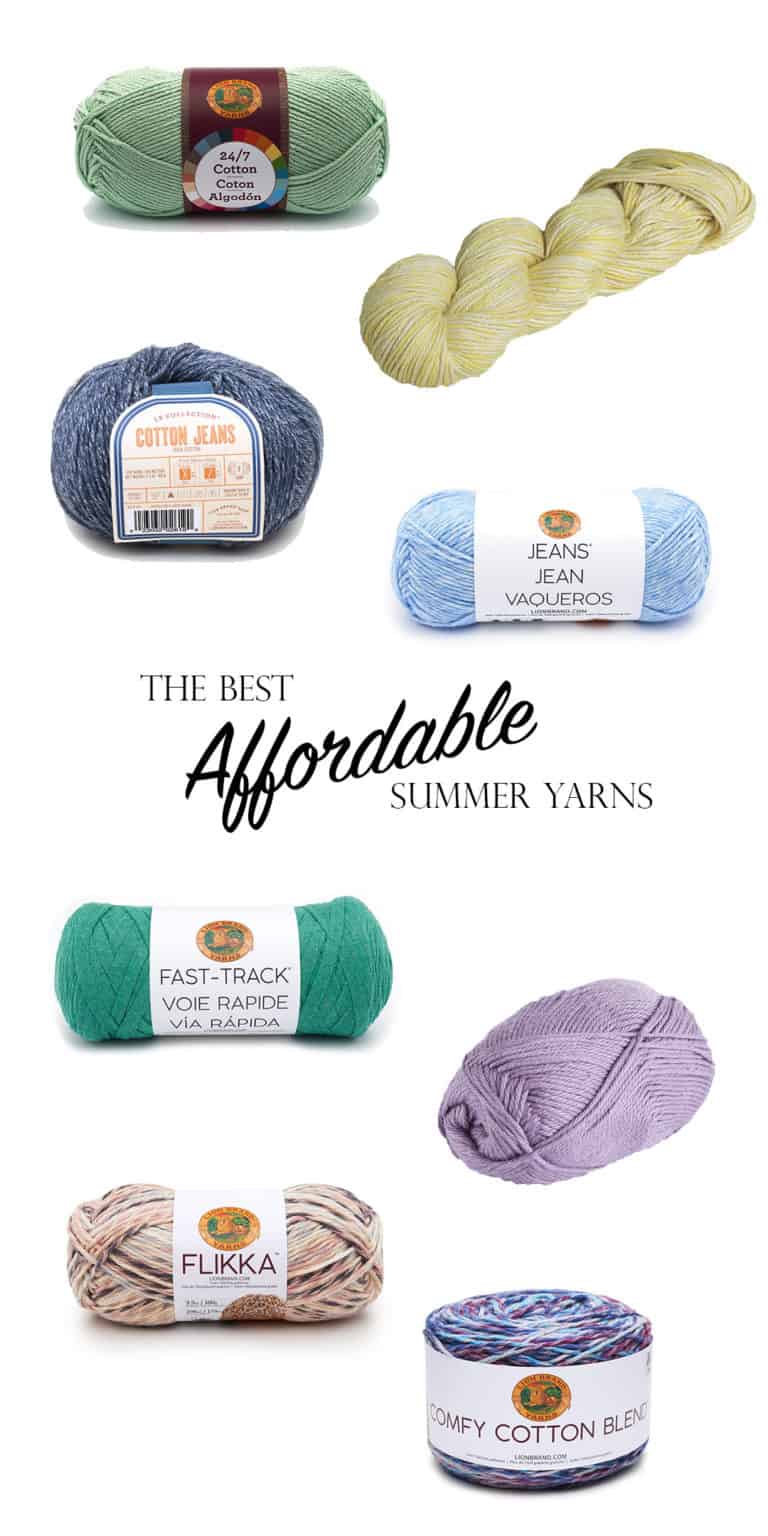
- LB Collection Cotton Jeans: This yarn has a jean-type appearance and I think would make the cutest top! Now that I think of it, I actually might have to make another top in this yarn… 🙂
- Comfy Worsted and Comfy Color Mist from KnitPicks: These two yarns are right behind Mako Cotton as the most luxurious cotton I know of. The classic comfy worsted is a line of solid colors and color mist version is the speckled version!
- CotLin from KnitPicks: This yarn has a bit of linen so its extra cooling and airy! Its listed as a DK weight but I definitely consider it a worsted!
Just remember when substituting yarn in a pattern to be sure to gauge swatch to assure a proper fit!

Simple Summer Tank Top Knitting Pattern
© ORIGINALLY LOVELY 2021
This pattern and photographs of this garment are property of Kaitlin Barthold of Originally Lovely. This pattern, photos, and design are subject to copyright and are for personal use only. All commercial use is strictly prohibited. You may not reproduce or distribute this pattern under any circumstances.
The free version of this pattern must be viewed from the webpage.
Shop the kit with Lion Brand Yarn HERE
To purchase an ad-free, printable PDF of the Simple Summer Tank Top on Ravelry, CLICK HERE
To purchase an ad-free, printable PDF of the Simple Summer Tank Top on Etsy, CLICK HERE

Skill Level
Easy +
In this knitting pattern, you will need to know how to cast on, knit in the round, knit flat, work increases and decreases, and bind off.
Materials
1, (1, 1, 1, 2), (2, 2, 2, 2) skeins / approx 275, (325, 350, 390, 425), (475, 500, 550, 550) yards Lion Brand Comfy Cotton Blend (shown in Mochaccino)
Size US 7 (4.5 mm) circular knitting needles (for ribbing)
Side US 8 (5.0 mm) circular knitting needles (for body)
Tapestry Needle to weave in ends

Notes
- This tank top is constructed from the top, down. First, you will shape the neckline and straps. Then, you will separate to increase more at the front and back body panels. Finally, you will join the body panels to work the body of the top in the round.
- The ribbing in this pattern will be done in half twisted rib. This means, each knit stitch in the rib stitch will be worked through the back loop for a twisted look. If you prefer to use regular rib stitch, just work these knit stitches as normal.
- When directed to work ‘in patt’ this means to continue the half twisted rib stitch pattern as established, working each knit stitch tbl and purling each purl stitch.
Finished Dimensions
| XS | S | M | L | XL | 2X | 3X | 4X | 5X | |
| Bust/Chest Circumference | 28 | 32 | 36 | 40 | 44 | 48 | 52 | 56 | 60 |
| Finished Width | 14 | 16 | 18 | 20 | 22 | 24 | 26 | 28 | 30 |
| Armhole Depth | 7 | 8 | 9 | 9 | 10 | 10 | 11 | 11 | 14 |
| Finished Length | 19 | 20 | 20 | 20.5 | 20.5 | 21 | 21 | 21.5 | 21.5 |
XS, (S, M, L, XL), (2X, 3X, 4X, 5X)
Pattern is written for smallest size with changes for larger sizes in parenthesis. When only one number is given, it applies to all sizes. To keep track of your size, you may highlight or circle all numbers for your chosen size before you begin.
Help Choosing Size
This tank top is designed to be worn with 0-4” of negative ease. Model is 6’ tall, has a 33” bust, and is wearing a size Small with 1” of negative ease. For best fit, choose a size that is closest to 0-4” smaller than your corresponding bust measurement. For example, if your bust is 50”, you would wear a size 2X. If you prefer your garments to fit looser or more snug, choose a size with less or more ease accordingly.
Gauge
18 sts and 24 rows = 4” in stockinette stitch on size 8 needles

Abbreviations
This pattern is written using U.S. English Terminology.
BO = bind off
CO = cast on
K = knit
K1tbl = knit 1 through the back loop
M = stitch marker
M1L = make 1 left. Pick up the bar between the stitch you just knit and the one you are about to knit with your left needle from front to back, knit through the back.
M1LP = make one left purl. Pick up the bar between the stitch you just knit and the one you are about to knit with your left needle from front to back, then purl through the back loop of the strand.
M1R = make 1 right Pick up the bar between the stitch you just knit and the one you are about to knit with your left needle from back to front, knit through the front.
M1RP = make one right purl. Pick up the bar between the stitch you just knit and the one you are about to knit with your left needle from back to front, then purl through the front loop of the strand.
P = purl
Patt = pattern
PM = place stitch marker
Rd = round
RS = right side, you will be working a RS row when the outside of your work (right side) is facing
SM = slip stitch marker
st = stitch
Stst = stockinette stitch
WS = wrong side, you will be working a WS row when the inside of your work (wrong side) is facing you
[ ] = work instructions within brackets as many times as directed
- = repeat the instructions following the single asterisk as directed

Simple Summer Tank Top Knitting Pattern
Cast on 184, (196, 216, 196, 204), (184, 204, 184, 220) sts using long tail cast on using size 7 needles. Join to work in round.
Set Up Round: * [k1tbl, p1] 20 (22, 25, 25, 27) (27, 30, 30, 31) times, PM, [k1tbl, p1] 26 (27, 29, 24, 24) (19, 21, 16, 24) times, PM. Rep from * once more, final M placed will denote beg/end of each rd.
Round 1: * [k1tbl, p1] to M, M1R, SM, k1tbl, M1L, p1. Rep from * three more times, working final k1tbl, M1L, p1 with first sts of next rd. [192, (204, 224, 204, 212), (192, 212, 192, 228) sts].
2: work in patt to end of rd.
3: * work in patt to M, M1RP, SM, k1tbl, M1LP. Rep from * to end of rd, working final k1tbl, M1LP, with first sts of next rd. [200, (212, 232, 212, 220), (200, 220, 200, 236) sts].
4: work in patt even to end of rd.
5-8: Rep rounds 1-4 once more. [216, (228, 248, 228, 236), (216, 236, 216, 252) sts].
Separate Sleeves and Body
On the next round, switch to size 8 needles and remove stitch markers as you pass them.
9: * k 49 (53, 59, 59, 63) (63, 69, 69, 71), BO next 59 (61, 65, 55, 55) (45, 49, 39, 55) sts in rib st. Rep from * once more.
Body Panels:
You will now work back and forth across the next 49, (53, 59, 59, 63), (63, 69, 69, 71) sts on your needles to shape the first body panel.
10 (RS): k2, M1L, k to last 2, M1R, k2. [51, (55, 61, 61, 65), (65, 71, 71, 73) sts].
11 (WS): purl.
Repeat rows 10-11 3, (5, 7, 10, 13), (17, 18, 22, 25) more times. [57, (65, 75, 81, 91), (99, 107, 115, 123) sts]. Break yarn and set aside.
Repeat for second body panel beginning with RS facing you.
Body:
You will now join the two body pieces together to work in the round.
K 57 (65, 75, 81, 91) (99, 107, 115, 123) sts for body panel just worked, CO 7 (7, 7, 9, 9) (9, 11, 11, 11) sts for underarm, k 57 (65, 75, 81, 91) (99, 107, 115, 123) sts for second body panel, CO 7 (7, 7, 9, 9) (9, 11, 11, 11) sts for other underarm, Join to work in round. [128, (144, 164, 200), (216, 236, 252, 268) sts].
PM to denote beg/end of each round. Work 11, (11, 10, 10.5, 9.5), (10, 9, 9.5, 6.5)” even in stst.
On the next rd, switch to size 7 needles. Knit 1 round. Work 1” in [k1tbl, p1] half twisted rib st.
BO in rib st.
Finishing:
Weave in all ends. Block by soaking in warm water and lay flat to dry.
Enjoy!
For questions, please email support@originallylovely.com
I’d love to see your finished work! Share on social media using the hashtag #originallylovely or by tagging @originally.lovely and @lionbrandyarn on Instagram!
I hope that you’ve enjoyed this knitting pattern!
If you are looking for other warm weather knitting patterns, check out the Perfect Knit T-Shirt, the Aria Sweater, or the Piper Sweater!




This is such a pretty top! Do you think it would be ok to use Coboo yarn for this?
I do! It might be a bit more thin and airy because Coboo is more of a DK weight but it would definitely work if you can match gauge!
Thanks for the great patterns! I just started this one and already can’t wait to finish it.
Hi Kaitlin.
I love the pattern but I’m puzzled with the numbers of stitches how come medium sizes use 216 st and the 3X 204. Is this an errata?
Thanks for your help
Hi Elena!
This is not an errata. Different sizes increase at different amounts based on the body measurement. For example, bust/chest circumference and armhole depth do not increase at the same rate. Necklines also do not increase at the same rate.. as sizes go up necklines must go up less than chest measurement etc. To account for this and the way the neckline increases are set up, its a bit of a balancing act to get a proper fit between different sizes. If 3X were to be increased evenly in all areas, the neck, sleeves, armhole depth, and length would be WAY oversized.
Neckline stitches between sizes are marginally different and this partially has to do with how many stitches are dedicated to the front and back sizes or the sleeves. Too many stitches at the sleeves and it would be too long, too many stitches at the front and back and the sleeves would be too wide. Since each size has a different sleeve and front/back size and stitch count, this also has to be a balancing act. Each size is calculated independently using body measurement standards and based on the size chart listed for this design noted at the beginning of the pattern.
Hope that helps answer your questions 🙂
Kaitlin
Dear Kaitlin
Very kind of you to responde to my quest
Very helpful
Hi Kaitlin.
I bought the kit an came with 16” circular, I feel they are extremely small for the amount of stitches needed, any special reason for that size or I can use 24” to accommodate them so my job is less cumbersome
Thank you
Hi Elena! You can definitely use 24”! Im thinking this may have just been the length they had in stock. I’ll reach out to them and mention this 🙂
Hi Kaitlin – thanks so much for this pattern. It’s really great and I’m enjoying it. I do have a question. I’m now to the body panel and the CO for the underarms – is there a preferred CO – backwards loop or other? Thanks for your help.
I always do backwards loop! I love how simple and quick this cast on is but I will note that the reasons I love it are also the reasons some people hate it! Another great option would be the ‘chain edge cast on’. This one will provide a bit more structure and a nice chain-edge if you prefer that!
Hi. I’ve started and stopped this a few times because I can’t get the corners right. When I’m knitting in pattern after the increases, do I purl into the M1PR and M1PL stitches?
Hi! Yes, these increases are ‘purl increases’ so on the next round these stitches will be purls! This way you can maintain the rib stitch pattern
Hi Kaitlin, I’m fairly new to knitting but I’m super excited to make this top. I am stuck when round 2 says work in pattern to end of the round. If I try to repeat row 1, the rib goes off after the first place marker and it’s almost impossible to M1L or M1R. Does it mean to just KBL and P alternating and not repeat round 1? I’ve started this twice and have ended up frogging it because it gets off the pattern. Thank you!
Hi Ashley! Thanks for reaching out! If I am understanding your question correctly, you won’t repeat round 1 for round 2, you will instead work the stitches as they appear. So for instance, if the next stitch you need to work was purled in the last round (you should see the purl bump facing you), you will want to purl that one. If the next stitch you need to work was KTBL in the last round, you will want to work it as a knit stitch (make sure you KTBL). You will only need to increase when the pattern explicitly says to! I hope this helps. If you have any other questions, feel free to reach out to our support email! (:
Hi Kaitlyn, I’m having some issues with round 1. With the stitch increase in size medium the pearl and knits stop lining up. Also, when I repeat the increase 3 more times I’m still left with 4 unworked sections with stitch markers.
Hi Katie! I think what you are running into is doing too few repeats. Three more times means three times in addition to the time you just did, so it will be four times total. Let us know if this doesn’t fix it!
Hello,
I have had to restart. As i never end up with the right amount of stiches. when you say WORKING FINAL k1tbl,M1L,P1 WITH FIRST STICHES OF NEXT ROUND IN ROW 1. do you mean i am to begin row 2 with the increase then continue in pattern? as i am not sure why that would just be written on row 2? or do you mean that you should end round 1, with th ek1tbl,M1L,P1 increase.? also the same with row 3?
Thank you
Hi Deb! This means that once you get to the M at the end of round 3, k1tbl, M1LP at the beg of the next round. This keeps the increases even so that there isn’t a jog in that final increase!
Hiya!
First of, I love this pattern… but as I’m fairly new to knitting and i overthink everything, I have a (probably stupid) question… After the set up round with the k1tbl, p1 pattern, before every marker we end with a purl stitch, but then in round 2, we do a M1R (knit), SM, k1tbl (knit) and then the M1L (knit), so I now have three knit stitches next to each other… Do I then in round 3 continue to knit in these knit stitches, or do I (as the instruction says) follow the k1tbl,p1 pattern and purl in some of these knit stitches? Similar in round three where we add the M1RP, SM, k1tbl, M1LP and the M1LP then site next to a stitch that before was a purl stitch, so to keep the rib pattern, I should purl into it…
Hi Cindy! If I am understanding your question correctly, you will want to make sure you will want to make sure you maintain the rib pattern! If you want, feel free to send us some photos to our support email (support@originallylovely.com) and we can take a closer look!