Aria Lace Sleeve Sweater Knitting Pattern
Introducing: The Aria Sweater — Free Knitting Pattern
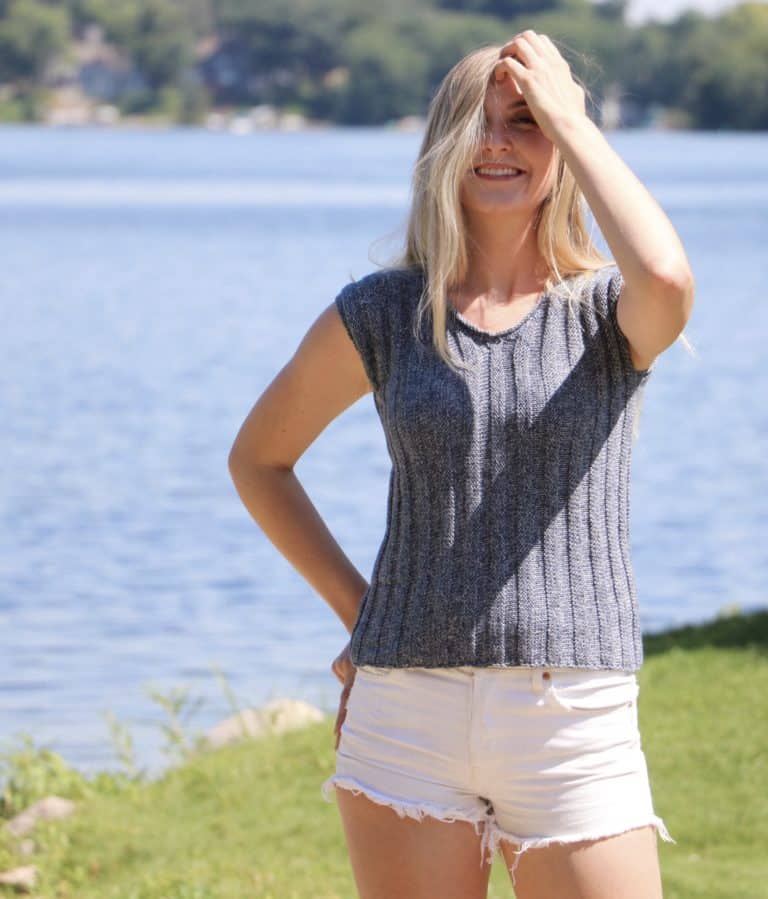
The Aria lace sleeve Sweater Knitting Pattern is designed to be effortlessly fashionable. This sweater is perfect for warmer weather!
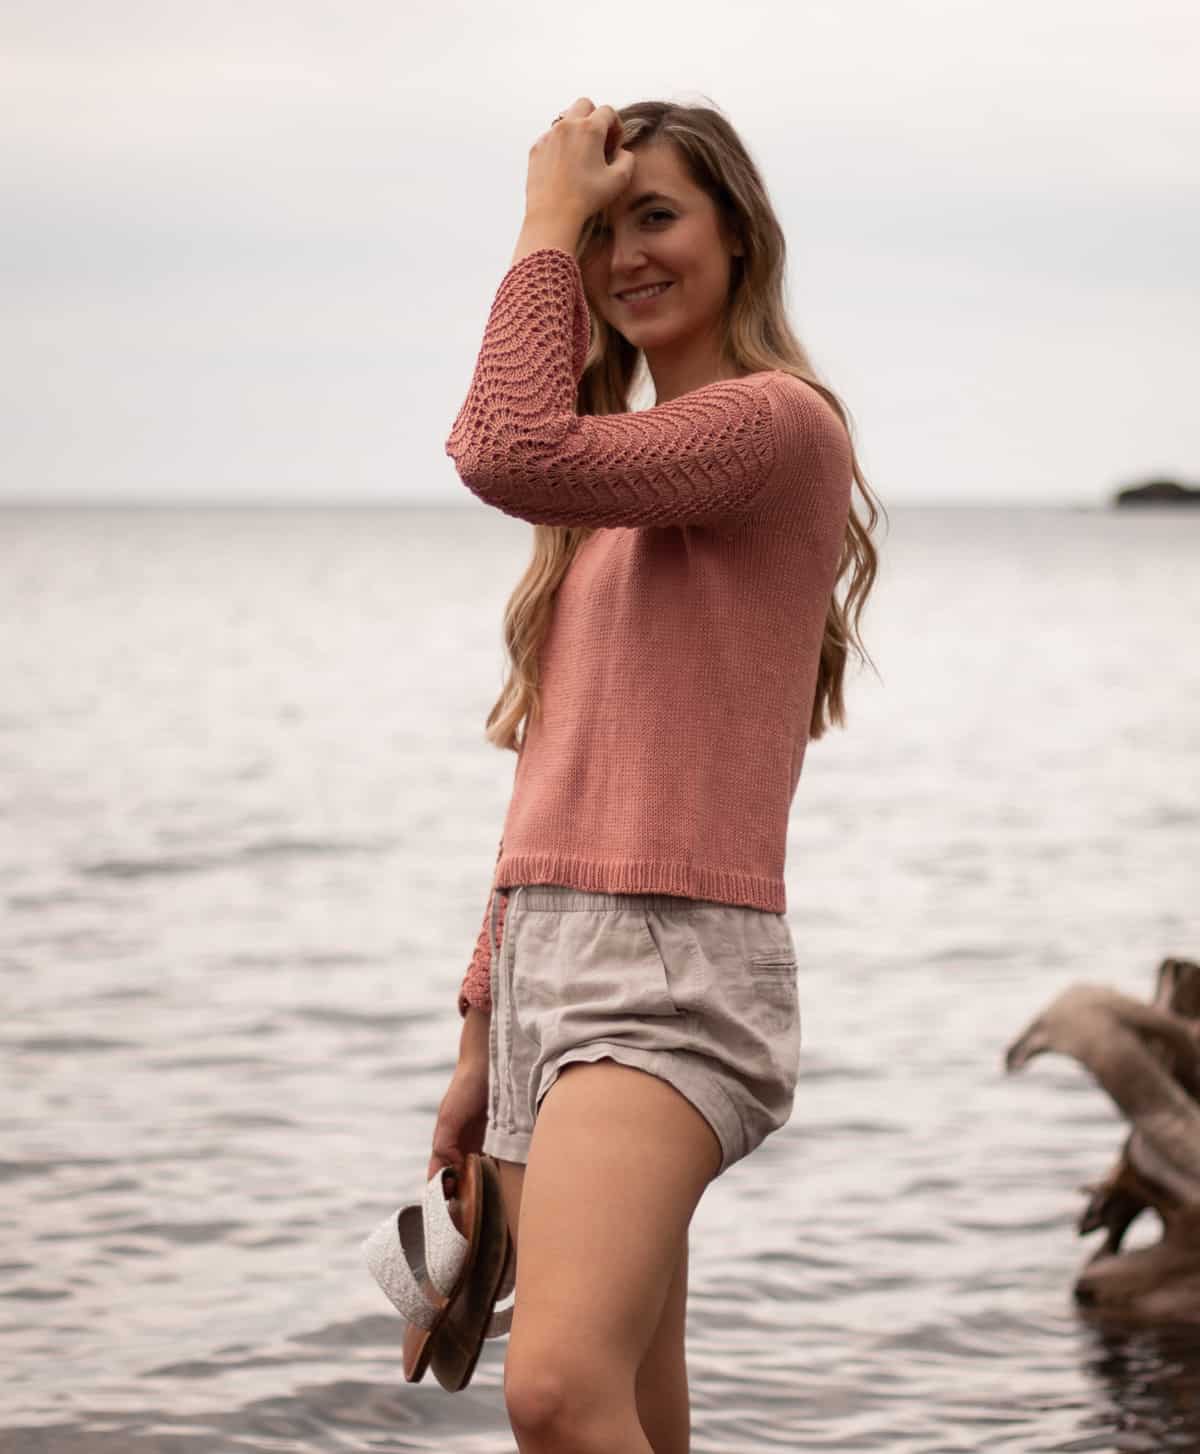
Scroll down to access the free knitting pattern, shop the kit with Lion Brand Yarn, or keep reading to learn a bit more about the design!
The Design
This lace sleeve sweater is designed to be a unique summer knitting pattern with feminine detailing. I am obsessed with the relaxed fir of this sweater and the breezy sleeves. The cotton bamboo yarn I recommend for this sweater is amazingly soft and drapes elegantly.
The body of this sweater is worked from the bottom, up. You will then separate to work the front and back pieces separately. The front and back pieces are joined with an exposed three needle bind off at the shoulder. Sleeves are worked flat and then seamed at the end.
This sweater was originally released last year as part of my first ever pattern collection, Originally Lovely Volume One. I designed the collection as a way to showcase some of my favorite designs and capture my style. Each piece is something that I am proud of and showcases my favorite aspects of knitting and crochet.
The Piper Sweater and the Jesse Tee are the two other knitting patterns in the collection.
What I love about this pattern
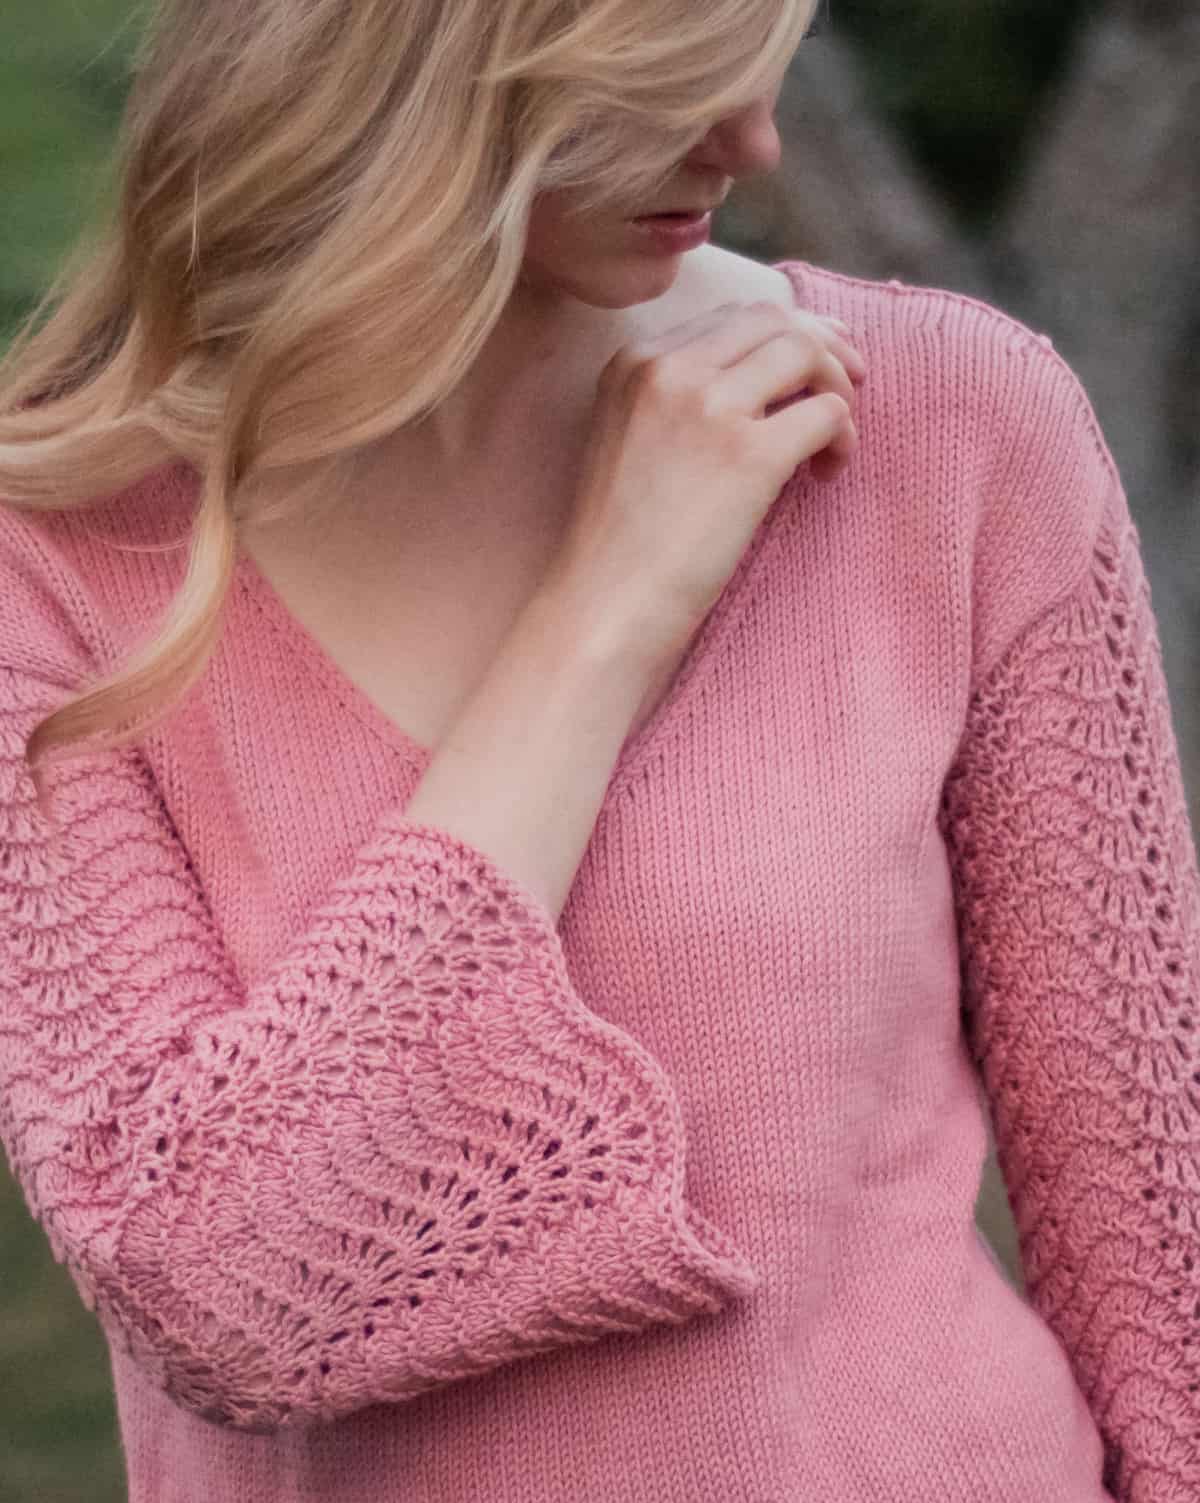
Feather and fan stitch (also known as old shale) has always been one of my favorite lace knit stitches. I think the combination of soft curves, eyelets, and some garter stitch waves really stands out to me. This stitch looks so complicated but in reality its just a 4 row repeat and only one of those rows contains anything remotely complicated!
I also love how this pattern is quite simple and only used this stitch in the sleeves. This design element is so elegant and also fun to knit because you have a bit of stockinette stitch which is so easy and mindless, mixed with some more complex rows to keep you entertained!
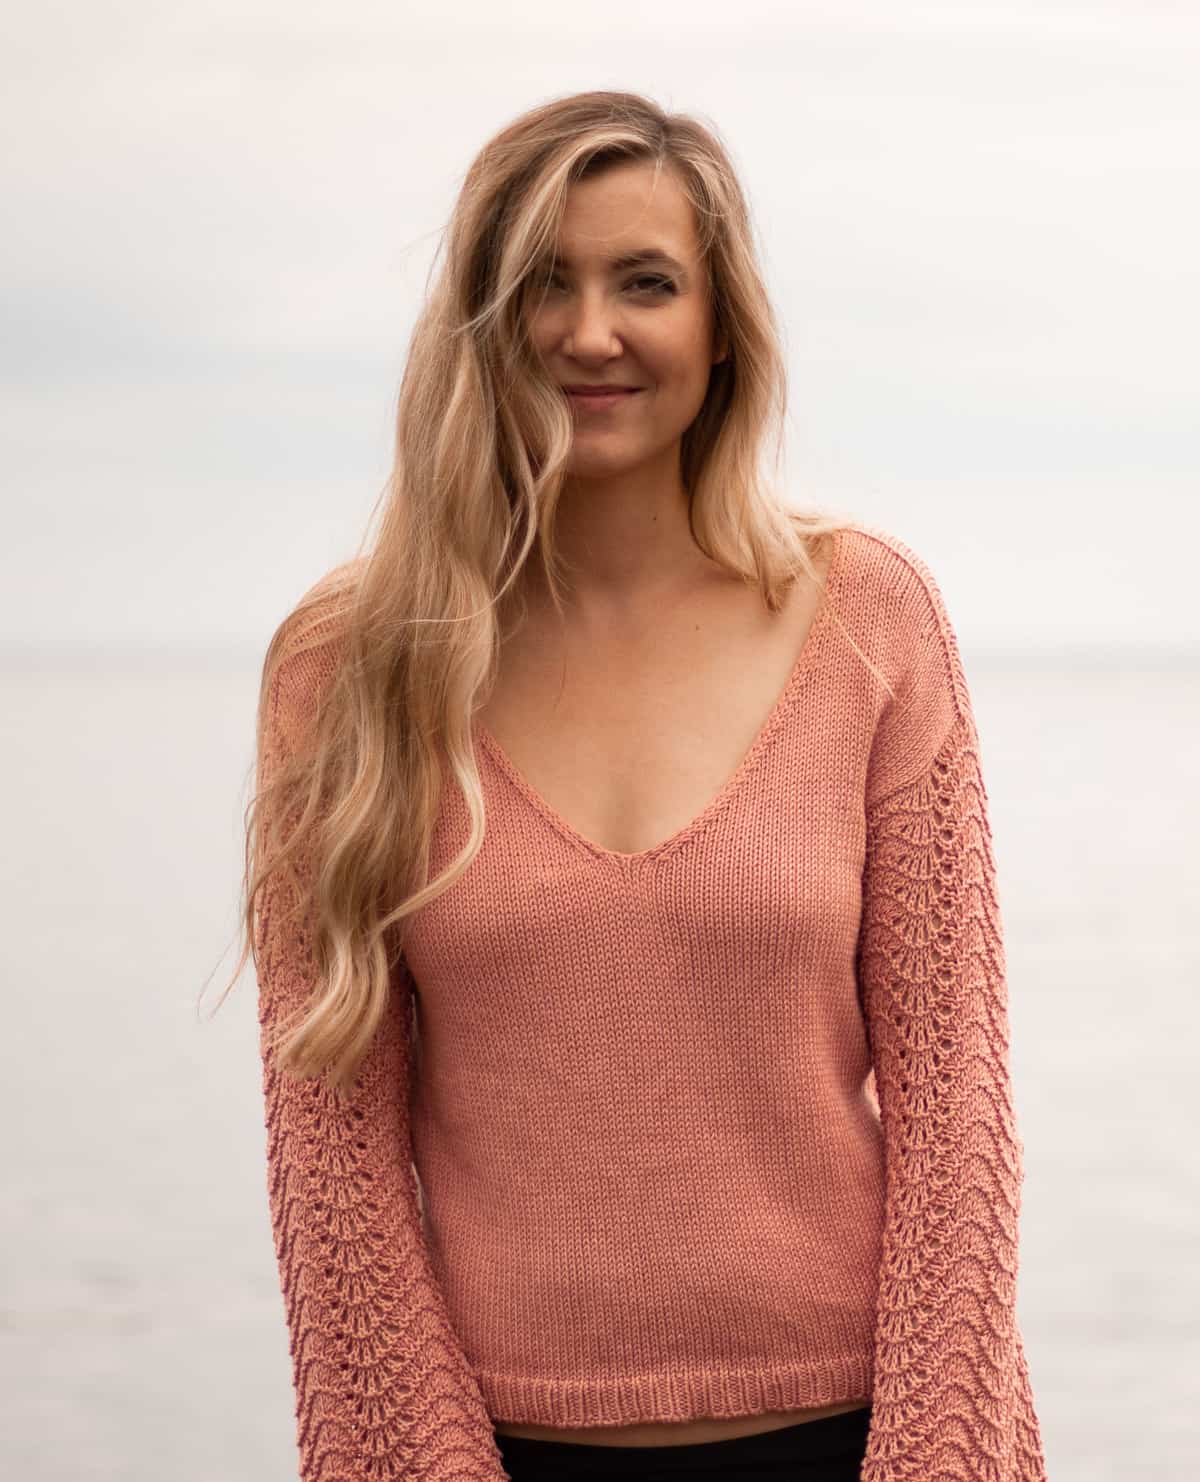
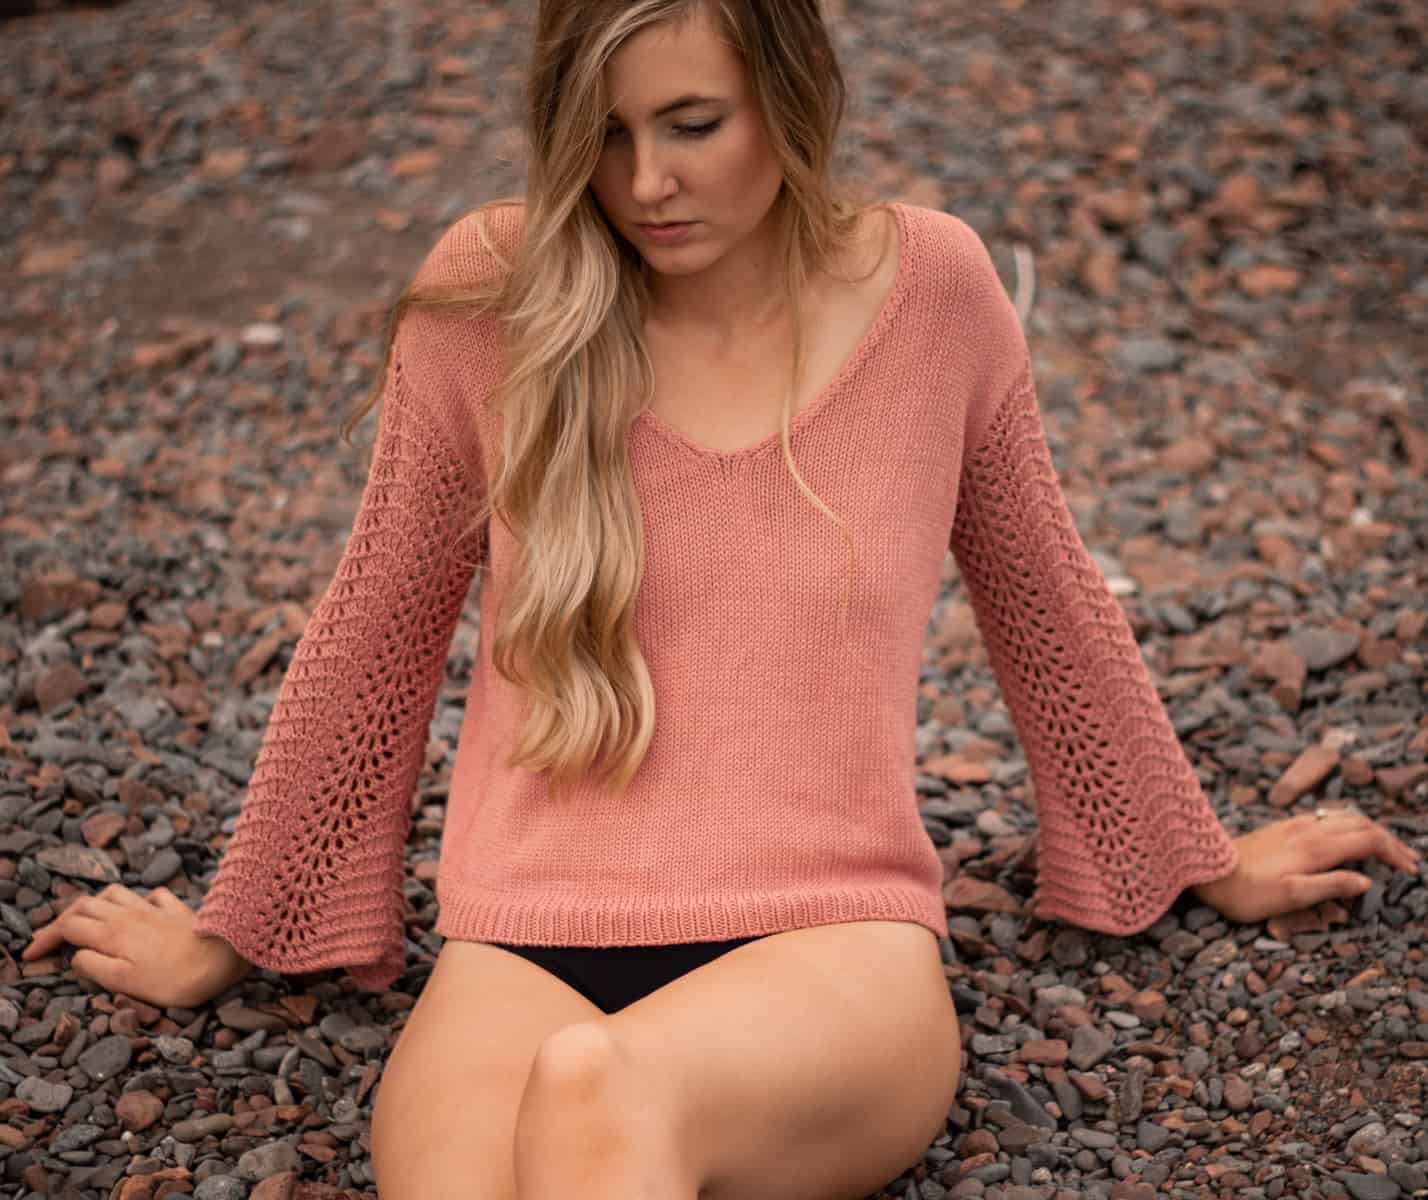
The bell sleeves of this pattern are the perfect just right, not too wide fit. A lot of bell sleeve clothing that I’ve owned is so overly dramatic that it just doesn’t fit in with daily life. The sleeves seem to constantly be getting in the way or dragging across things. These sleeves are the perfect not too long length with a subtle flare so they are not only stylish but also practical!
The Yarn
The yarn that I chose for this sweater is Lion Brand Coboo. I hope that Lion Brand never discontinues this yarn, it is one of my absolute favorites. It is amazingly soft and a perfect DK weight so it can be used in tons of patterns. A lot of cotton yarns tend to be in-between weights so they can be harder to substitute.
If you are interested in using this yarn to make the Aria Sweater, you might want to shop the kit with Lion Brand Yarn. This knitting kit contains everything that you need to make this sweater in your given size!
Yarn substitutions:
Some other DK weight yarns that I recommend for this sweater are:
- Truboo from Lion Brand Yarn (linked HERE) — this yarn is quickly becoming a favorite! Its similar to Coboo but a bit more silky!
- LB Collection Cotton Bamboo Yarn (linked HERE) — this yarn is part of Lion Brand’s luxury line. It’s a bit denser and silkier than Coboo. I’ve used it before and have been really pleased with the result. The stitch definition is amazing.
- LB Collection Superwash Merino (linked HERE) — a perfect wool option for this sweater if you plan to wear it in colder weather. This yarn is made using 100% superwash merino wool so it is unbelievable soft. If you use this yarn just be very sure to block your gauge swatch as superwash wool tends to grow quite a bit!
- CotLink from KnitPicks (linked HERE) — a cotton and linen blend, this yarn is perfect for warm weather and is completely matte, perfect if you don’t like any shine in your yarns.
- Capra DK from KnitPicks (linked HERE) — another great cold weather option, this yarn is a blend of merino wool and cashmere so basically, super luxurious!
Any DK weight yarn will work for this knitting, just be sure to choose your fiber accordingly with what season you prefer to wear it. For example, wool will work best for cold weather and cotton/cotton blends will work best for summer! Additionally, be sure to gauge swatch for a perfect fit!
Aria Lace Sleeve Sweater Knitting Pattern
© ORIGINALLY LOVELY 2021
This pattern and photographs of this garment are property of Kaitlin Barthold of Originally Lovely. This pattern, photos, and design are subject to copyright and are for personal use only. All commercial use is strictly prohibited. You may not reproduce or distribute this pattern under any circumstances.
The free version of this pattern must be viewed from the webpage.
Shop the kit with Lion Brand Yarn HERE
To Purchase an ad-free, printable PDF of of the Aria Sweater on Ravelry, CLICK HERE
To purchase an ad-free, printable PDF of the Aria Sweater on Etsy, CLICK HERE

Skill Level
Intermediate
Materials
4, (4, 5, 5, 6), (6, 7, 7, 7) balls / 840, (900, 960, 1150, 1220), (1280, 1490, 1550, 1610) yards Lion Brand Coboo Yarn in Mauve
Size US 7 (4.5 mm) 32” circular knitting needles
Size US 5 (3.75 mm) 32” circular knitting needles
Stitch Markers
Tapestry Needle to weave in ends
Notes:
This sweater is worked in the round from the bottom, up. You will separate to work front and back flat and then join at the shoulders. The lace sleeves will be worked by picking up stitches around the arm opening and knitting flat.
Finished Dimensions

| XS | S | M | L | XL | 2X | 3X | 4X | 5X | |
| Bust/Chest Circumference | 36 | 40 | 44 | 48 | 52 | 56 | 60 | 64 | 68 |
| Length | 21.5 | 21.5 | 21.5 | 23.25 | 23.25 | 23.25 | 25 | 25 | 25 |
| Sleeve Length | 18 | 18 | 18 | 18 | 18 | 18 | 18 | 18 | 18 |
XS, (S, M, L, XL), (2X, 3X, 4X, 5X)
Pattern is written for smallest size with changes for larger sizes in parenthesis. When only one number is given, it applies to all sizes. To keep track of your size, you may highlight or circle all numbers for your chosen size before you begin.
Help Choosing Size
This top is designed to be worn with 6-8” of positive ease. Model is 6’ tall, has a 33” bust, and is wearing a size Small with 7” of positive ease. For best fit, choose a size that is 6-8” larger than your corresponding bust measurement. For example, if your bust is 45”, you would wear a size XL.
Gauge
20 stitches and 28 rows = 4 inches in stockinette stitch on size US 7 (4.5 mm) needles
Abbreviations
This pattern is written using U.S. English terminology
AC = accent color
BO = bind off
CO = cast on
K = knit
K2TOG = knit 2 stitches together (1 stitch decreased)
K3TOG = knit 3 stitches together (2 stitches decreased)
K2TOGTBL = knit 2 stit ches together through the back loop (1 stitch decreased)
K3TOGTBL = knit 3 stit ches together through the back loop (2 stitches decreased)
MC = main color
M1L = make one left. Pick up the bar between the stitch you just knit and the one you are about to knit with your left needle from front to back, knit through the back.
M1R = make one right. Pick up the bar between the stitch you just knit and the one you are about to knit with your left needle from back to front, knit through the front.
P = purl
PM = place marker
RS = right side
SL1 = slip 1 stitch purl-wise (as if to purl)
SSK = slip the ne xt 2 sts knitwise, then knit them together through the back loops ( 1 st decreased)
SSSK = slip the next 3 sts knitwise, then knit them together through the back loop (2 sts decreased)
WS = wrong side
W&T = wrap and turn, a short row technique: on a knit row, slip the next st to the right hand needle, pass yarn from back to front, slip stitch back to left hand needle. Turn to work other side, passing yarn to front of work. On a purl row, slip next st to the right hand needle, pass yarn from front to back, slip stitch back to left needle. Turn to work other side passing yarn to back of work. Keep snug so your wrap stays tight. Check out this tutorial for help.
YO = yarn over
* = repeat the instructions following the single asterisk as directed.
[ ] = work instructions within brackets as many times as directed.
Aria Lace Sleeve Sweater Knitting Pattern
Using size 5 needles, CO 180 (200, 220, 240, 260) (280, 300, 320, 340) sts using long tail tubular cast on method.
Join to work in round. PM to denote beg/end of each round.
Work in k1, p1 rib stitch until piece measures 1.5” from CO edge.
On the next round, switch to size 7 needles. Work in round in stockinette stitch until piece measures 14” from CO edge. You may work more or less at this point to make the body of your sweater longer or shorter.
Separate Front and Back:
You will now split the body into the front and the back. Each piece will be worked flat separately and then joined at the shoulders.
1: BO 4 sts, k86 (96, 106, 116, 126) (136, 146, 156, 166), BO 4 sts, k t o end of round. Turn.
Right Front:
You will now work back and forth across the first 43, (48, 53, 58, 63), (68, 73, 78, 83) sts to shape the right front.
2 (WS): p40 (45, 50, 55, 60), (65, 70, 75, 80) sts, k1, p 1, sl1 p-wise. [43, (48, 53, 58, 63), (68, 73, 78, 83) sts].
3 (RS): k2, p1, ssk, k to last 4, k2tog, k2. [41, (46, 51, 56, 61), (66, 71, 76, 81) sts].
4: p to last 3, k1, p1, sl1 p-wise.
Repeat rows 3-4 twice more. [37, (42, 47, 52, 57), (62, 67, 72, 77) st s].
5: k2, p1, ssk, k to end of row. [36, (41, 46, 51, 56), (61, 66, 71, 76) sts].
6: p to last 3, k1, p1, sl1 p-wise.
Repeat rows 5-6 eleven more times [25, (30, 35, 40, 45), (50, 55, 60, 65) sts ].

7: k2, p1, k to end of row.
8: p to last 3, k1, p 1, sl1 p-wise.
9: k2, p1, ssk, k to end of row. [24, (29, 34, 39, 44), (49, 54, 59, 64) sts].
10: p to last 3, k1, p1, sl1.
Repeat rows 7-10 2 (2, 2, 3, 3) (3, 5, 5, 5) mor e times. [22, (27, 32, 36, 41), (46, 49, 54, 59) st s].
Then, repeat rows 7-8 0 (0, 0, 4, 4), (4, 6, 6, 6) more times.
11: k2, p1, k3 (4, 5, 4, 5) (6, 6, 7, 8), W&T.
12: p to last 3, k1, p1, sl1.
13: k2, p1, k7 (9, 11, 11, 13) (15, 16, 17, 19), W&T.
14: as 12.
15: k2, p1, k11 (14, 17, 18, 21) (24, 26, 27, 30), W&T.
16: as 12.
17: k2, p1, k15, (19, 23, 25, 29) (33, 36, 37, 41), W&T.
18: as 12.
19: k2, p1, k to end of row.
Break yarn leaving a tail to weave in later. Set aside on stitch holder or scrap yarn.
Left Front:
You will now work back and forth across the remaining 43, (48, 53, 58, 63), (68, 73, 78, 83) sts to shape the left front.
2 (WS): sl1, p1, k1, p40 (45, 50, 55, 60), (65, 70, 75, 80), turn. [43, (48, 53, 58, 63), (68, 73, 78, 83) sts].
3 (RS): k2, ssk, k to last 5, k2tog, p1, k2. [41, (46, 51, 56, 61), (66, 71, 76, 81) sts ].
4: sl1, p1, k1, p to end of row.
Repeat rows 3-4 twice more [37, (42, 47, 52, 57), (62, 67, 72, 77) sts].
5: k to last 5, k2tog, p1, k2. [36, (41, 46, 51, 56), (61, 66, 71, 76) sts].
6: sl1, p1, k1, p to end of row.
Repeat rows 5-6 eleven more times. [25, (30, 35, 40, 45), (50, 55, 60, 65) sts ].
7: k to last 3, p1, k2.
8: sl1, p1, k1, p to end.
9: k to last 5, k2tog, p1, k2. [24, (29, 34, 39, 44), (49, 54, 59, 64) sts ].
10: sl1, p1, k1, p to end.
Repeat rows 7-10 1 (1, 1, 2, 2) (2, 4, 4, 4) more times. [23, (28, 33, 37, 42), (47, 50, 55, 60) sts].

Next, repeat rows 7-9 once more. [22, (27, 32, 36, 41), (46, 49, 54, 59) sts].
Then, work 0, (0, 0, 8, 8) (8, 10, 10, 10) more rows even (as rows 7-8) ending with a RS row.
11: sl1, p1, k1, p3 (4, 5, 4, 5) (6, 6, 7, 8), W&T.
12: k to last 3, p1, k2.
13: sl1, p1, k1, p7 (9, 11, 11, 13) (15, 16, 17, 19), W&T.
14: as 12.
15: sl1, p1, k1, p11 (14, 17, 18, 21) (24, 26, 27, 30), W&T.
16: as 12.
17: sl1, p1, k1, p15 (19, 23, 25, 29) (33, 36, 37, 41), W&T.
18: as 12.
19: sl1, p1, k1, p t o end of row.
20: k to last 3, p1, k2.
Break yarn leaving a tail to weave in later. Set aside on stitch holder or scrap yarn.
Back:
Begin working the 86, (96, 106, 116, 126), (136, 146, 156, 166) sts set aside to shape the back. You will work the back sts flat as done for the front.
2 (WS): purl.
3 (RS): k2, ssk, k to last 4, k2tog, k2. [84, (94, 104, 114, 124), (134, 144, 154, 164) st s].
Repeat rows 2-3 twice more. [80, (90, 100, 110, 120), (130, 140, 150, 160) sts ].
4: purl.
5: knit.
Repeat rows 4-5 until back piece measures 4.5 (4.5, 4.5, 6.25, 6,25) (6.25, 8, 8, 8)” from underarm.

6: p29 (34, 39, 43, 48) (53, 56, 61, 66), k22 (22, 22, 24, 24) (24, 28, 28, 28), p29 (34, 39, 43, 48) (53, 56, 61, 66).
7: p24 (29, 34, 38, 43) (48, 51, 56, 61), k2t og, p1, k2, BO next 22, (22, 22, 24, 24), (24, 28, 28, 28) sts in knit, k2, p1, ssk, k to end of row.
You will now have 28, (33, 38, 42, 47), (52, 55, 60, 65) sts for the right and left shoulder, and 22, (22, 22, 24, 24), (24, 28, 28, 28) bound off stitches in the center.
Left Back:
Begin working flat across the first 28, (33, 38, 42, 47), (52, 55, 60, 65) sts to shape left back shoulder.
8: p to last 3, k1, p1, sl1.
9: k2, p1, ssk, k to end of row. [27, (32, 37, 41, 46), (51, 54, 59, 64) sts].
Repeat rows 8-9 once more. [26, (31, 36, 40, 45), (50, 53, 58, 63) st s].
10: p to last 3, k1, p1, sl1.
11: k2, p1, ssk, k5 (6, 7, 6, 7) (8, 8, 9, 10), W&T. [25, (30, 35, 39, 44), (49, 52, 57, 62) sts ].
12: as 10.
13: k2, p1, ssk, k8 (10, 12, 12, 14) (16, 17, 18, 20), W&T. [24, (29, 34, 38, 43), (48, 51, 56, 61) sts ].

14: as 10.
15: k2, p1, ssk, k11 (14, 17, 18, 21) (24, 26, 27, 30), W&T. [23, (28, 33, 37, 42), (47, 50, 55, 60) sts].
16: as 10.
17: k2, p1, ssk, k14 (18, 22, 24, 28) (32, 35, 36, 40), W&T. [22, (27, 32, 36, 41), (46, 49, 54, 59) sts ].
19: as 10.
20: k2, p1, k t o end of row.
Break yarn leaving a tail to weave in later. Set aside on stitch holder or scrap yarn.
Right Back:
Begin working flat across the 28, (33, 38, 42, 47), (52, 55, 60, 65) sts set aside for right back shoulder.
8: sl1, p1, k1, p to end of row. Turn.
9: k to last 5, k2tog, p1, k2. [27, (32, 37, 41, 46), (51, 54, 59, 64) sts].
Repeat rows 8-9 once more. [26, (31, 36, 40, 45), (50, 53, 58, 63) st s].
10: sl1, p1, k1, p7 (8, 9, 8, 9) (10, 10, 11, 12), W&T.
11: k to last 5, k2tog, p1, k2. [25, (30, 35, 39, 44), (49, 52, 57, 62) sts ].
12: sl1, p1, k1, p10 (12, 14, 14, 16) (18, 19, 20, 22), W&T.

13: as 11. [24, (29, 34, 38, 43), (48, 51, 56, 61) sts ].
14: sl1, p1, k1, p13 (16, 19, 20, 23) (26, 28, 29, 32), W&T.
15: as 11. [23, (28, 33, 37, 42), (47, 50, 55, 60) sts ].
16: sl1, p1, k1, p16 (20, 24, 26, 30) (34, 37, 38, 42), turn work, GSR.
17: as 11. [22, (27, 32, 36, 41), (46, 49, 54, 59) sts ].
18: sl1, p1, k1, p to end.
19: k to last 3, p1, k2.
Shoulder Seams:
Now, you will arrange your work so that the sts set aside for each the right and left front shoulders, line up with the stitches for the right and left back shoulders to complete your shoulder seams. With the RS of the front facing you, work a three needle bind off at the top of each shoulder on the outside of your work.
Sleeves:
To work the lace sleeves in this knitting pattern, you will pick up stitches around the armhole opening and work the sleeve flat using size 7 needles. The first couple rows may be tight, you can use to circular needles or double pointed needles to help with the tightness if you prefer.
1: With RS facing you and beginning at the center of underarm, pick up 3 sts on the left side of the underarm, pick up 34 (34, 34, 43, 43) (43, 52, 52, 52) sts along the side of the shoulder up to the three needle bind off, pick up 34 (34, 34, 43, 43) (43, 52, 52, 52) st s along the opposite side of the shoulder to the underarm, and pick up 3 more sts on the right side of the underarm. [74, (74, 74, 92, 92), (92, 110, 110, 110) sts total].
2 (WS): purl.
3 (RS): k1, *(k2tog) 3x, (YO, k1) 6x, (k2tog) 3x. Rep from * to last st, k1.
4: knit.
5: knit.
6: purl.
7: k1, *(k2tog) 3x, (YO, k1) 6x, (k2tog) 3x. Rep from * to last st, k1.
8: knit.
Repeat rows 5-8 sixteen more times. NOTE: You may work more or less at this point to make your sleeve longer or shorter, end the repeats when you sleeve is 5” less than your desired length.
9: knit
10: purl.
11: k3, (k2tog) 2x, (yo, k1) 6x, *(k2tog) 6, (yo, k1) 6x. Rep from * to last 7, (k2tog) 2x, k3. [76, (76, 76, 94, 94), (94, 112, 112, 112) sts total].
12-14: as 4-6.
15: k4, (k2tog) 2x, (yo, k1) 6x, *(k2tog) 6x, (yo, k1) 6x. Rep from * to last 8, (k2tog) 2x, k4. [78, (78, 78, 96, 96), (96, 114, 114, 114) sts total].

16-18: as 4-6.
19: k5, (k2tog) 2x, (yo, k1) 6x, *(k2tog) 6x, (yo, k1) 6x. Rep from * to last 9, (k2tog) 2x, k5. [80, (80, 80, 98, 98), (98, 116, 116, 116) sts total].
20-22: as 4-6.
23: k6, (k2tog) 2x, (yo, k1) 6x, *(k2tog) 6x, (yo, k1) 6x. Rep from * to last 10, (k2tog) 2x, k6. [82, (82, 82, 100, 100), (100, 118, 118, 118) sts total].
24-26: as 4-6.
27: k7, (k2tog) 2x, (yo, k1) 6x, *(k2tog) 6x, (yo, k1) 6x. Rep from * to last 11, (k2tog) 2x, k7. [84, (84, 84, 102, 102), (102, 120, 120, 120) sts total].
28-30: as 4-6.
31: k8, (k2tog) 2x, (yo, k1) 6x, *(k2tog) 6x, (yo, k1) 6x. Rep from * to last 12, (k2tog) 2x, k8. [86, (86, 86, 104, 104), (104, 122, 122, 122) sts total].
32-34: as 4-6.
35: k9, (k2tog) 2x, (yo, k1) 6x, *(k2tog) 6x, (yo, k1) 6x. Rep from * to last 13, (k2tog) 2x, k9. [88, (88, 88, 106, 106), (106, 124, 124, 124) sts total].
36-38: as 4-6.
39: k10, (k2tog) 2x, (yo, k1) 6x, *(k2tog) 6x, (yo, k1) 6x. Rep from * to last 14, (k2tog) 2x, k10. [90, (90, 90, 108, 108), (108, 126, 126, 126) sts total].
40: knit.
Bind off in knit.
Repeat for second sleeve.
Finishing:
Sew the sleeve seams using mattress stitch.
Weave in all ends to secure.
To block, soak in warm water and lay flat to dry.
Enjoy!
For questions, please email support@originallylovely.com or comment below!
I’d love to see your finished work! Share on social media using the hashtag #originallylovely or by tagging @originally.lovely and @lionbrandyarn on Instagram!
I hope you enjoy this knitting pattern and love your new lace sleeve sweater!
With Love, Kaitlin
Looking for other warm weather knitting patterns? Some of my favorites include the Piper Sweater, the Diamond Lace Kimono, the Jeanie Tee, and the Natte Pullover!



This sweater is absolutely lovely! Can’t wait to start it as a gift for my daughter. How would I make the V-neck shorter by at least 2 inches? Too much bra would show according to the picture.
Hi Sheila! To make it 2” shorter, you would work additional rows after the section ‘Separate Front and Back’ before you continue on to ‘Right Front’ and ‘Left Front’. Just be sure to mark how many rows you knit before continuing and work that many less rows in the right front and left front sections. The neckline is shaped working decreases every other row and then every 4th row. You will need to work more decreases every other row and less decreases every 4th row to get to the right count.
I would also point out to take a look at the schematic before beginning and compare this to a shirt your daughter already likes! The neckline depth is even with the armhole opening. So for example, size XS has a armhole depth and a neckline depth of 6.5” with the correct gauge. Just a note because V necks looks very different on different body types 🙂 hope that helps!